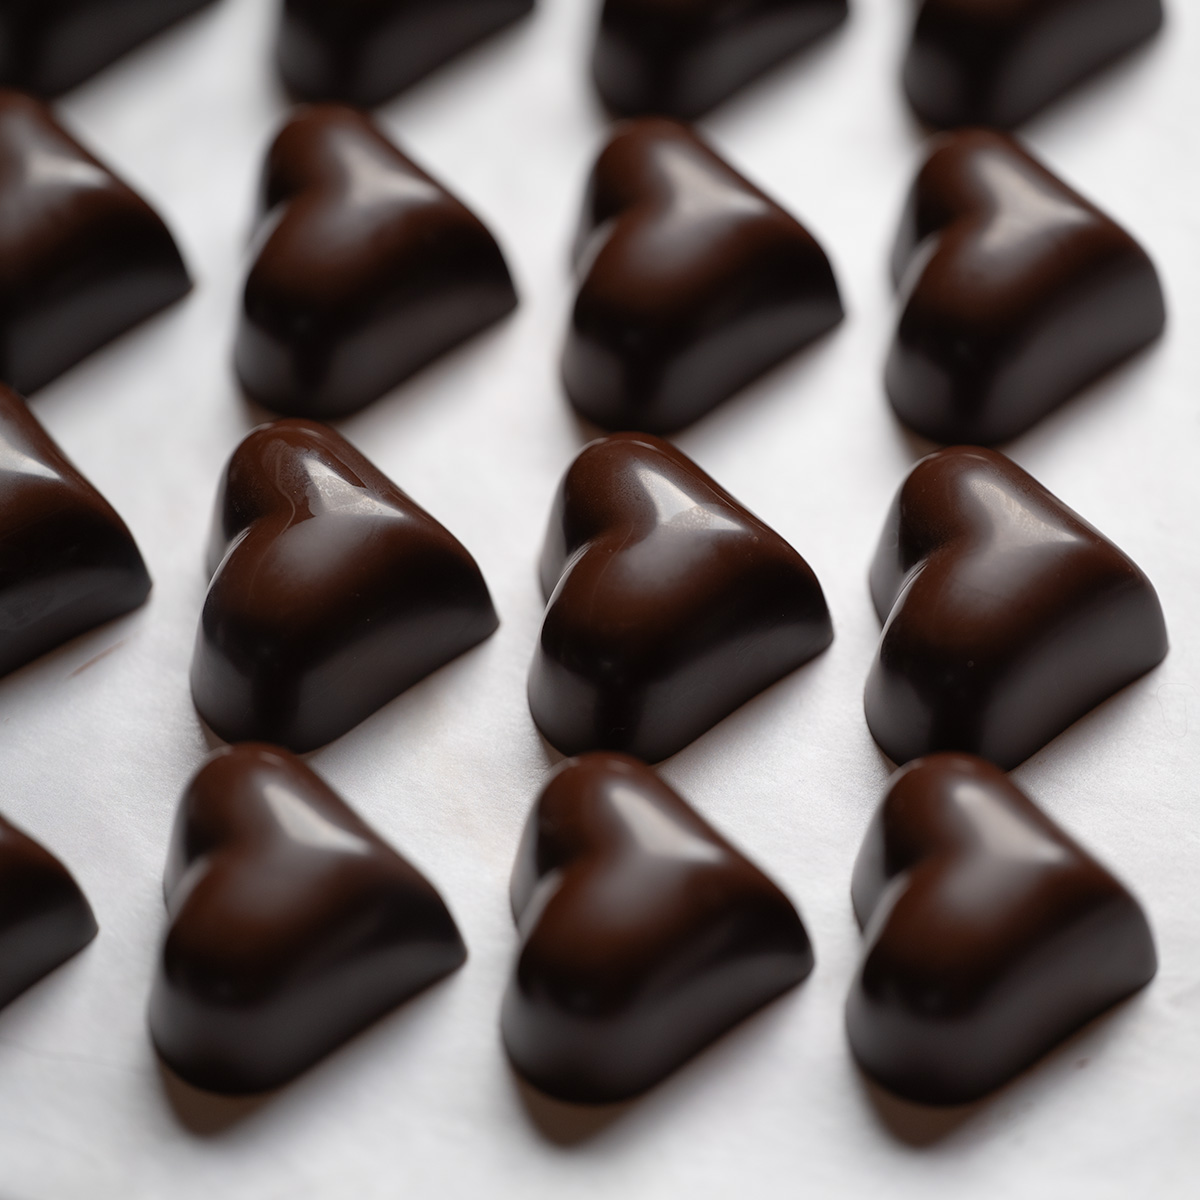
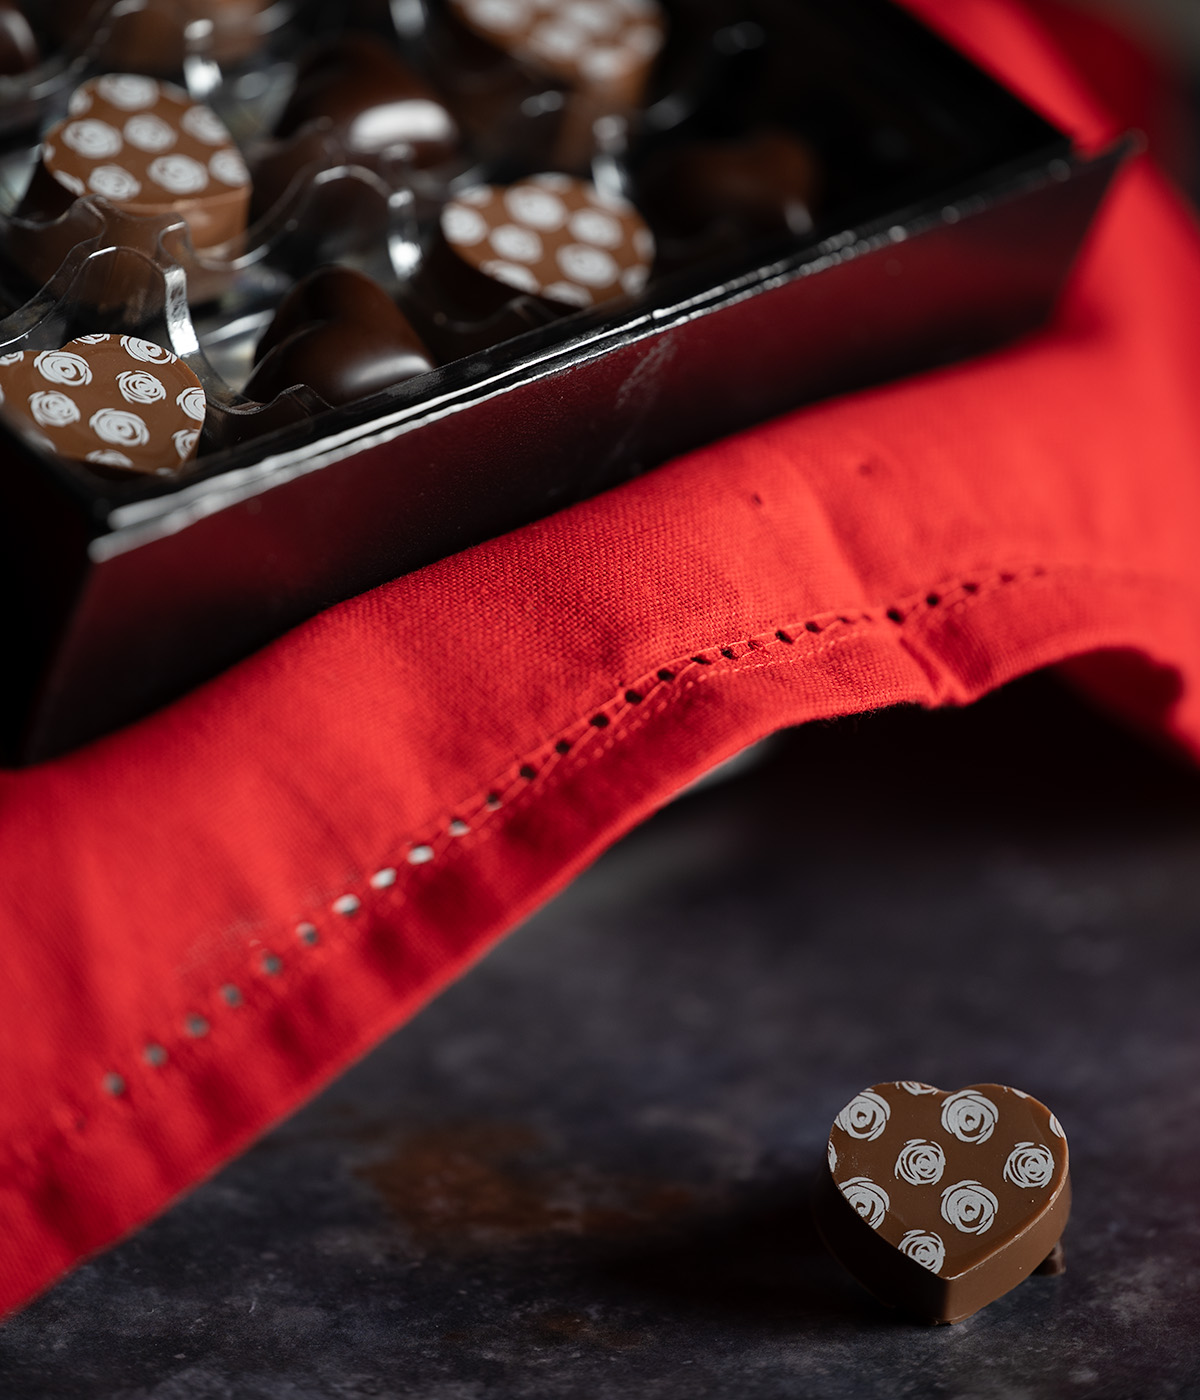
Make your next anniversary or Valentine's Day even more meaningful by gifting that special someone with handcrafted chocolate hearts. Temper and pipe your favorite premium chocolate into beautiful heart-shaped molds for the shiniest, silkiest finish your loved ones will request again and again.

Jump to:
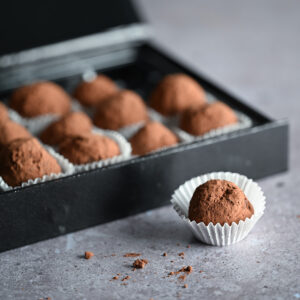
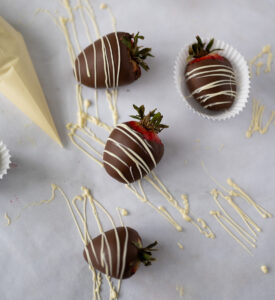
This past Valentine's Day, I promised my husband that I was going to make our own box of chocolates and chocolate-covered strawberries rather than purchasing them from a store or online. And you know what?
I'll never purchase store-bought chocolates again.
Making your own Valentine's confections is not only more romantic and personal, but helps cut down on waste by only including the types and flavors that your loved one actually like to eat, without throwing the rest away.
Now I know making chocolates at home might seem really intimidating at first, but trust me, it's way easier than you think, so long as you abide by the cardinal rules of chocolate work (see "Tips for Success" and Perfectly Tempering Chocolate for the best results).
How to Make Chocolate Hearts
Making solid chocolate confections requires pouring tempered chocolate into a prepared mold, vibrating the mold to eliminate air bubbles and help the chocolate settle into the creases, and then allowing them to sit at room temperature for 15 minutes before being stored for 24 hours between 55 and 65 degrees Fahrenheit until fully crystallized and ready to eat.
Why Chocolate Lovers Make This Recipe
- Budget-friendly -- purchasing high-quality chocolates can be quite expensive for a relatively small amount of chocolate. This recipe allows you to make chocolates in bulk for a fraction of the cost.
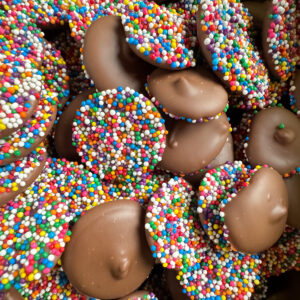
- Customizable -- rather than being at the mercy of whatever flavors someone else has included in their commercial-grade gift boxes, mix and match with your favorite types of chocolate! More advanced confectioners can, of course, experiment with adding different fillings or using colored cocoa butter or transfer sheets for eye-catching creations.
- Easy to make -- this recipe is perfect for the beginner confectioner, as it allows for you to solely focus on achieving the perfect temper without having to worry about fussy fillings or decorations.
- Perfect for many occasions -- make these for Valentine's Day, anniversaries, birthdays, Mother's Day, or as just-because gifts for family and friends.
Ingredients
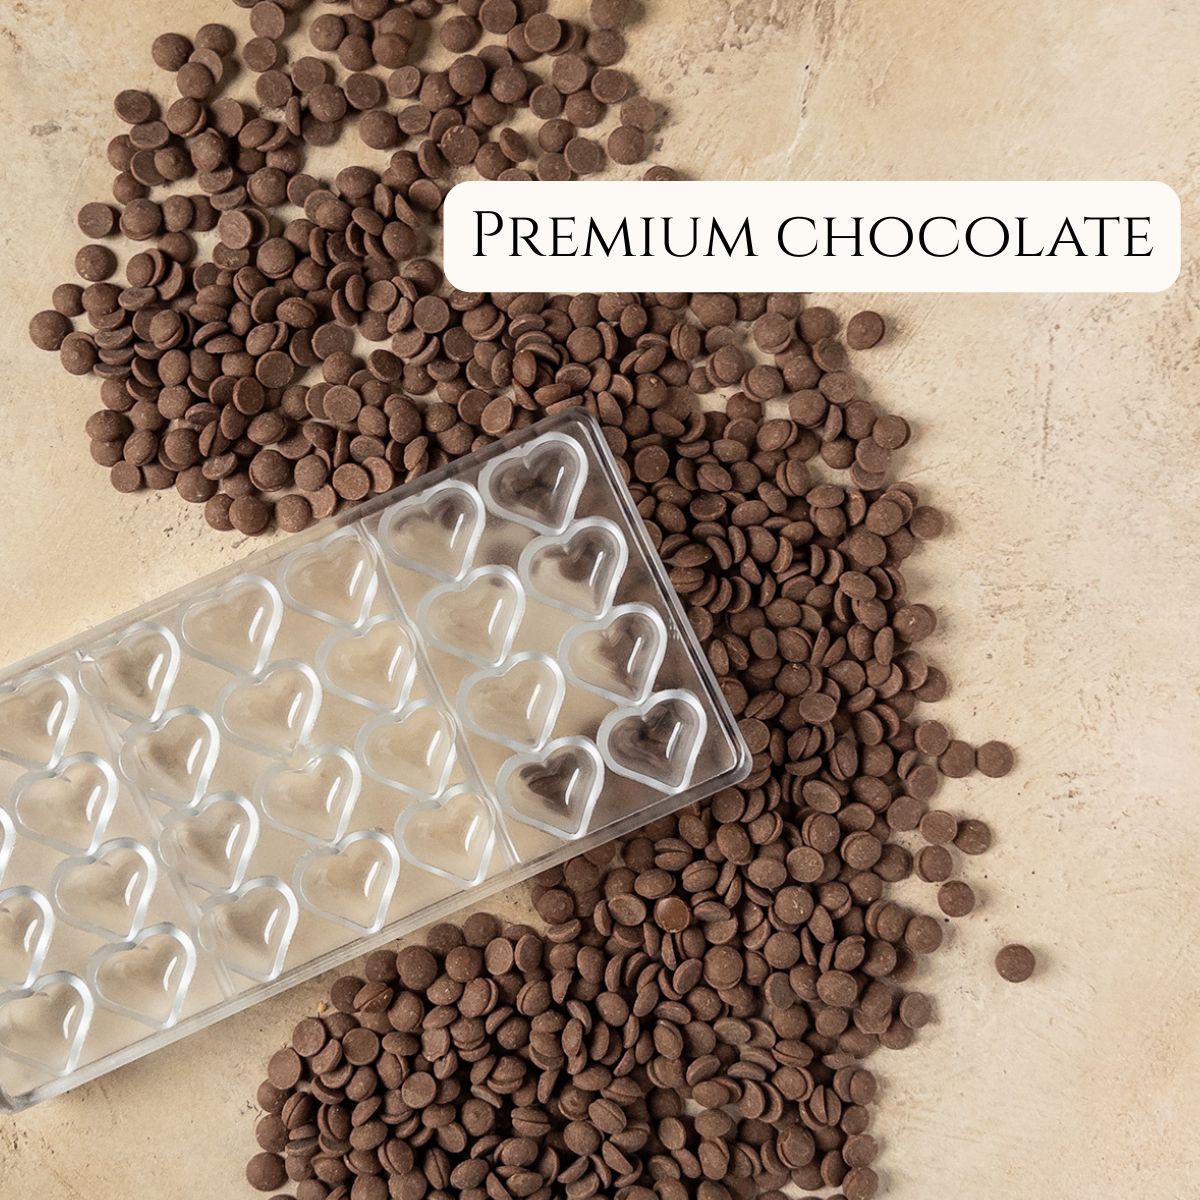
Premium chocolate -- this is one of those recipes where using coverture chocolate is strongly suggested, since coverture has a higher cocoa butter content that produces a silkier taste and superior shine.
Tips for Success
- Only use real chocolate for this recipe, since using compound chocolate (think chocolate chips) will not melt or contract from the molds the same way. I also recommend using coverture chocolate for its higher cocoa butter content that increases shine, but this isn't mandatory; the most important part is that the chocolate is properly tempered.
- To that end, properly temper the chocolate. Not doing so will create many problems like creating a streaky or speckled finish know as "bloom," low shine on the chocolate's surface, or that the chocolates will not properly contracts from the molds.
- Only fill the piping bag about half full to avoid the filling spilling out the top while you work. Your hands, arms, shirt, and countertops will thank you. 😉
- Chocolate completely crystallizes after twenty-four hours, so leave your chocolates undisturbed in the molds for at least that long before unmolding.
- If some chocolates are stuck, lightly tap the top edge of the mold against the counter to help them fall out. If, after a few good whacks, you find that the chocolates are still stuck, pop the mold in the fridge for fifteen minutes before repeating the above steps until all chocolates have been removed.
- Pour any unused chocolate on a sheet of cling film and wrap tightly. Store in a cool, dry place until you're ready to use again.
Storage Instructions
Store the chocolates in an airtight container in a cool, dry place. See Tip #6 in "Tips for Success" for how to properly store leftover tempered chocolate.

Solid Chocolate Hearts
Equipment
- 1 large heatproof bowl
- 1 rubber spatula
- 1 chocolate scraper
- pastry bags
- polycarbonate or silicone molds with heart-shaped cavities
- 1 cotton pad
- Everclear
Ingredients
- 700 grams premium chocolate, any type reserve 175g for seed chocolate
Instructions
- Dab a cotton pad with a few splashes of Everclear, then wipe out each cavity in the chocolate mold. Lay out two sheets of parchment paper onto your work surface.
- Temper the chocolate. Reference the detailed tempering guide in the "Tips for Success" section, if needed.
- Pour the tempered chocolate into a piping bag, snip the end, and pipe into each cavity until slightly overflowing. Repeat until all the cavities are filled.
- Holding the chocolate scraper at a 45-degree angle and with one smooth motion, scrape the excess chocolate off of the surface of the mold onto the parchment paper until no chocolate remains between the cavities. Scrape down the sides of the mold to reduce mess.
- Vibrate the mold back and forth on the counter to remove air bubbles and help the chocolate set into the fine lines of the design.
- Store the mold on a level surface with the filled cavities facing up. Ensure the room temperature remains at 65℉ and let the chocolate set undisturbed for 24 hours.
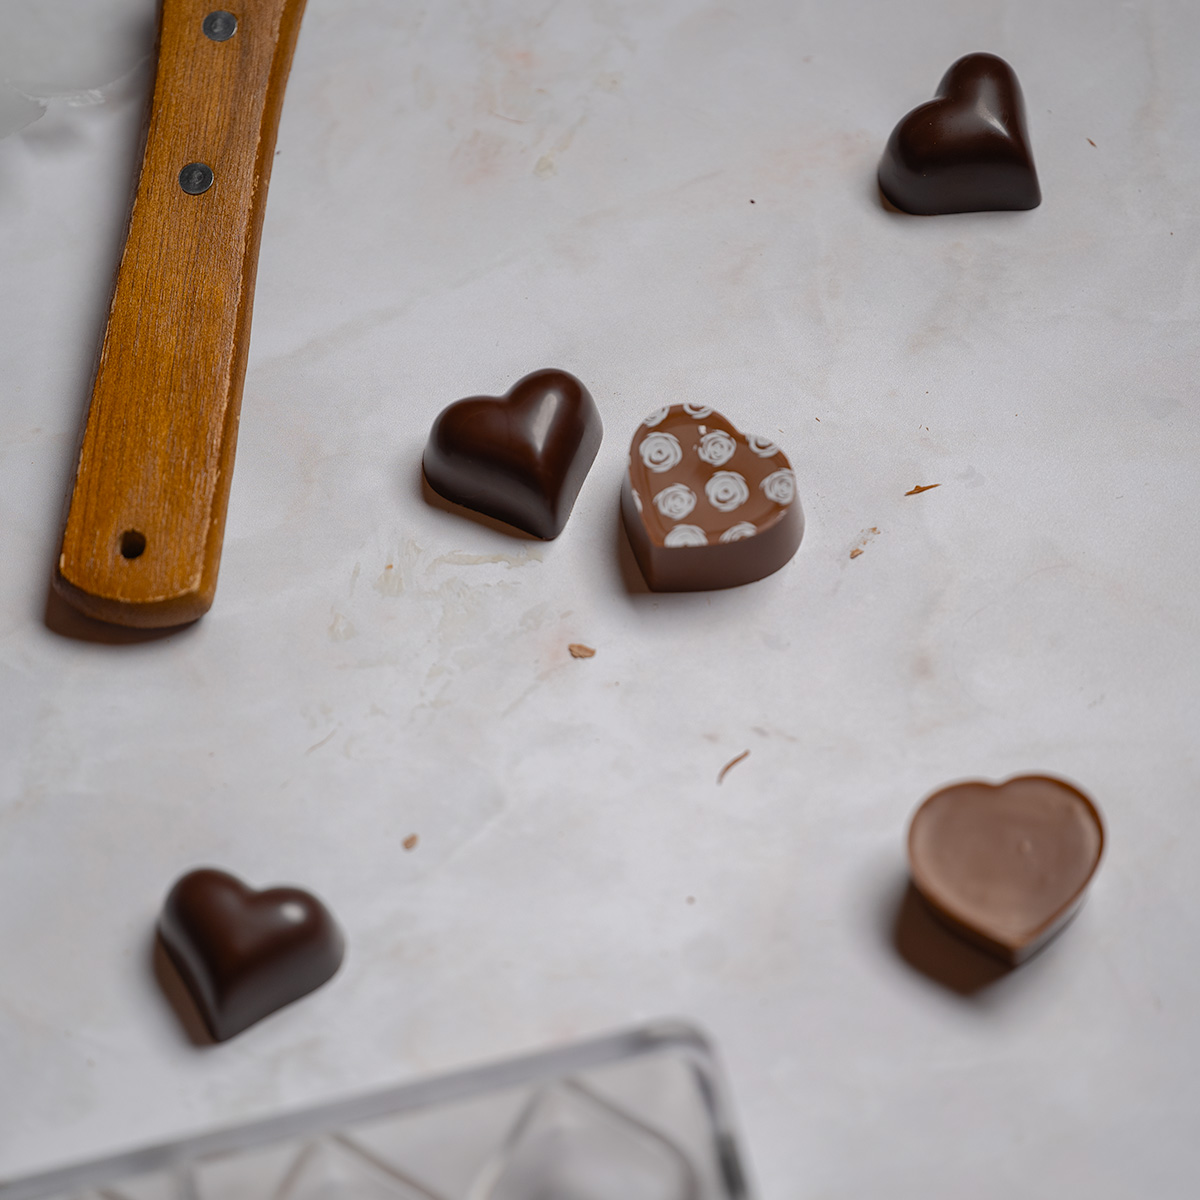
- Place a sheet of parchment paper on your work surface. Gently twist each end of the mold to contract the chocolate, then hold the mold upside down over the parchment and let the chocolates fall out. If any chocolates remain, see "Tips for Success" section.