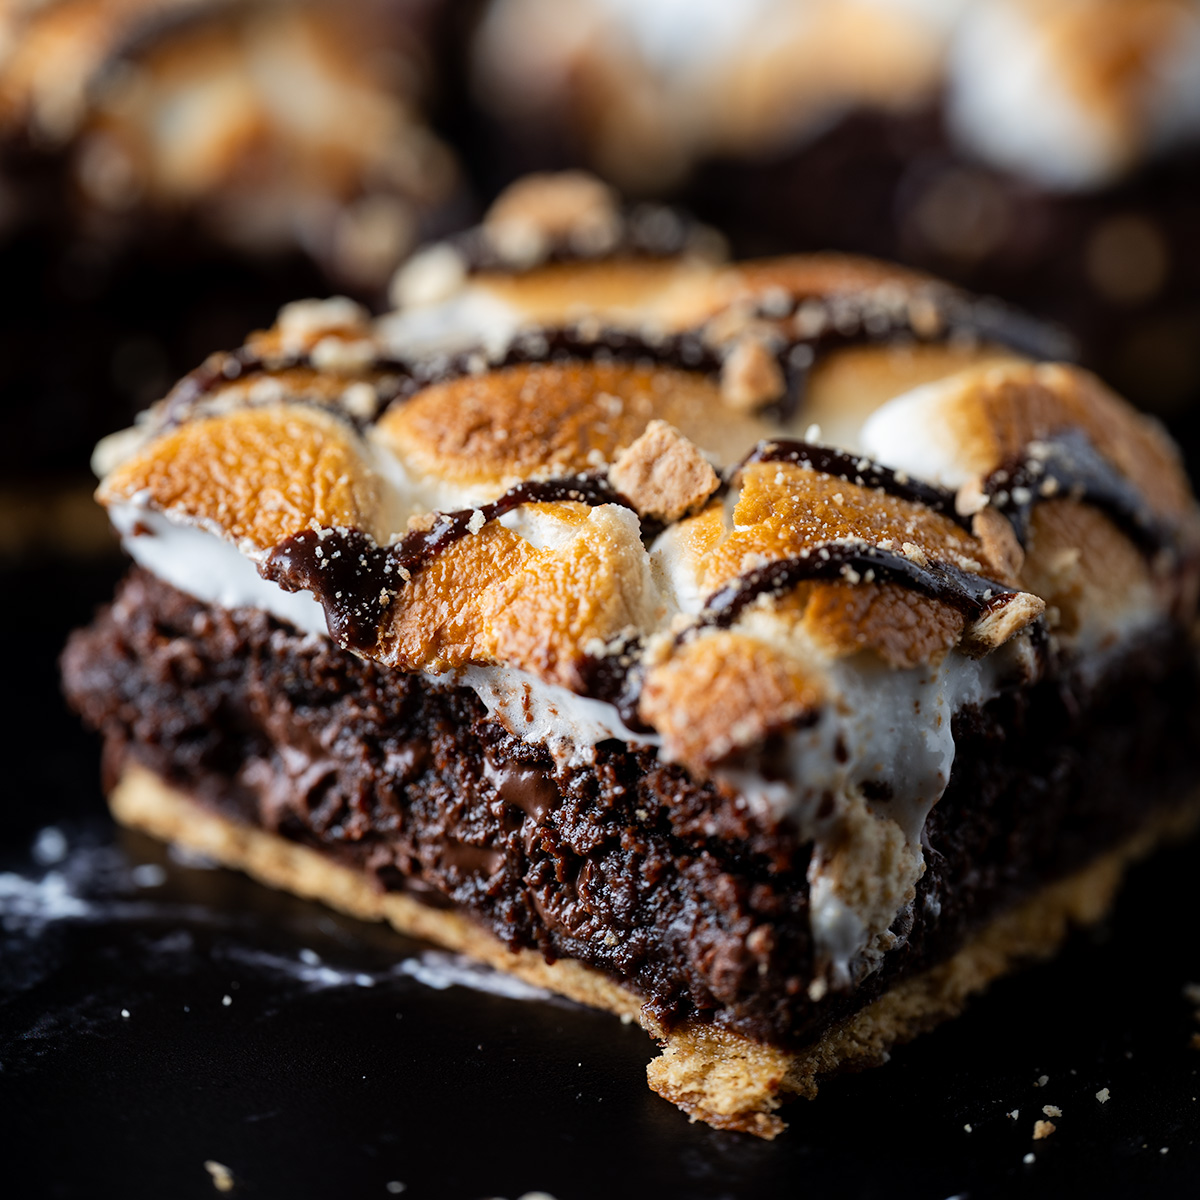
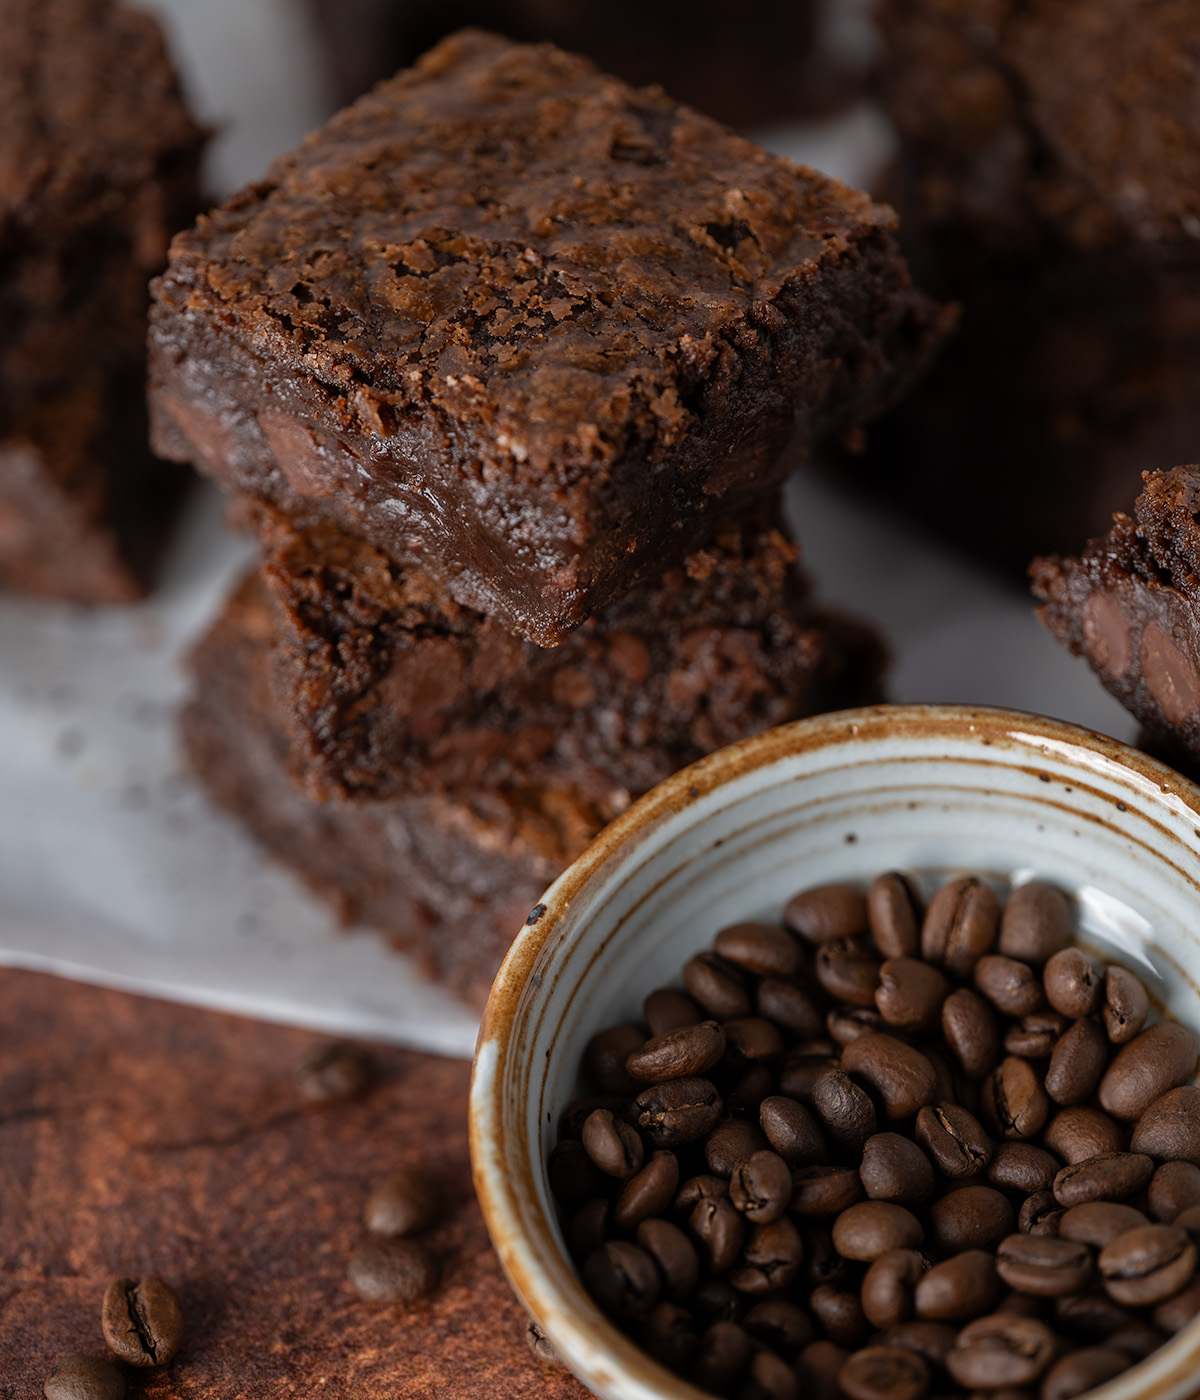
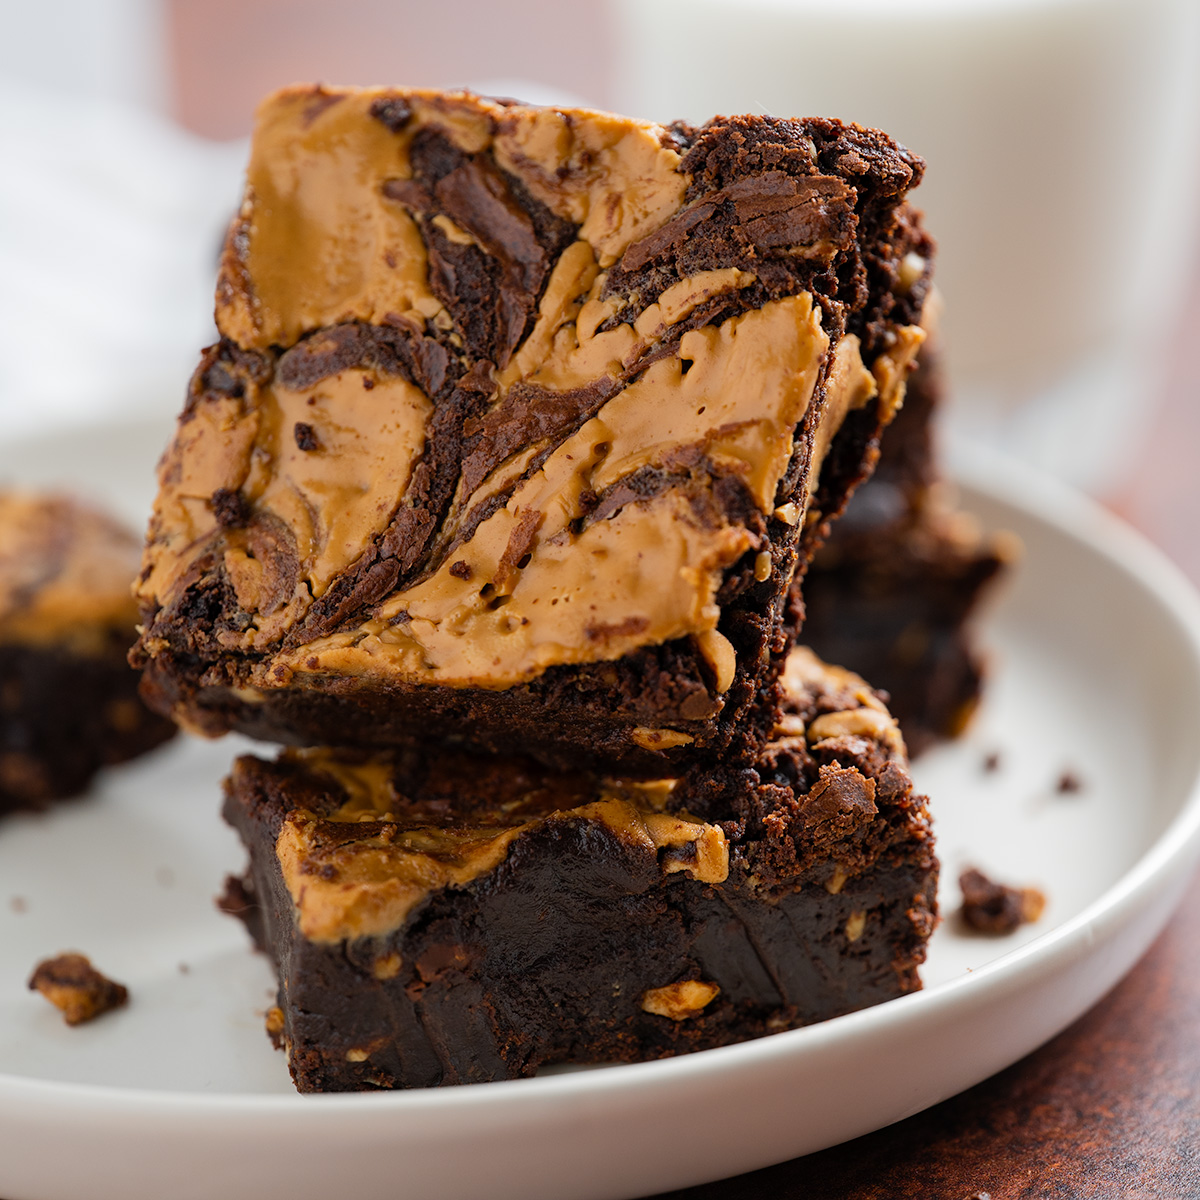
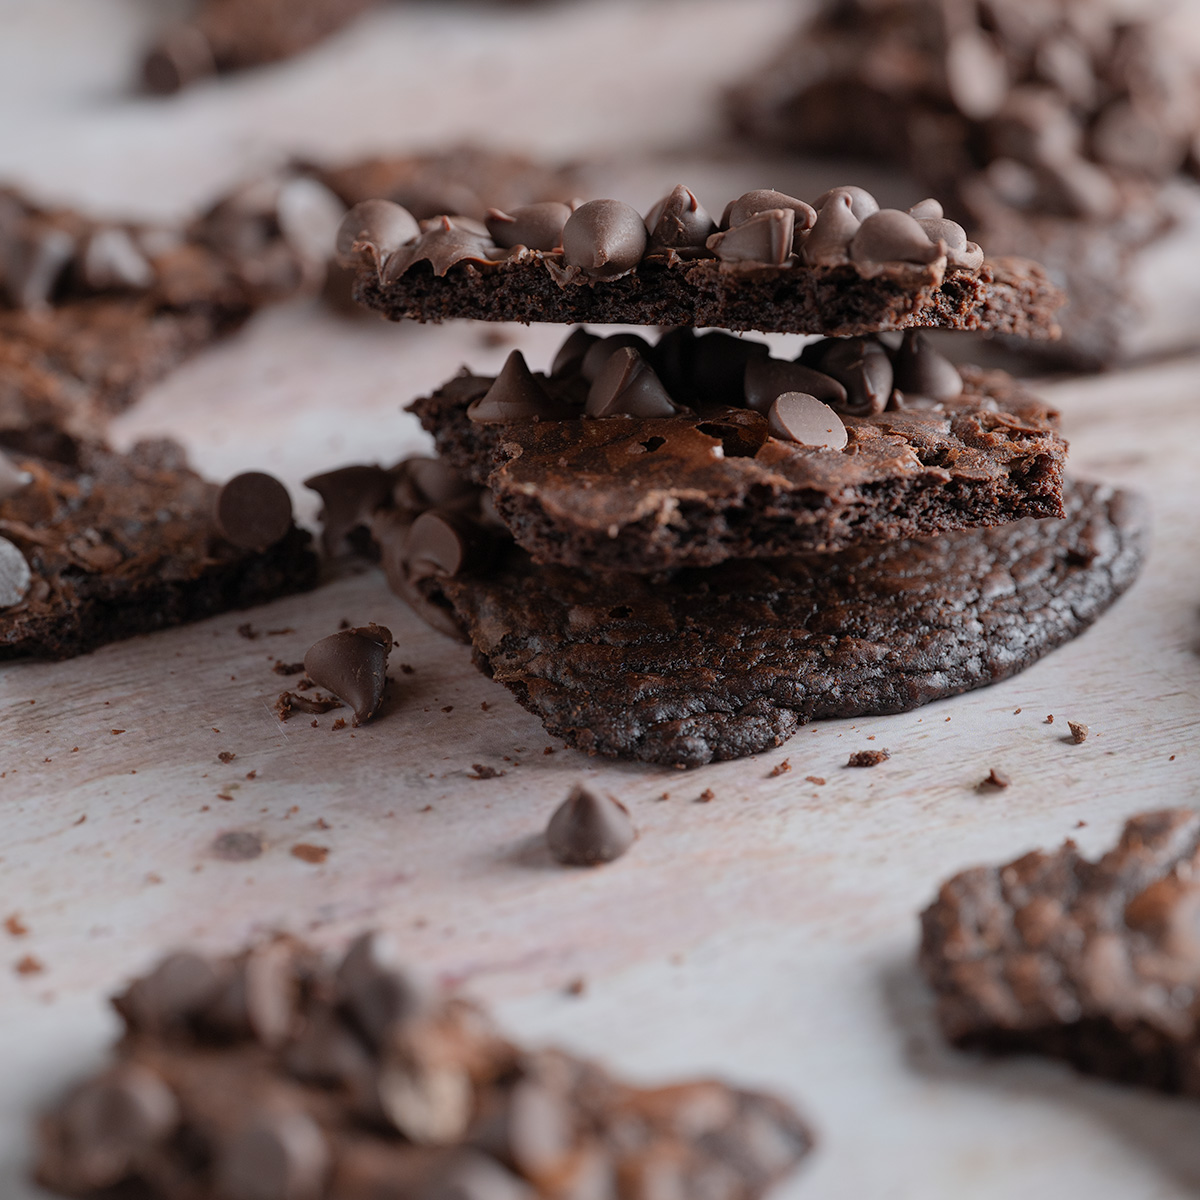
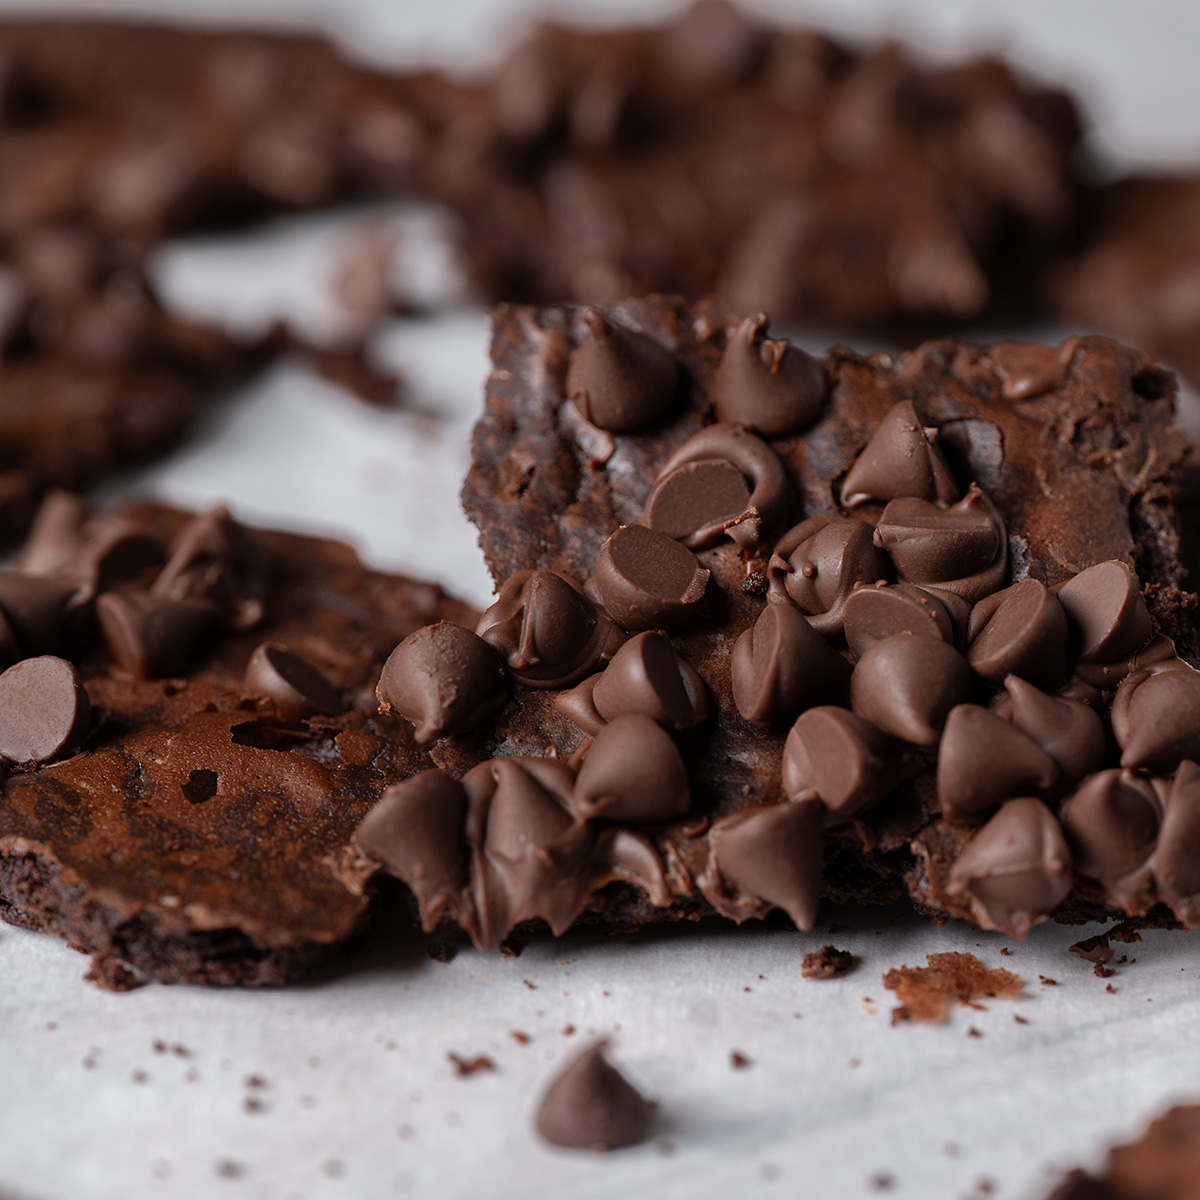
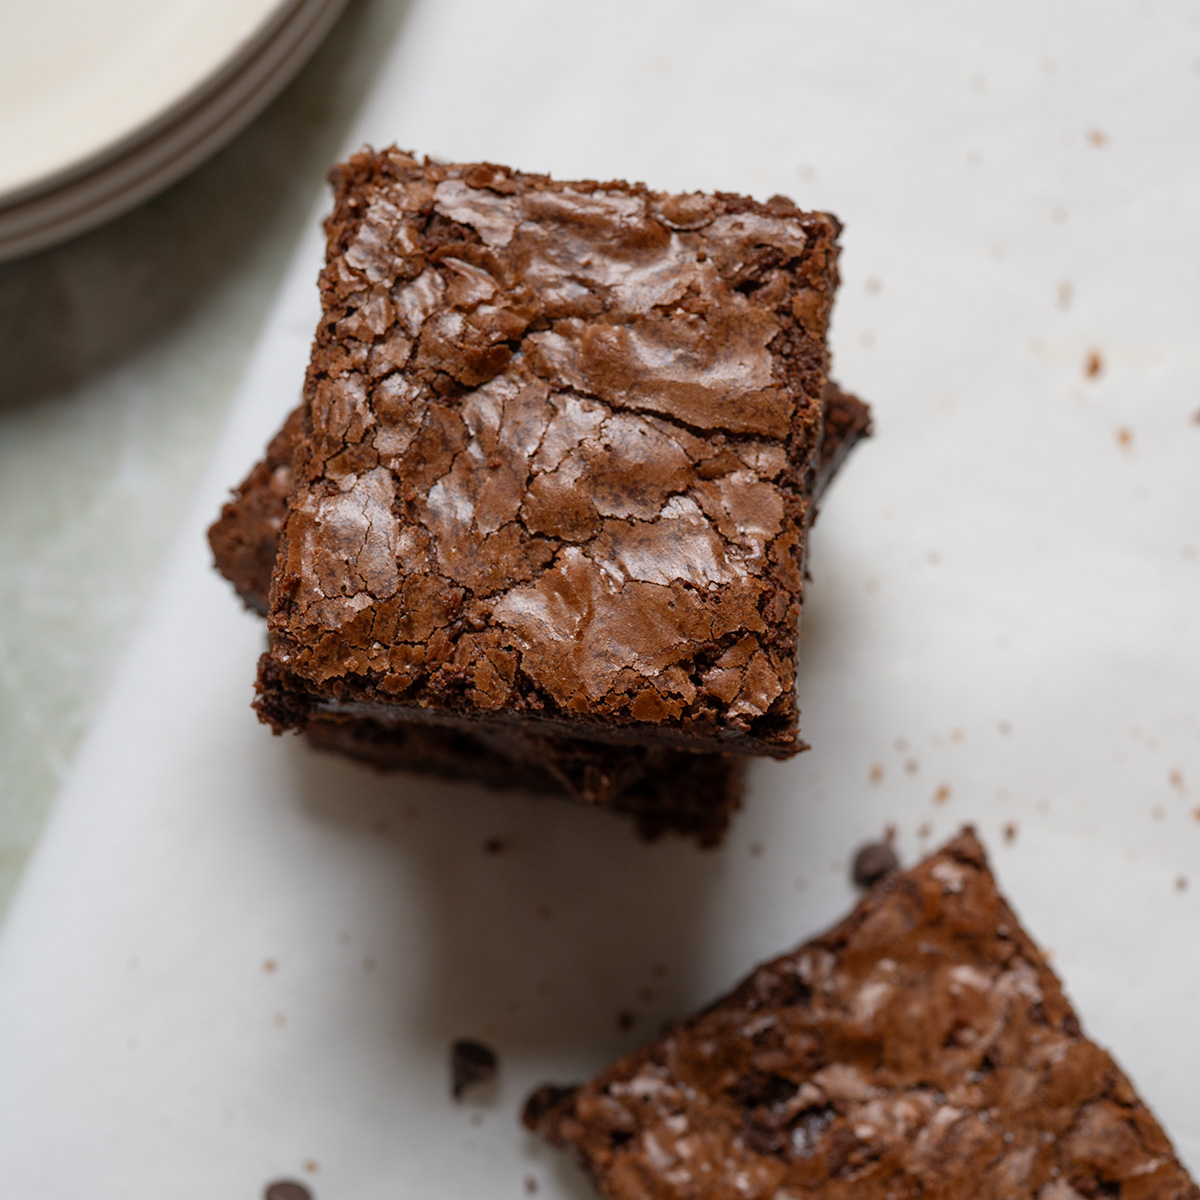
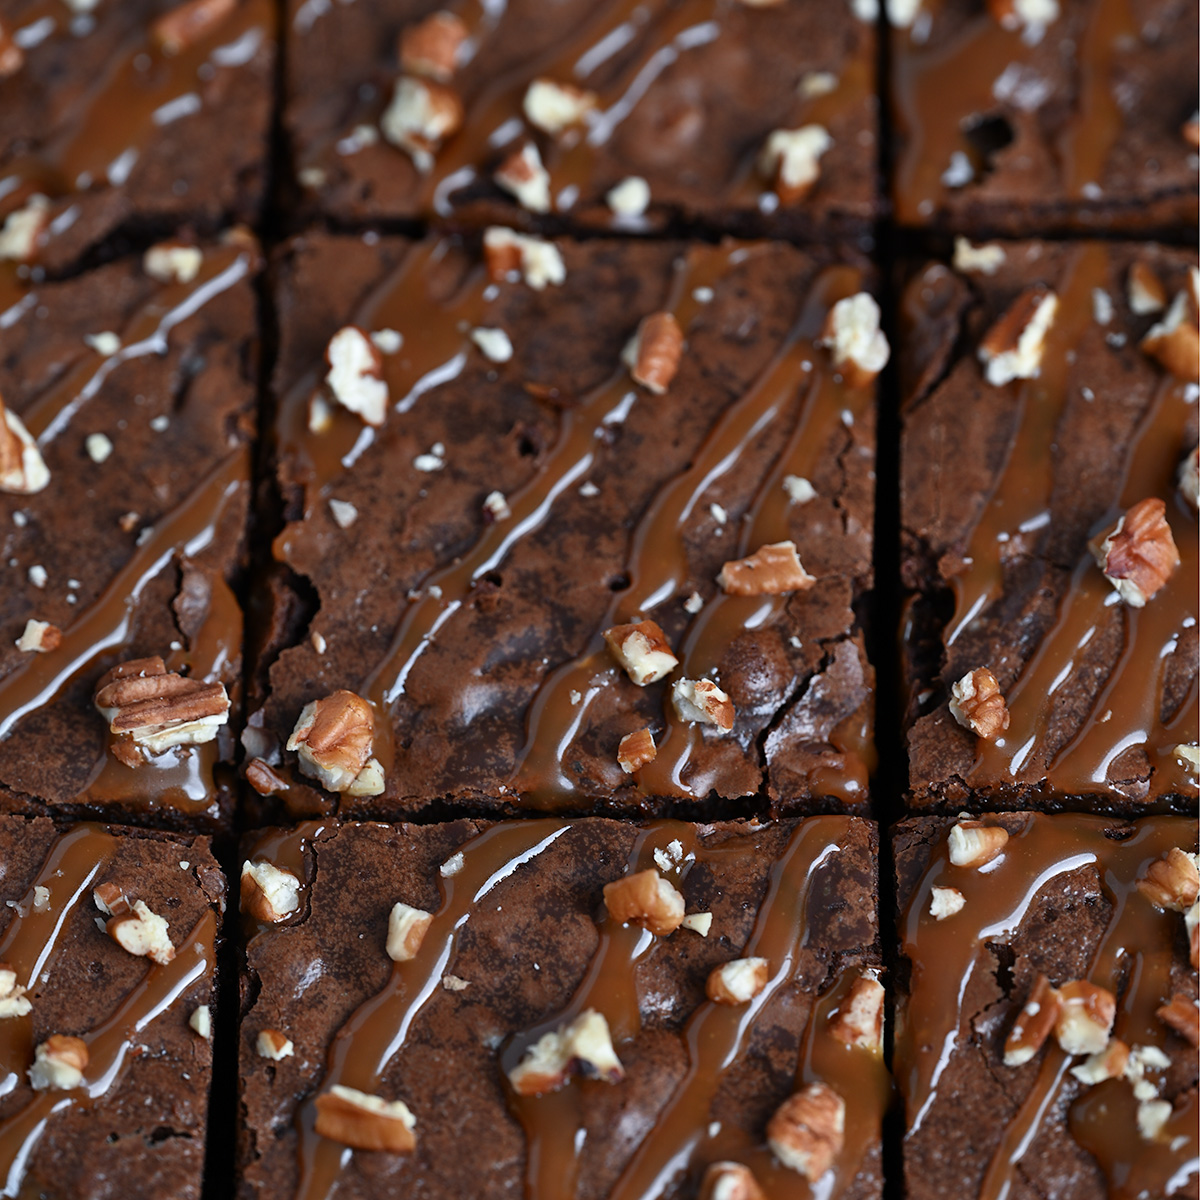
Everything you love about the candy, now in a chewy, chocolatey brownie. Alternating layers of fudgy chocolate brownie batter and homemade salted caramel, topped with a salted caramel drizzle and toasted chopped pecans.
DeMet’s first introduced their original chocolate pecan caramel clusters in 1916, and both Rochelle from Everybody Hates Chris and I have been throwing them back for years with a passion and fury misunderstood by family and friends alike.
On a more serious note, chocolate turtles are roasted and salted pecan halves that are covered in chewy caramel and then enrobed in delicious milk chocolate. They are a timeless, simple confection that you can easily eat into a sugar-induced stupor.
Funnily enough, a tray of fudgy chocolate brownies are equally addictive, so it makes total sense then to combine two perfect chocolate classics into one beautiful, decadent dessert.
Why Chocolate Lovers Make This Recipe
- Ultra decadent — for those nights when you just need something…a little extra. When you’re ready to go all-out on treating yourself or someone you care about with a deliciously fudgy, chocolaty treat.
- Twist on a classic — forget the rose petals; sprinkle Turtles all over the bed if you want my attention! 😀 Needless to say, these are one of my favorite candies of all time, so it makes perfect sense to combine them with my favorite Fudgy Chocolate Brownies for what is, just maybe, the perfect dessert.
- Perfect for Fall — chocolate, caramel, and pecans are all quintessential autumnal flavors, making these brownies a perfect choice to serve at your next holiday party or cozy night in with loved ones.
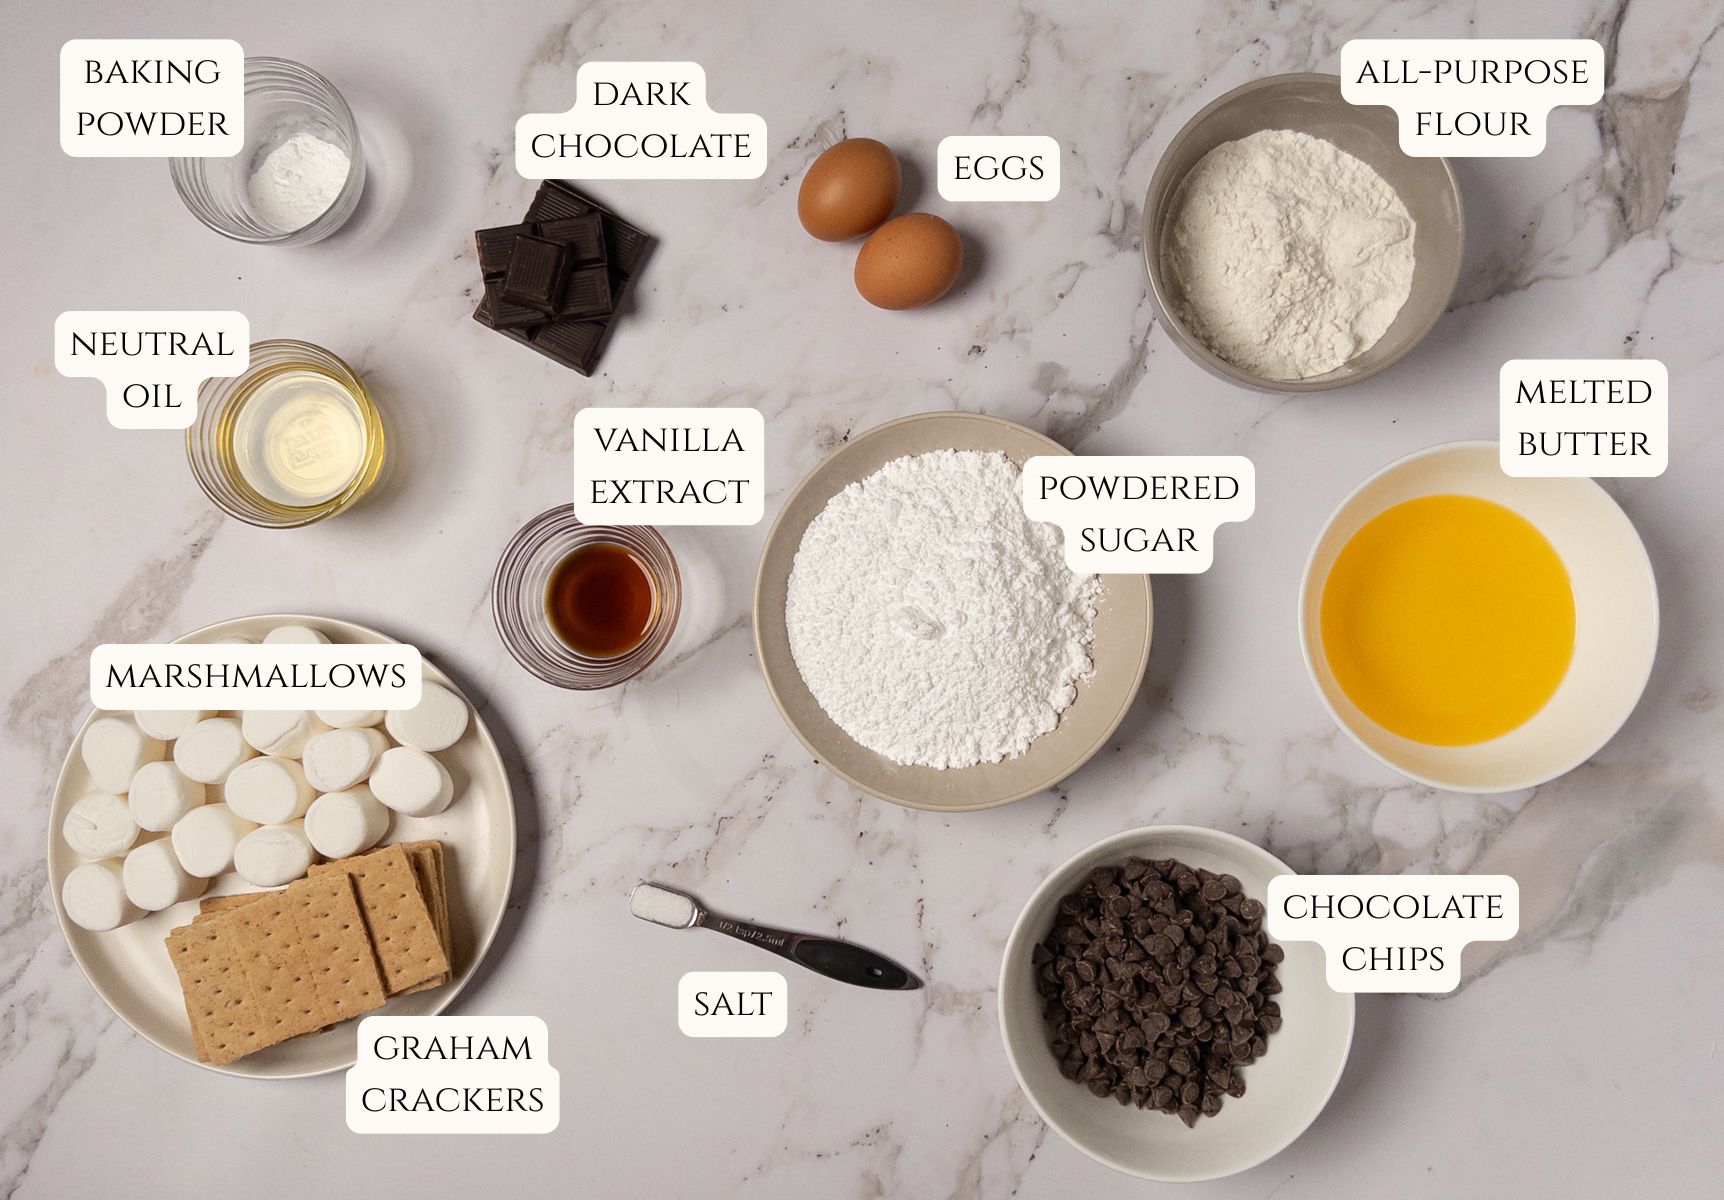
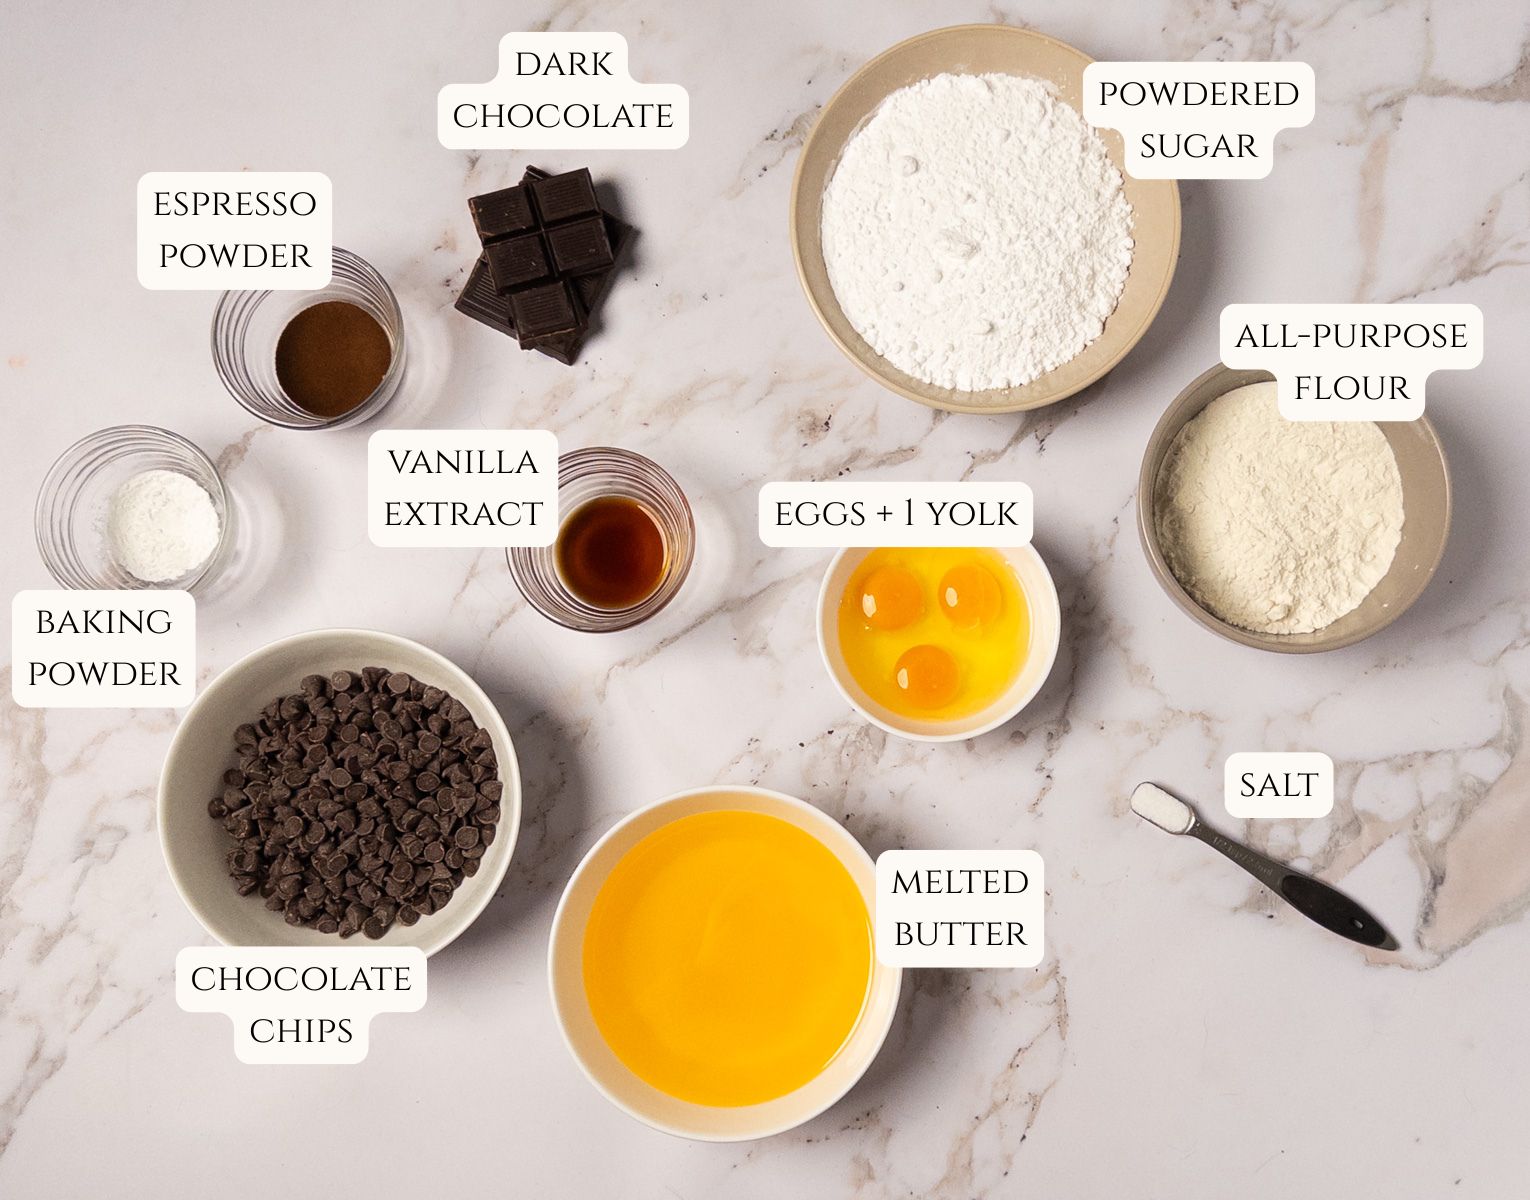
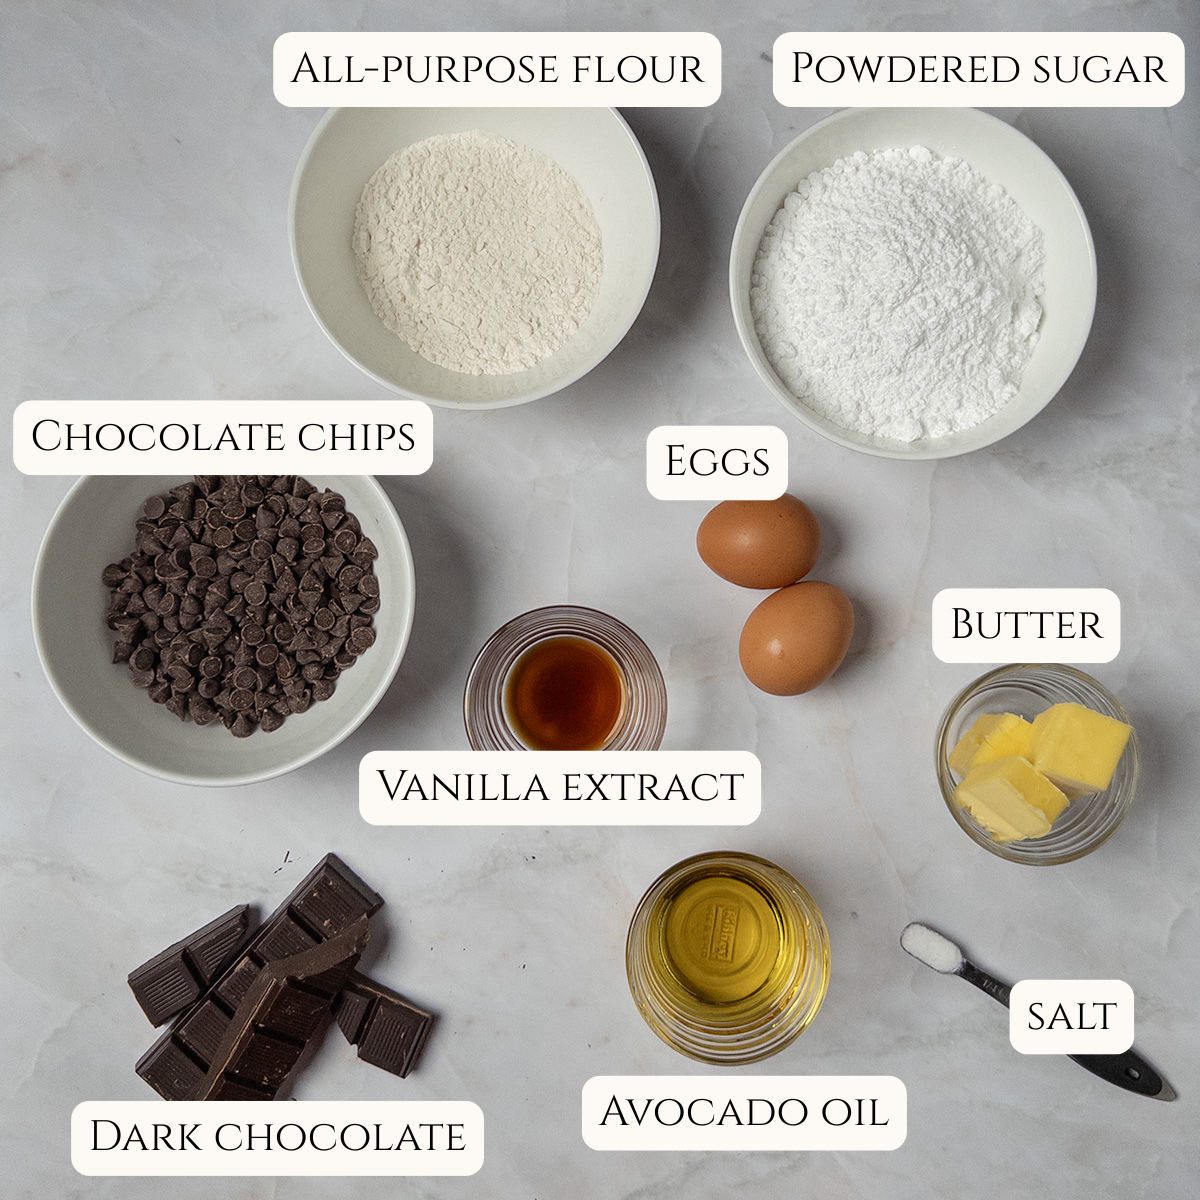
Ingredients and Variations
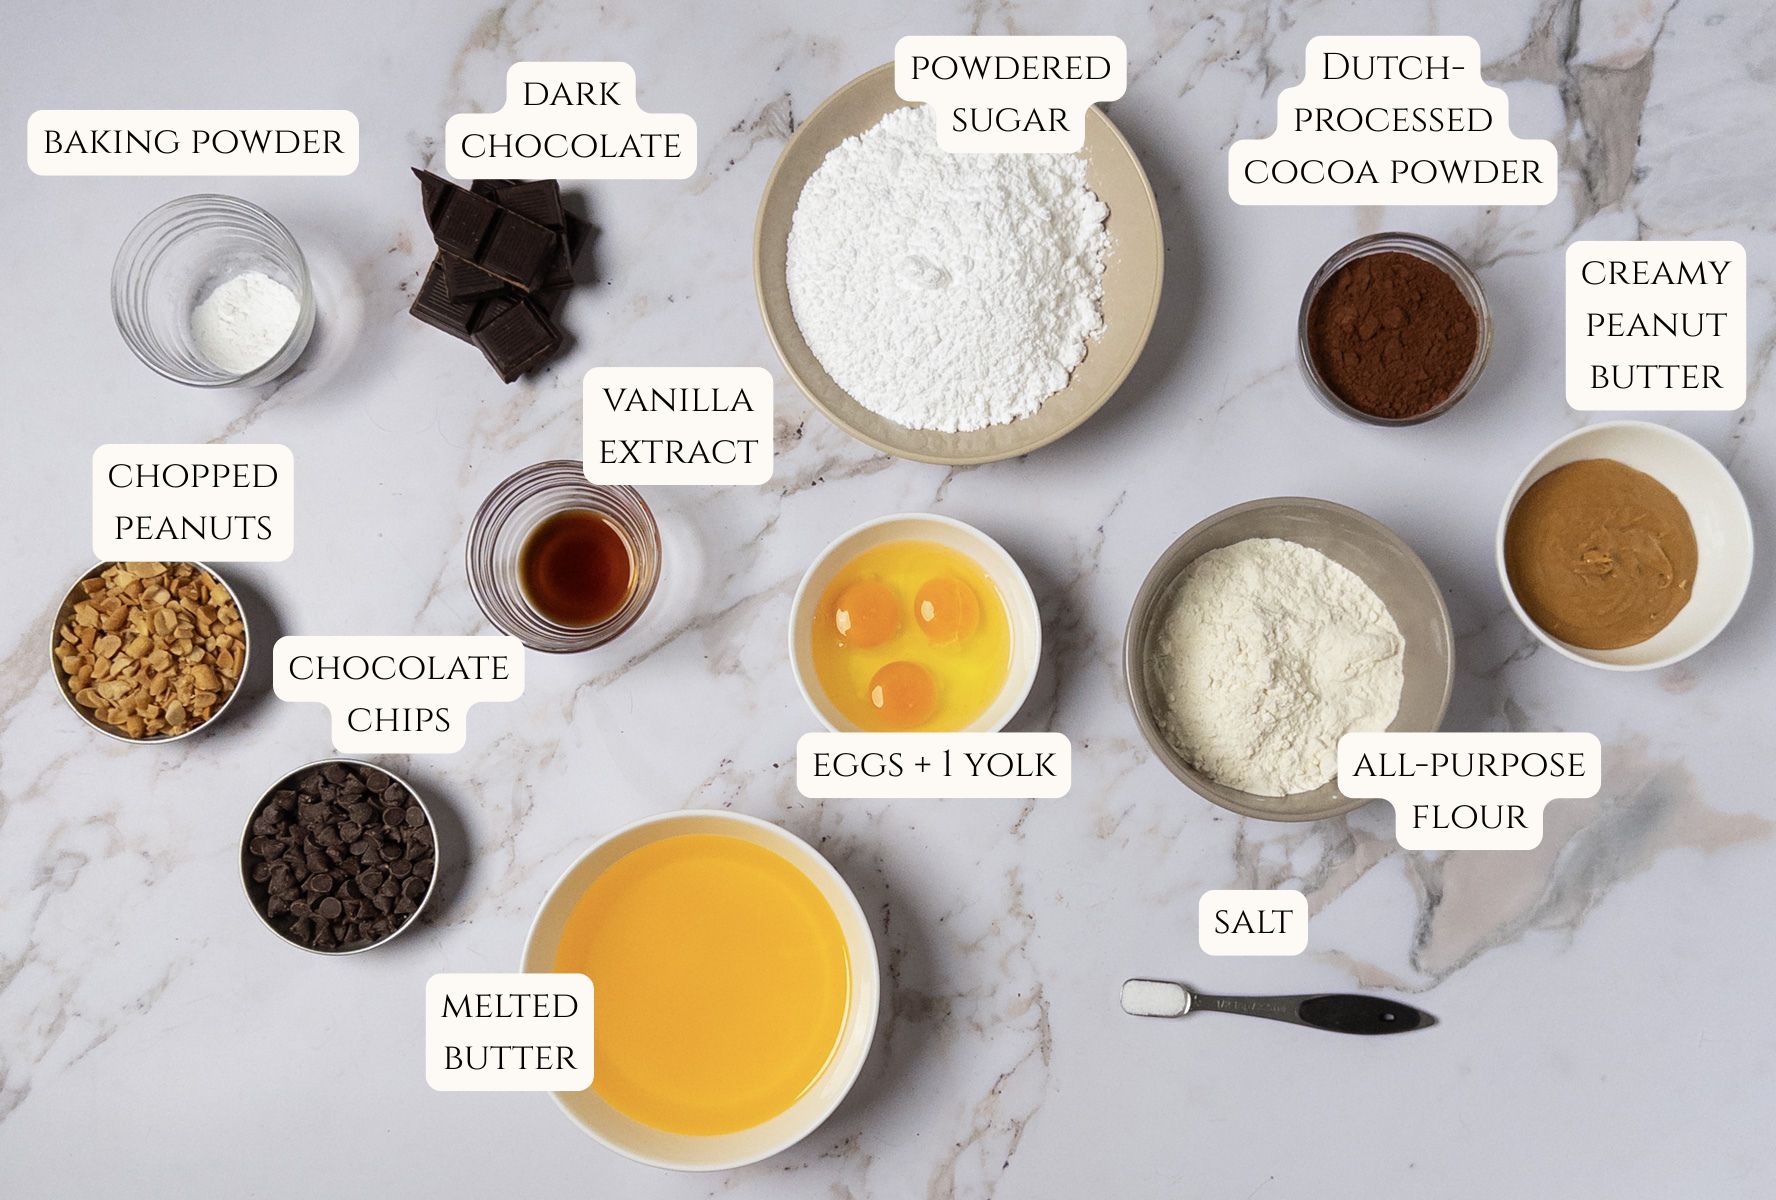
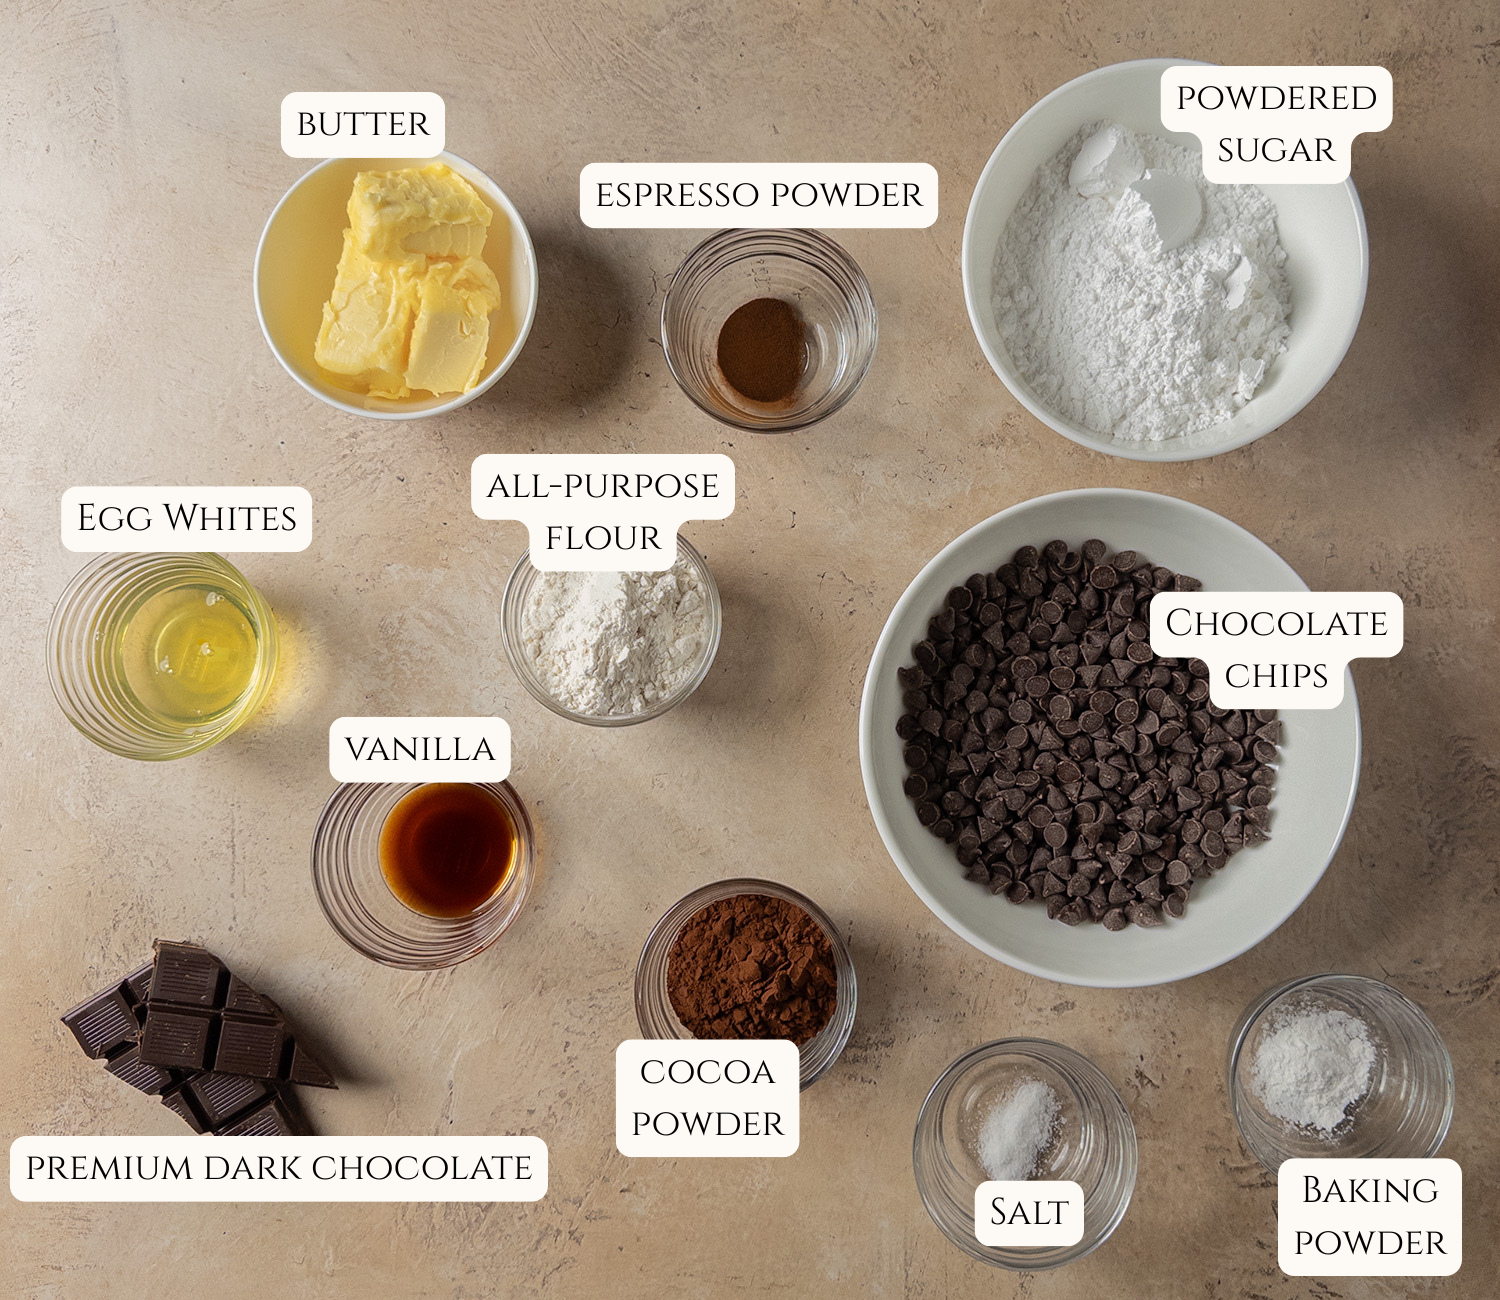
These indulgent brownies need only simple pantry staples to come together. Some notes on a few key ingredients:
Granulated sugar — arguably one of the most important ingredients in caramel, granulated sugar provides the perfect balance of natural sweetness with warm, nutty notes. Do not substitute with brown sugar, unless you are specifically looking for butterscotch instead of caramel. 🙂
Lemon juice — adding a little acid to caramel is an old baker’s and confectioner’s secret. Acid helps prevent the caramel from crystallizing without negatively affecting the overall flavor.
Heavy cream — heavy cream contains around 36% milk fat and is largely responsible for caramel’s silky texture. If you don’t have any heavy cream on hand, you can substitute using whole milk, but be advised that the resulting caramel will be thinner and less rich in texture, even if you add a little butter to compensate for the milk’s lower fat content.
Melted butter — dissolving sugar in hot, liquid fat like melted butter gives way to brownies with flaky, crackly tops.
Powdered sugar — powdered sugar dissolves more readily in heated fat due to its finer texture. While powdered sugar is derived from granulated sugar and cornstarch, I wouldn’t recommend substituting with any other sugar otherwise you can alter the brownies’ final texture and overall density.
Premium dark chocolate — using real, premium chocolate in brownie batter both intensifies the chocolate flavor and creates those gooey, fudgy centers we all love and crave. I have successfully used a variety of dark chocolate ranging from 56%-72% cocoa, but you can easily substitute with milk chocolate if you prefer.
Chopped pecans — pecans are a signature ingredient in classic turtle chocolate candies, so including them in these brownies is a must. However, you can easily swap 1-1 with walnuts, peanuts, or omit nuts altogether; just know that any variations won’t technically classify these as “turtle” brownies.
Tips for Success
- Choose a saucepan that has a light-colored bottom, such as stainless steel, so you can easily monitor the caramel’s color as it browns.
- Using citric acid and a saucepan with a clear lid prevents crunchy sugar crystals from developing in your caramel, so follow the recipe as written to remove any guesswork while achieving the results you want.
- It takes a good few minutes for the sugar mixture to darken, so have patience and trust in the process. Most importantly, refrain from stirring the caramel until the cream is added, otherwise your caramel will come out with large crystals that will be unpleasant to eat.
- Once the sugar mixture begins to caramelize and turn a light golden brown, stay close and have the heavy cream and vanilla mixture at the ready. Sugar will darken rapidly once it starts to turn, and can go from delicious to burnt in seconds. Use your eyes and nose to determine how the caramel is progressing, and add the heavy cream as soon as the caramel reaches a dark amber color and has a rich, nutty aroma.
- Use either a food-grade infrared or candy thermometer to achieve the proper caramel consistency; once returned to the stovetop, the caramel should reach between 225-235 degrees Fahrenheit before removing from heat and setting aside to cool.
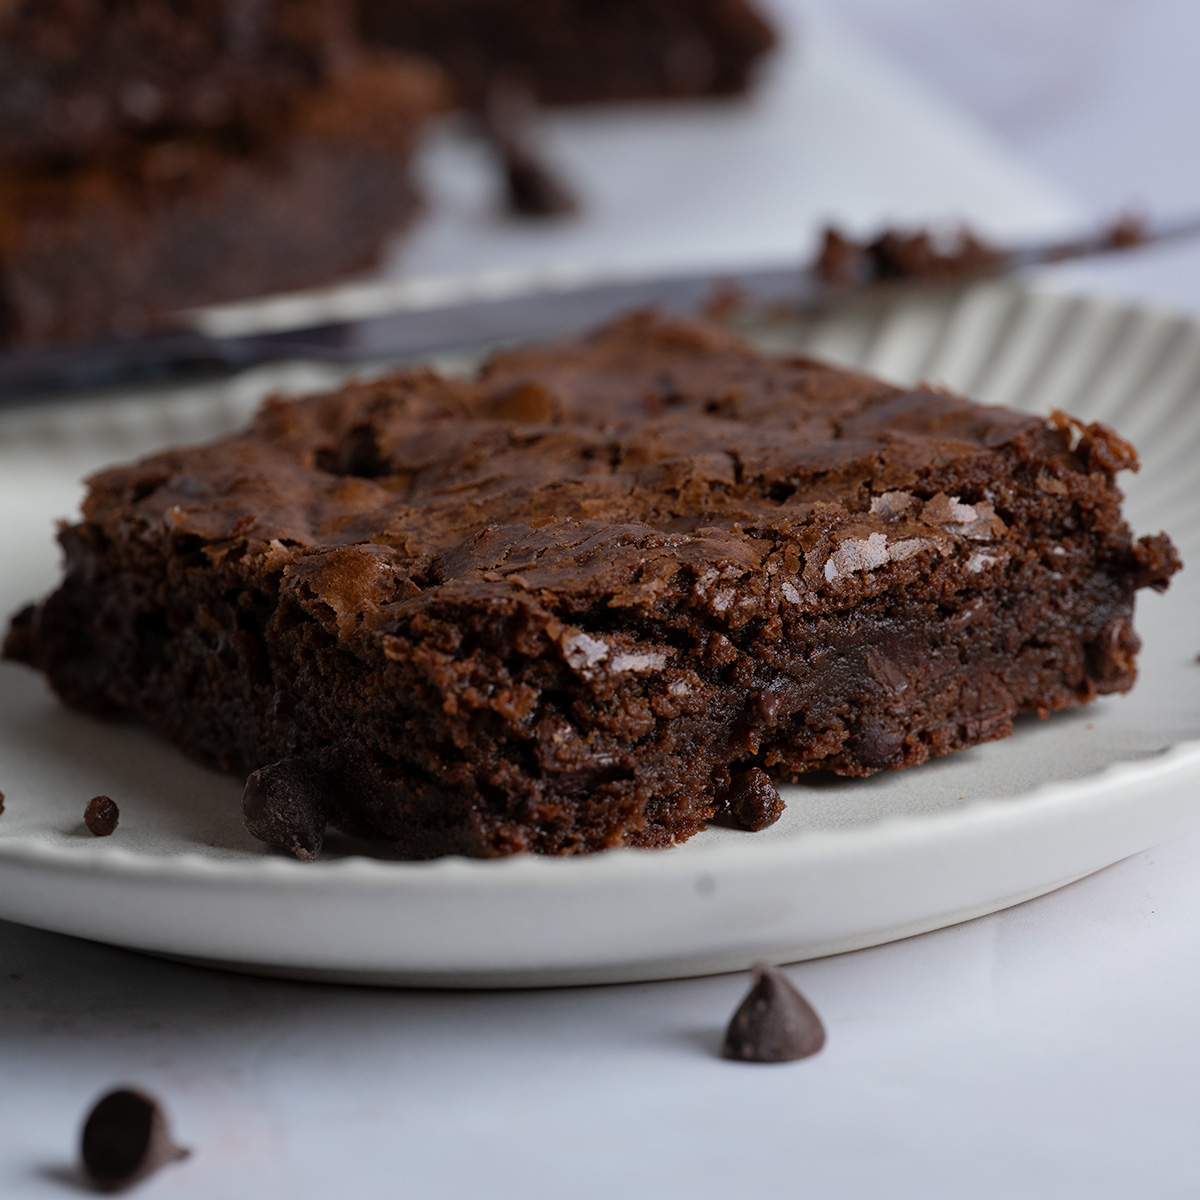
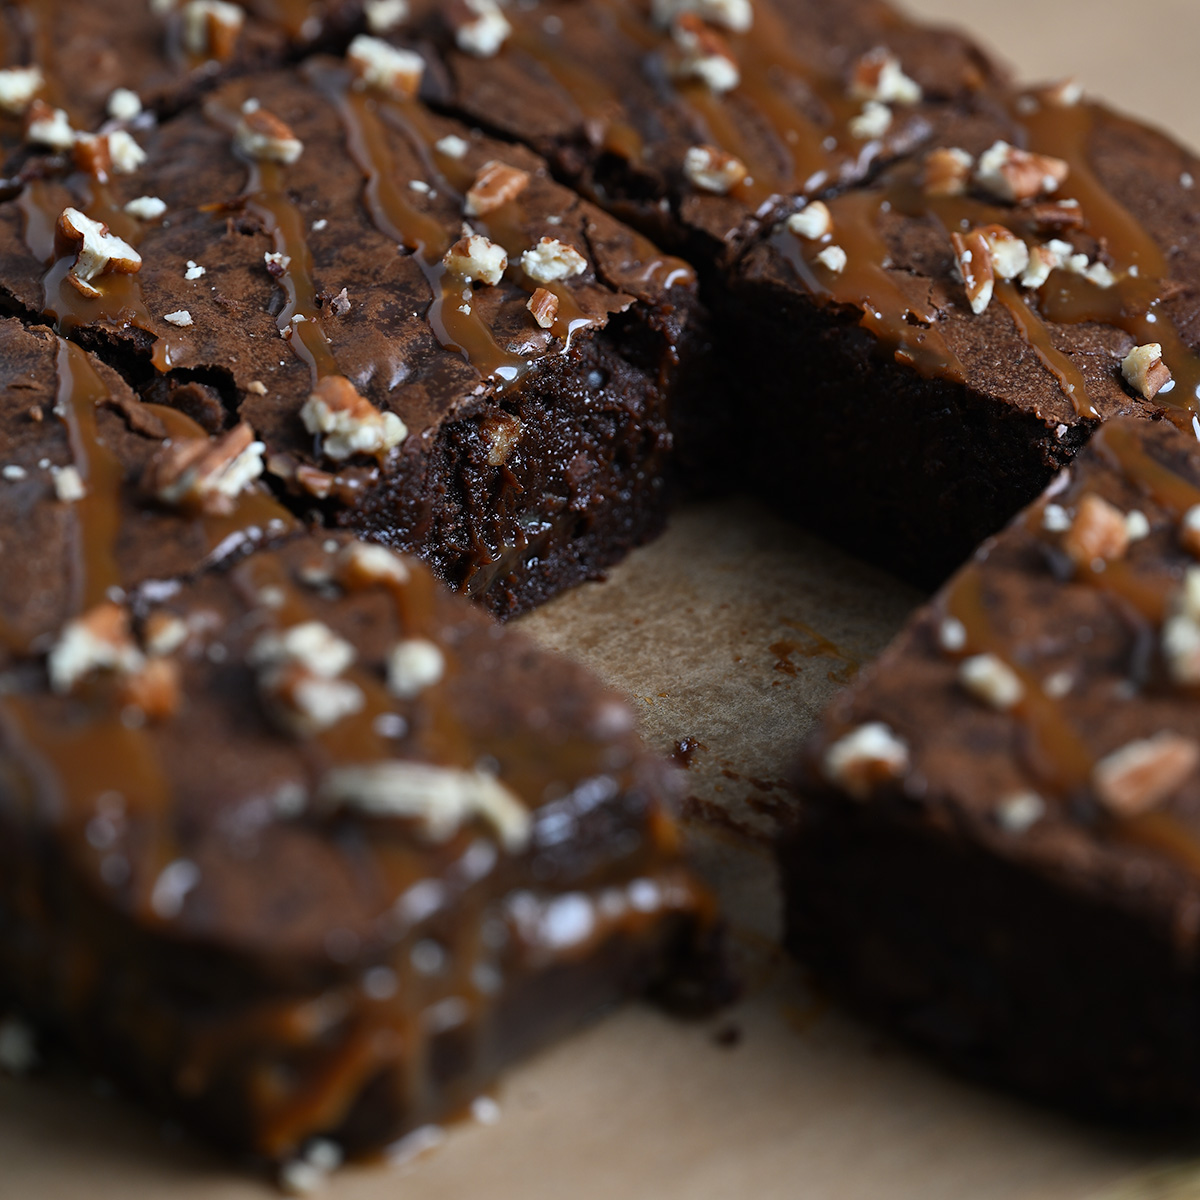
- The caramel layer in between gets absorbed during baking, so don’t be alarmed if you don’t see much inside the actual brownie (except for the outer edges). This absorption keeps the brownies very easy to eat (no loose fillings here!) and still bursting with caramel flavor.
- Allow the brownies to fully cool in the pan before removing and cutting into slices. Doing so any earlier will most likely result in brownies that fall apart, which will be the twist your day doesn’t need to take. Plus, allowing for the brownies to cool completely gives you the most accurate level of doneness, since the brownies will continue to look slightly raw until they set. Have faith and patience!
- Deliciously, crackly brownie tops derive from dissolving sugar in fat. This recipes calls for dissolving powdered sugar in hot, melted butter for the flakiest finish.
Storage and Reheating Instructions
If you are confident (and proud!) in your ability to demolish a tray of brownies in 1-3 days, then store these brownies in an airtight container on the counter. For longer storage, keep these brownies in an airtight container in the fridge between 3-7 days.
When ready to serve, simply allow the brownies to sit at room temperature for 15-20 minutes, or gently warm individual servings in the microwave for 15-30 seconds until warm and gooey.
Chocolate Turtle Brownies
Everything you love about the candy, now in a chewy, chocolatey brownie. Alternating layers of fudgy chocolate brownie batter and homemade salted caramel, topped with a salted caramel drizzle and toasted chopped pecans.
- measuring cup
- 2L lightly-colored saucepan with clear lid
- wooden spoon or spatula
- large heatproof bowl
- large mixing bowl
- rubber spatula
- 8×8 brownie pan
- sheets parchment paper
- food-grade probe or infrared thermometer
For the Caramel Sauce
- 400 ml heavy cream
- 1 teaspoon vanilla extract
- 400 grams granulated sugar
- 200 ml water
- 1 teaspoon lemon juice
- 3/4 teaspoon sea salt
For the Brownie Batter
- 380 grams powdered sugar
- 227 grams butter
- 4 whole eggs, chilled
- 4 teaspoons vanilla extract
- 10 ounces premium dark chocolate, melted
- 160 grams all-purpose flour
- 1/2 teaspoon salt
- 150 grams semi-sweet chocolate chips
- 70 grams toasted pecans, finely chopped
For the Caramel Sauce
Stir together the heavy cream and vanilla extract in the measuring cup and set aside.
In a deep, lightly-colored saucepan, combine sugar, water, and lemon juice over medium heat. Cover with a clear lid and allow the mixture to sit undisturbed until it turns light brown, 7-10 minutes.
Remove the lid and carefully monitor the caramel until it turns a dark amber color, taking care still not to stir the caramel.
Once the desired color has been achieved, immediately remove the saucepan from the heat. Carefully pour in a splash of the heavy cream and rapidly stir with a wooden spoon as the caramel bubbles away. When the bubbles begin to die down, repeat the process 1-3 more times, alternating between adding a splash of heavy cream and stirring to temper and incorporate. When the mixture no longer bubbles, add in the rest of the heavy cream and stir.
Return the pan to stove, this time on low heat, and allow the caramel to simmer until it reaches a temperature between 225-235℉. Stir occasionally to ensure even heating throughout.
Pour the caramel into a large, heatproof bowl to help cool more rapidly and set aside.
For the Brownies
In a large mixing bowl, stir together the powdered sugar and melted butter for 2-3 minutes, until the sugar dissolves. Stir in the eggs, vanilla extract, and melted dark chocolate until evenly incorporated.
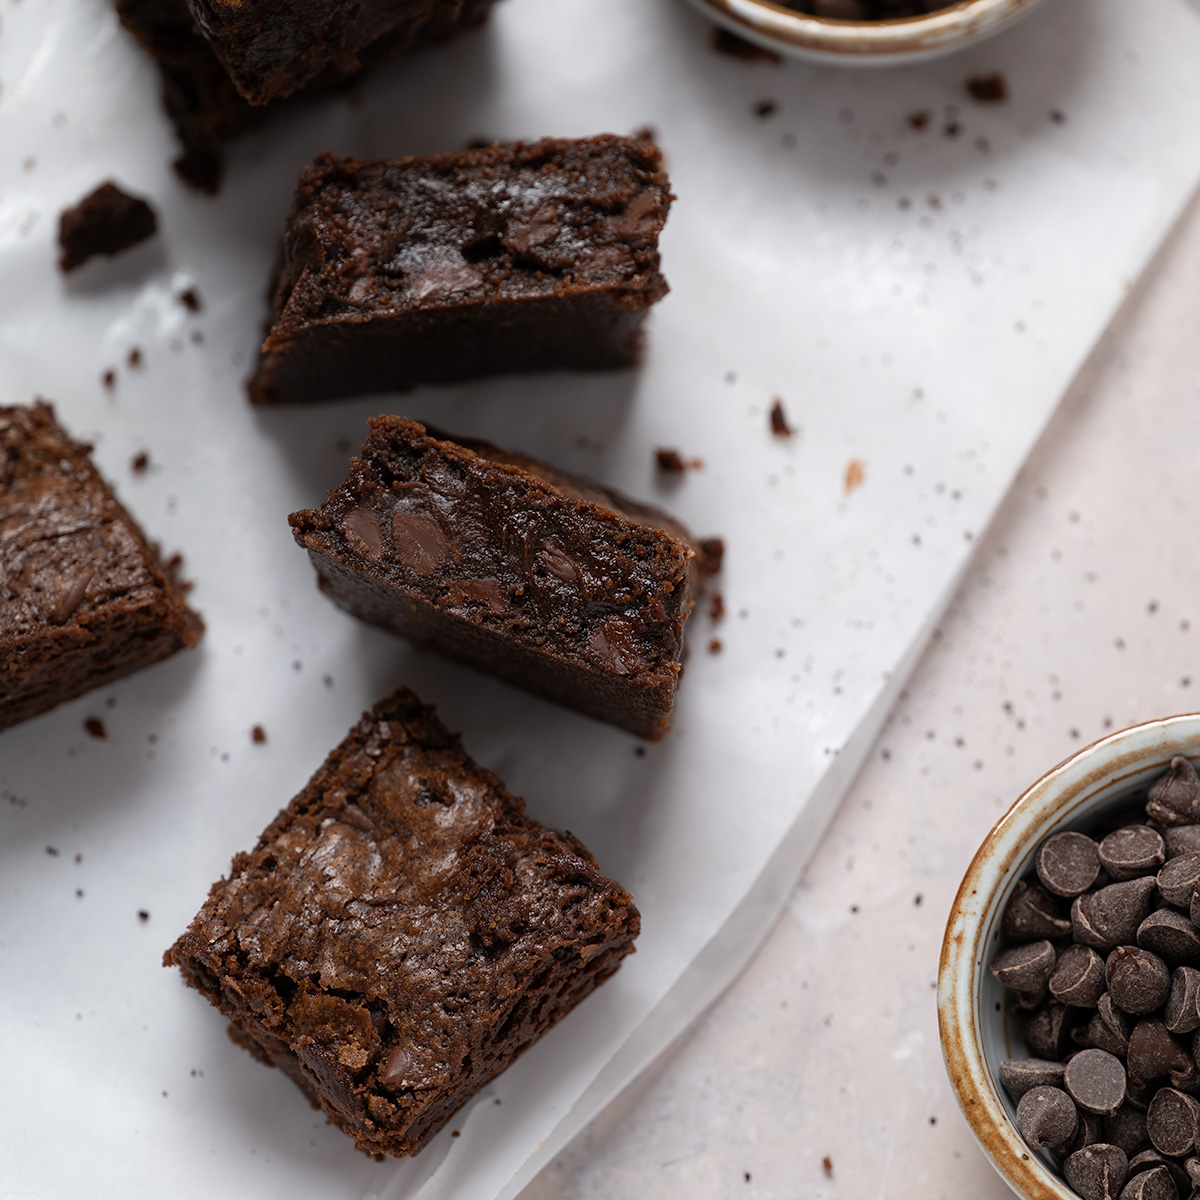
Fold in the all-purpose flour and salt, then add the chocolate chips and two-thirds of the chopped pecans and gently fold to combine.
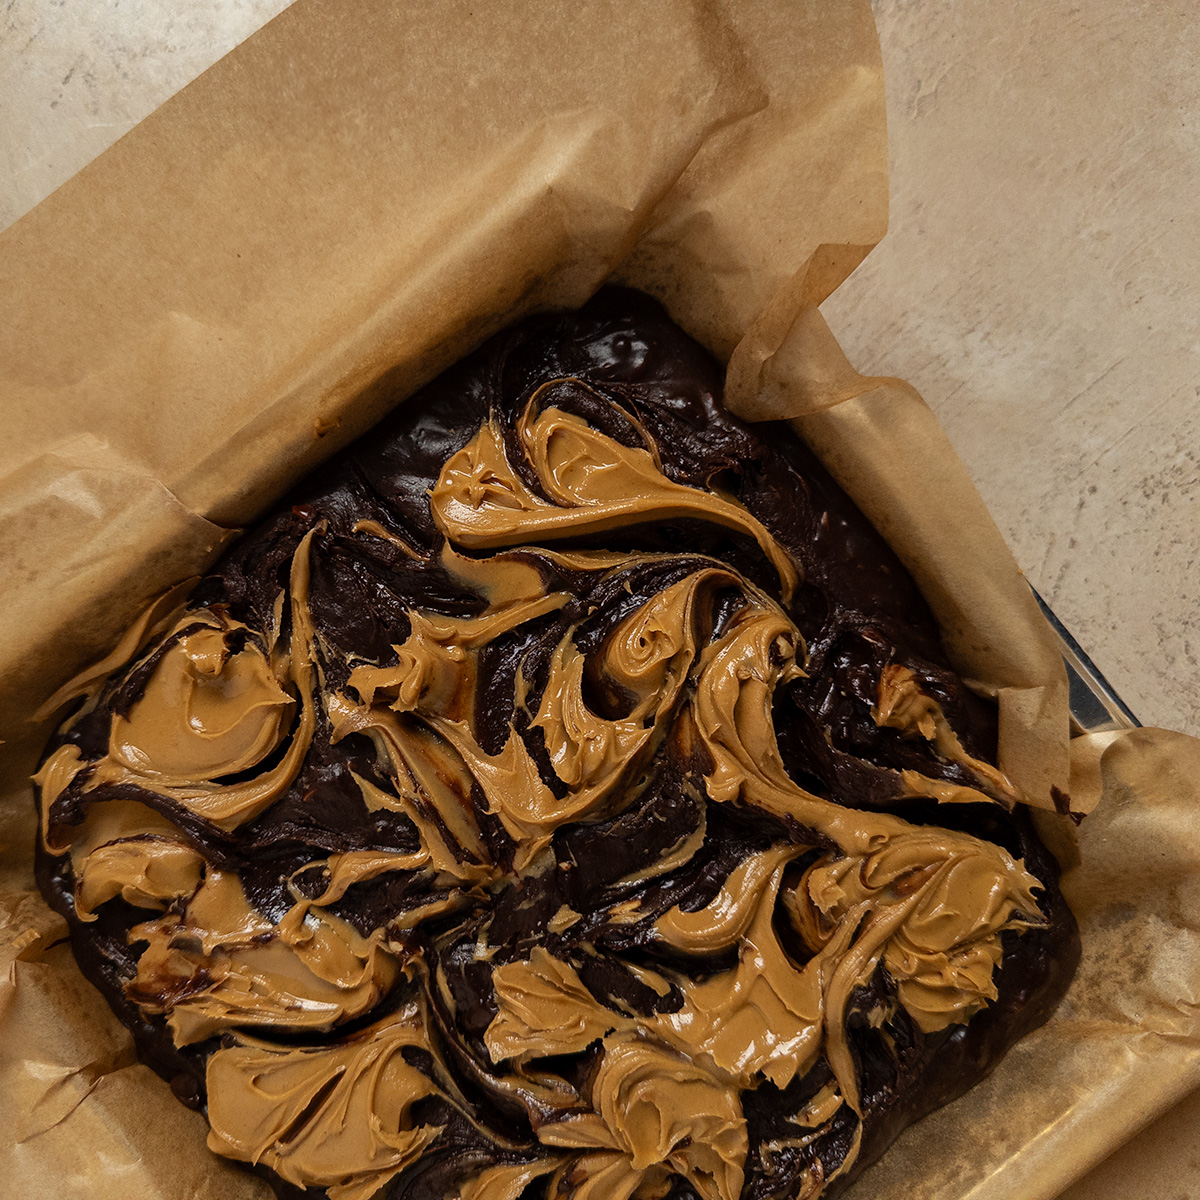
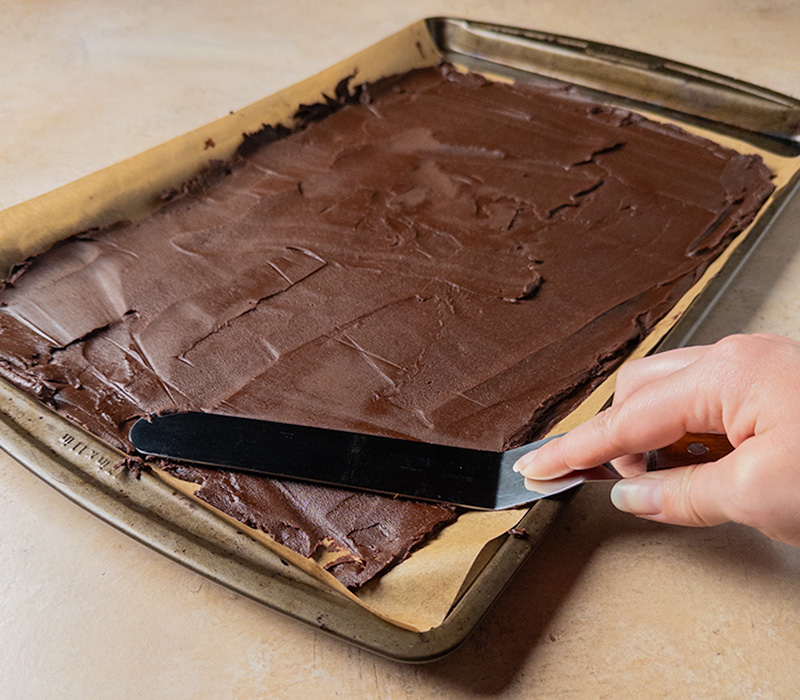
Pour half of the brownie batter into a prepared 8×8 baking sheet and spread evenly into a single layer. Pour between 200g-225g of caramel over the brownie batter and spread into an even layer, leaving about 1-inch of room from the edges. Spread the remaining brownie batter overtop the caramel into an even layer. Bake for 45-55 minutes, or until a toothpick inserted in the center comes out with a few wet crumbs.
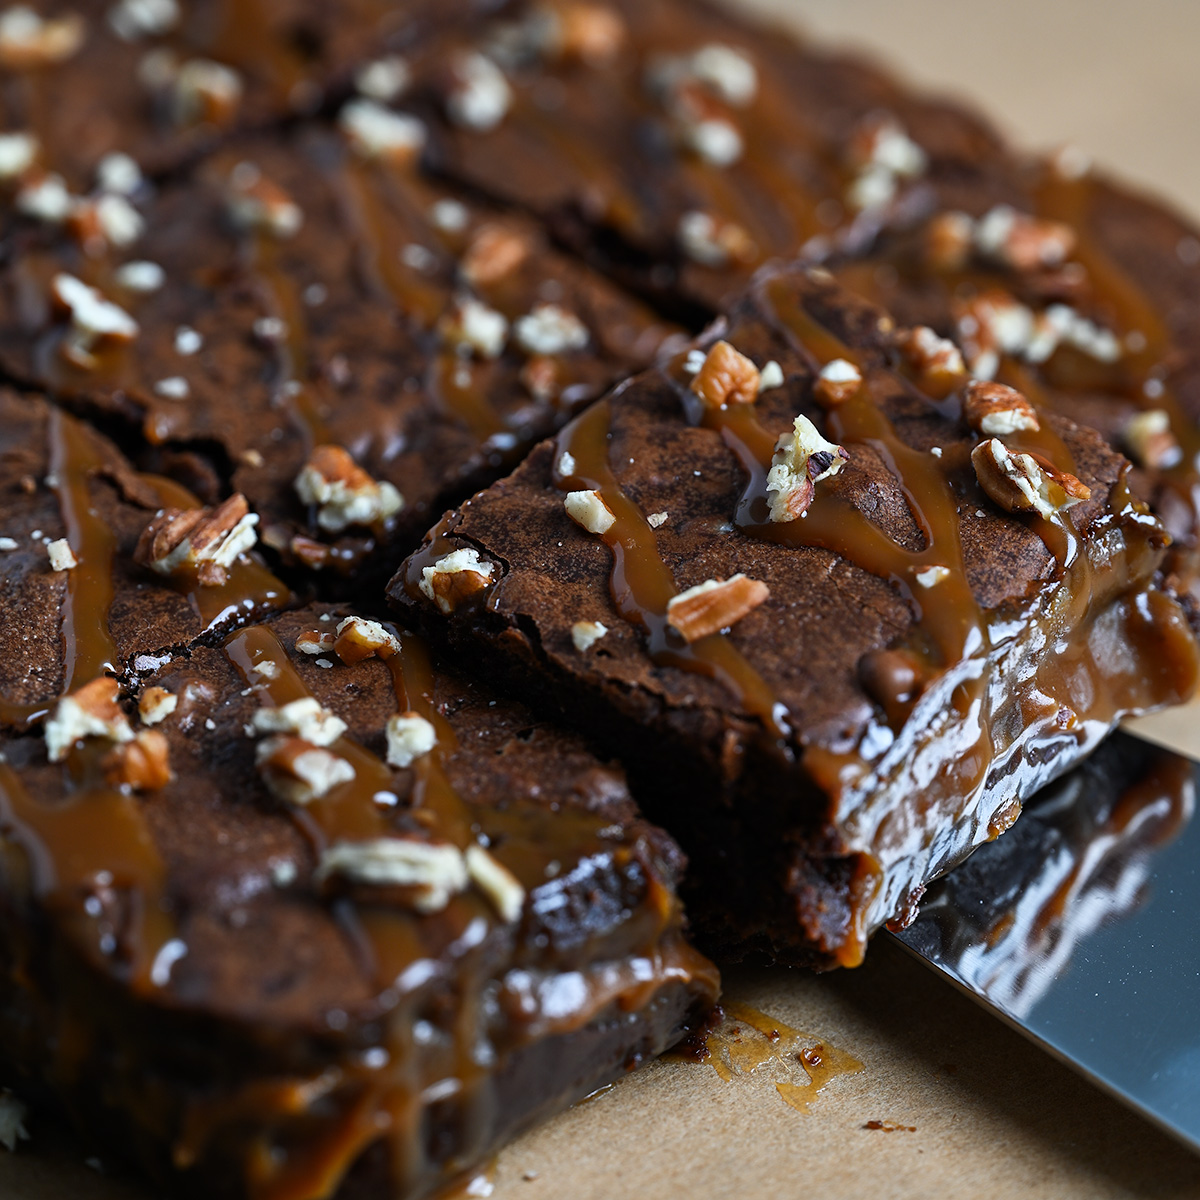
Allow the brownies to fully cool in the pan before removing. Drizzle as much caramel sauce overtop as you like, followed by the rest of the chopped pecans. For best results, stick the pecans along the caramel so they adhere better. Cut into desired slices and serve.