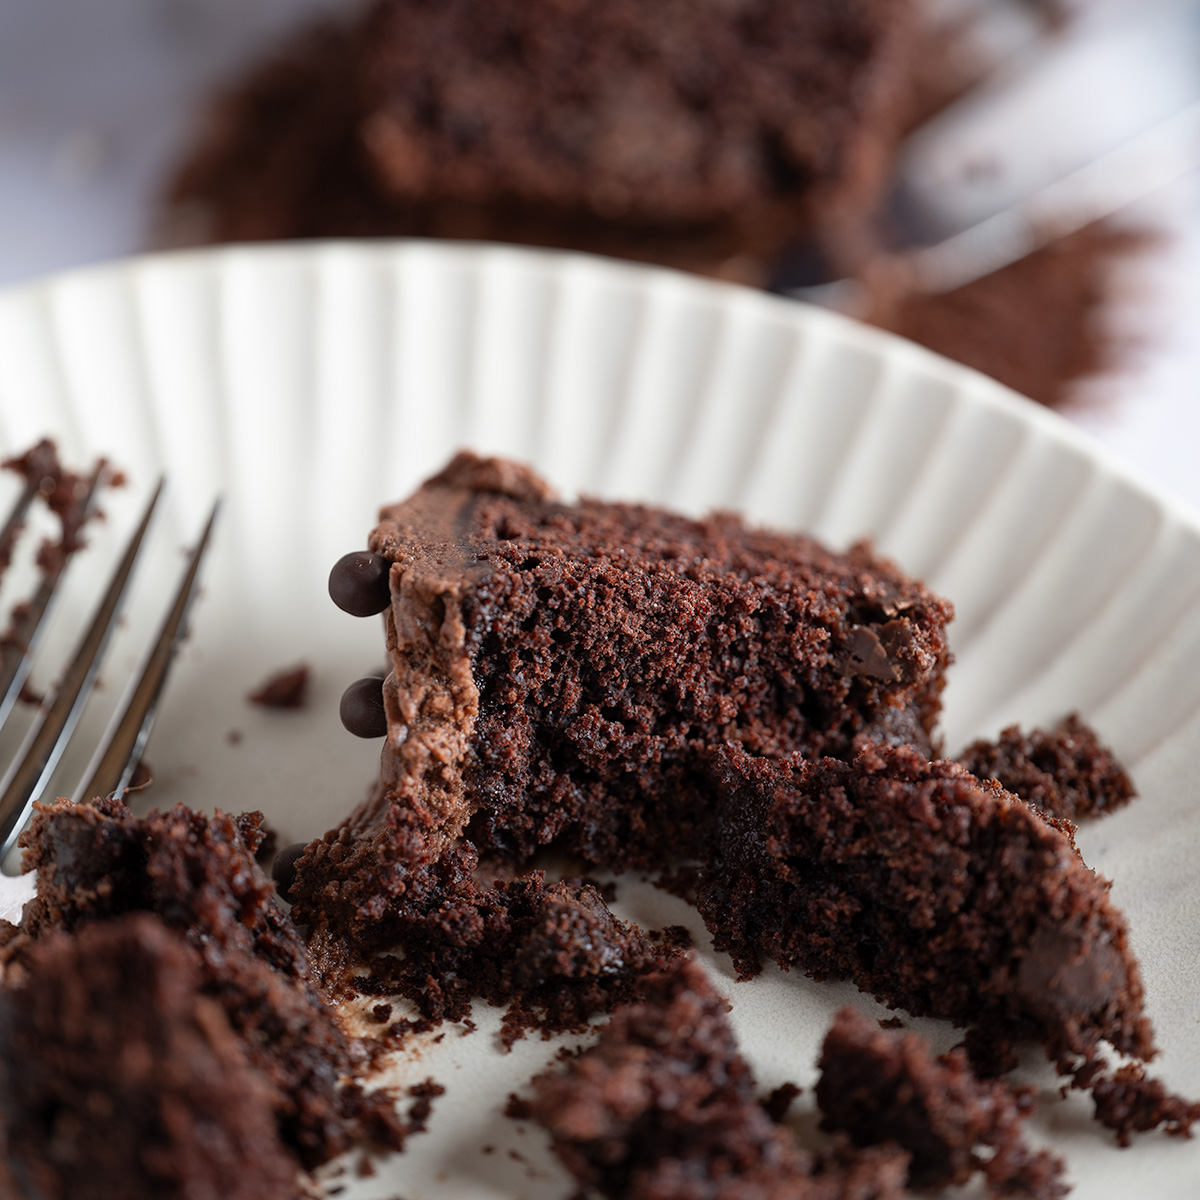
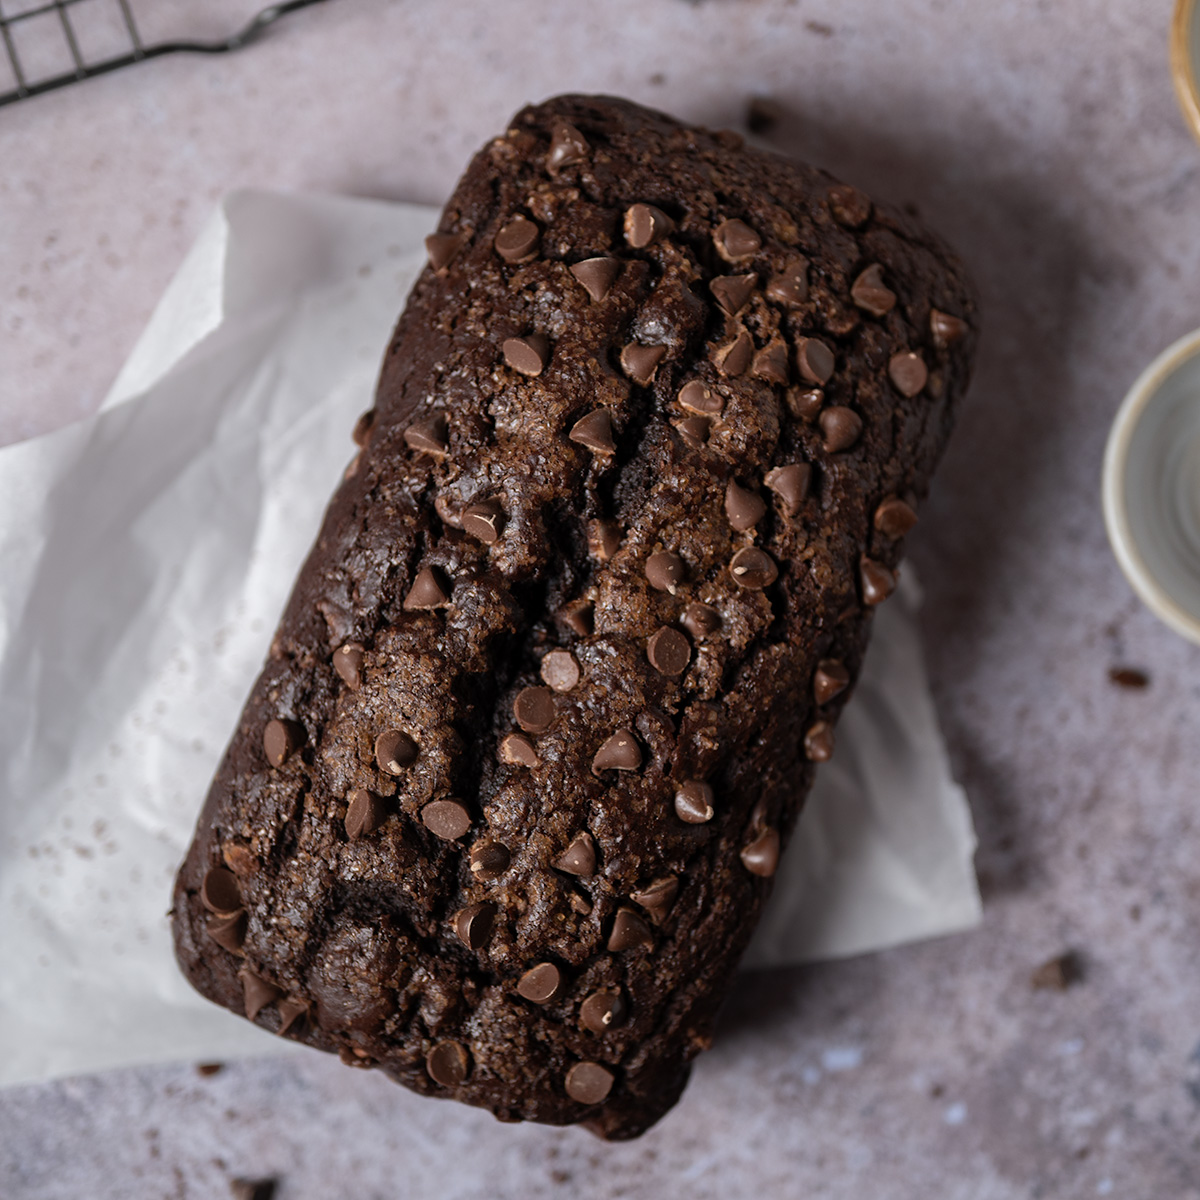
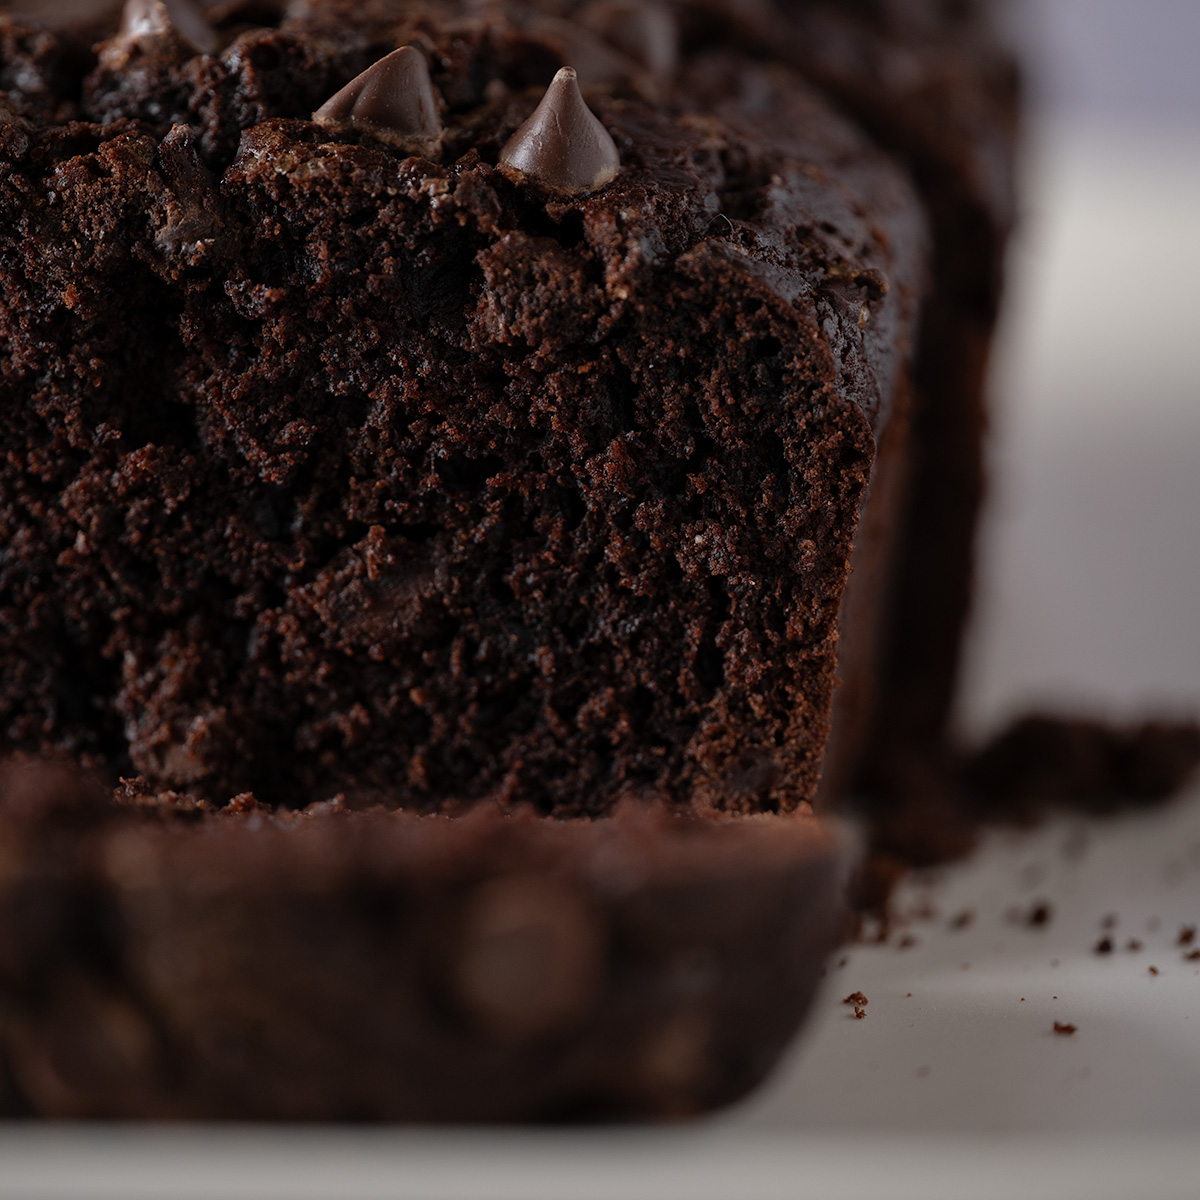
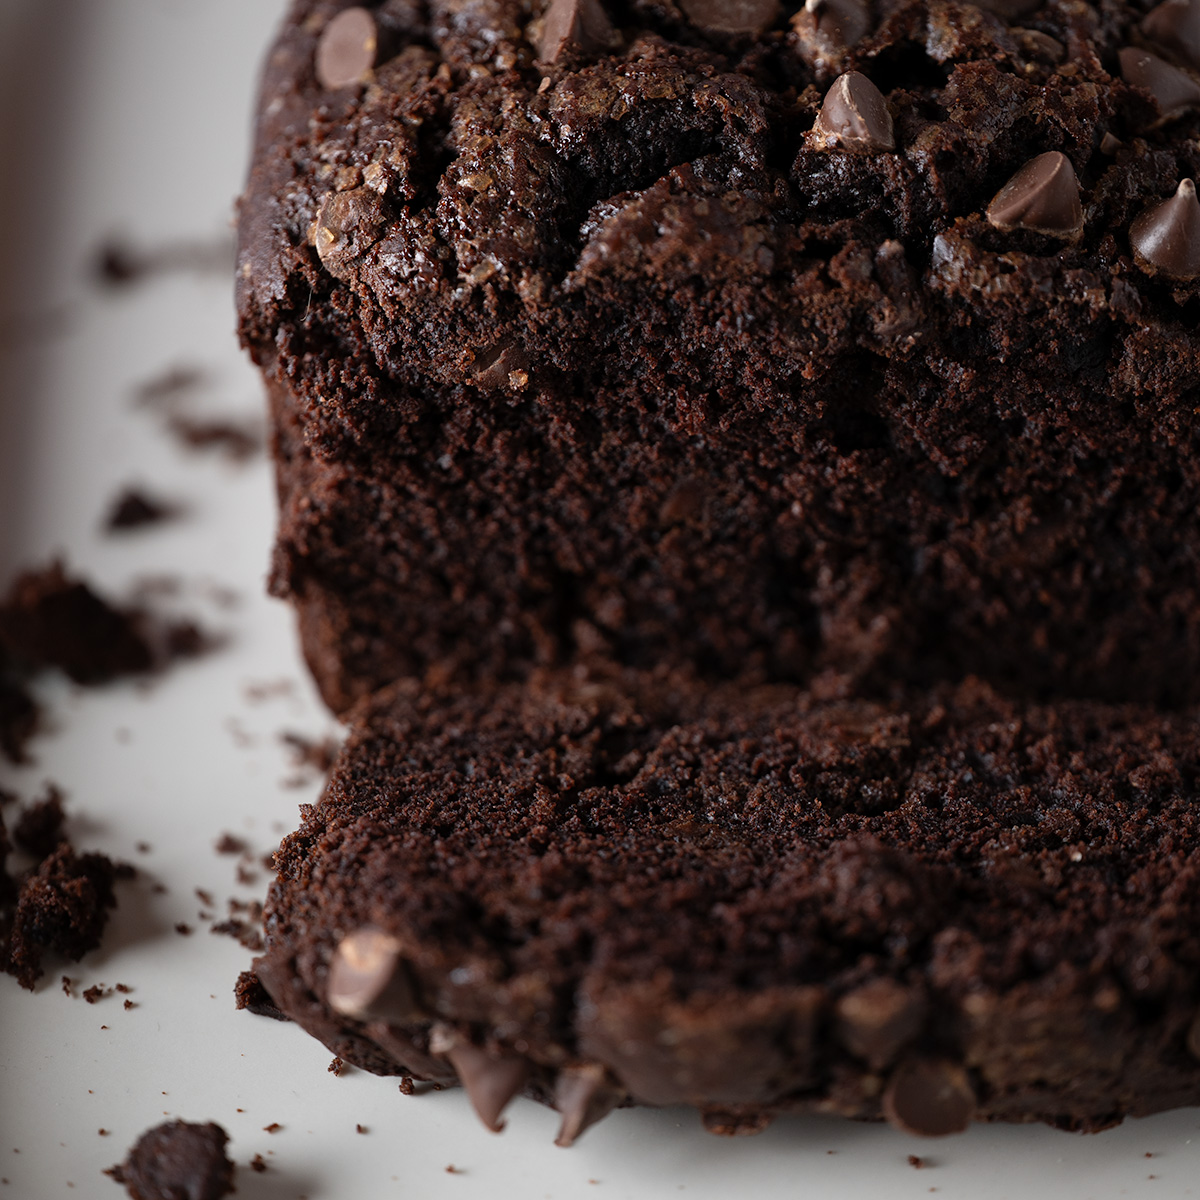
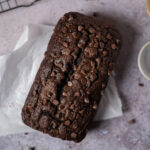
Finally, an easy cake that requires no decoration and comes together in under an hour! Underneath a chewy, crackled crust lies a moist, tender interior filled with chocolate chips. Score the top and add a few more chocolate chips and a sprinkle of turbinado sugar to create your new go-to quick cake recipe!
If you haven’t heard of chocolate loaf cake (also known as “chocolate bread”) before, then you’re not alone.
I stumbled across it during my recipe research and development for muffins, another kind of quick bread, and knew I had to try it. After all, it’s basically just a gigantic muffin. The results did not disappoint!
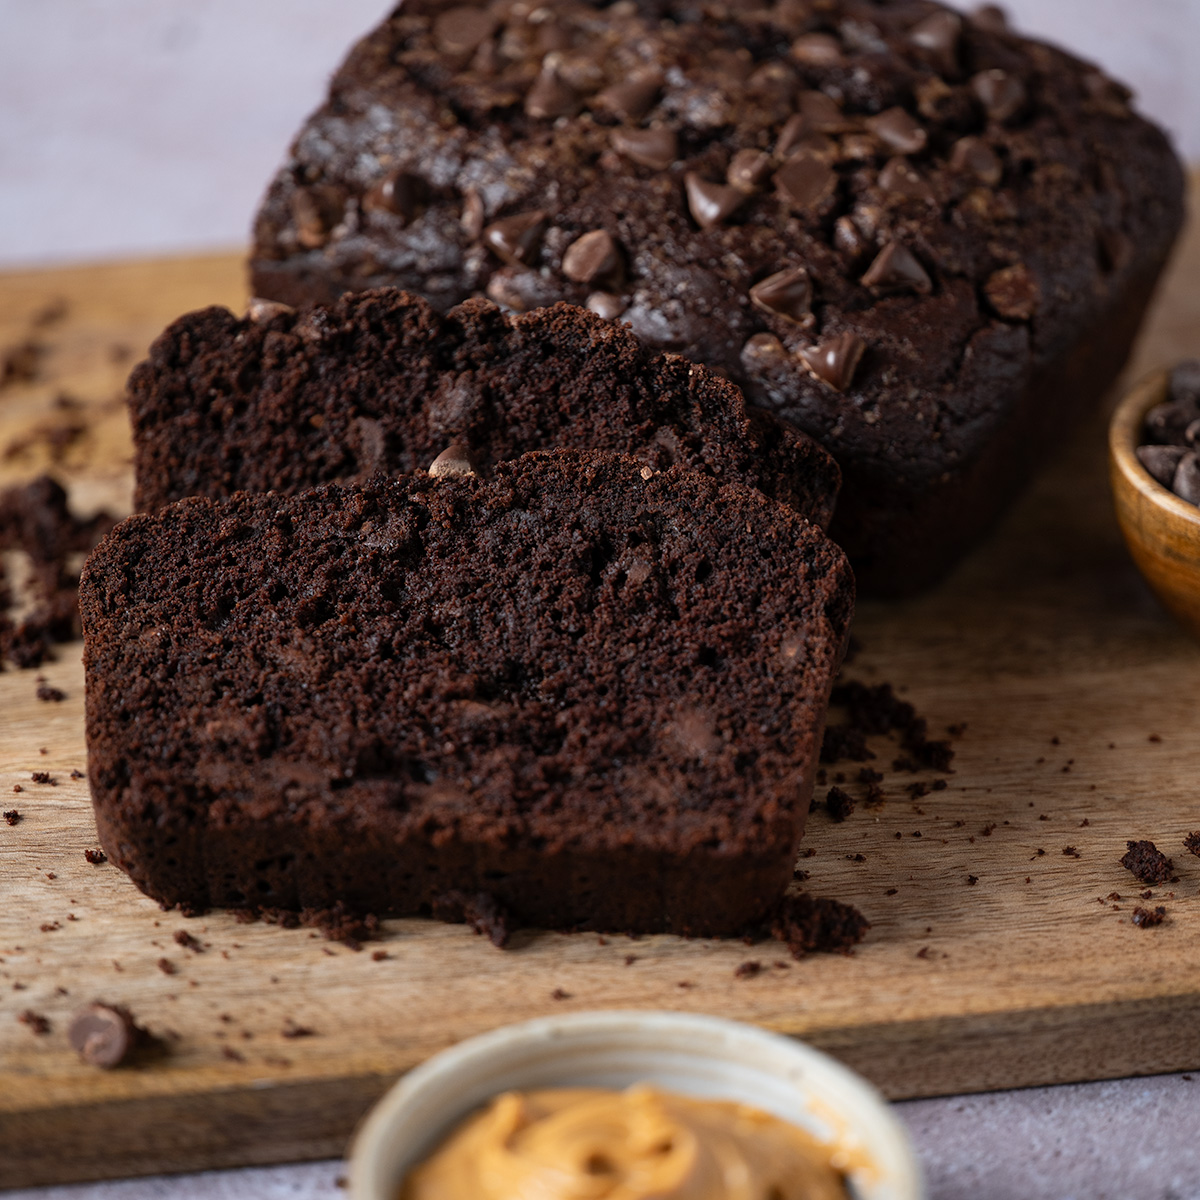
Chocolate loaf cake has a moist and tender interior crumb with a slight tang from the buttermilk, and of course bursting with chocolate flavor. I also kept the levels of granulated and brown sugar to a minimum, which allows for the cocoa notes to shine through. Finally, the slight caramel crunch from the turbinado sugar and toothsome bite of the chocolate chips round out this deceivingly-complex cake into one of my new favorites!
Reasons Why Chocolate Lovers Make This Recipe
- Perfect for breakfast or dessert — this recipe is similar enough to muffins to have alongside your morning coffee, but diverse enough to serve as a delicious dessert with a cold glass of milk.
- Ready in under an hour — cakes and quick breads are practically the same, which means you can go from counter to table in under 60 minutes with a delectable cake in tow.
- Stress-free — unlike most other cake baking that involves the laborious tasks of layering and decorating, this cake is very forgiving, needing only one mixing bowl and a single loaf pan to get right.
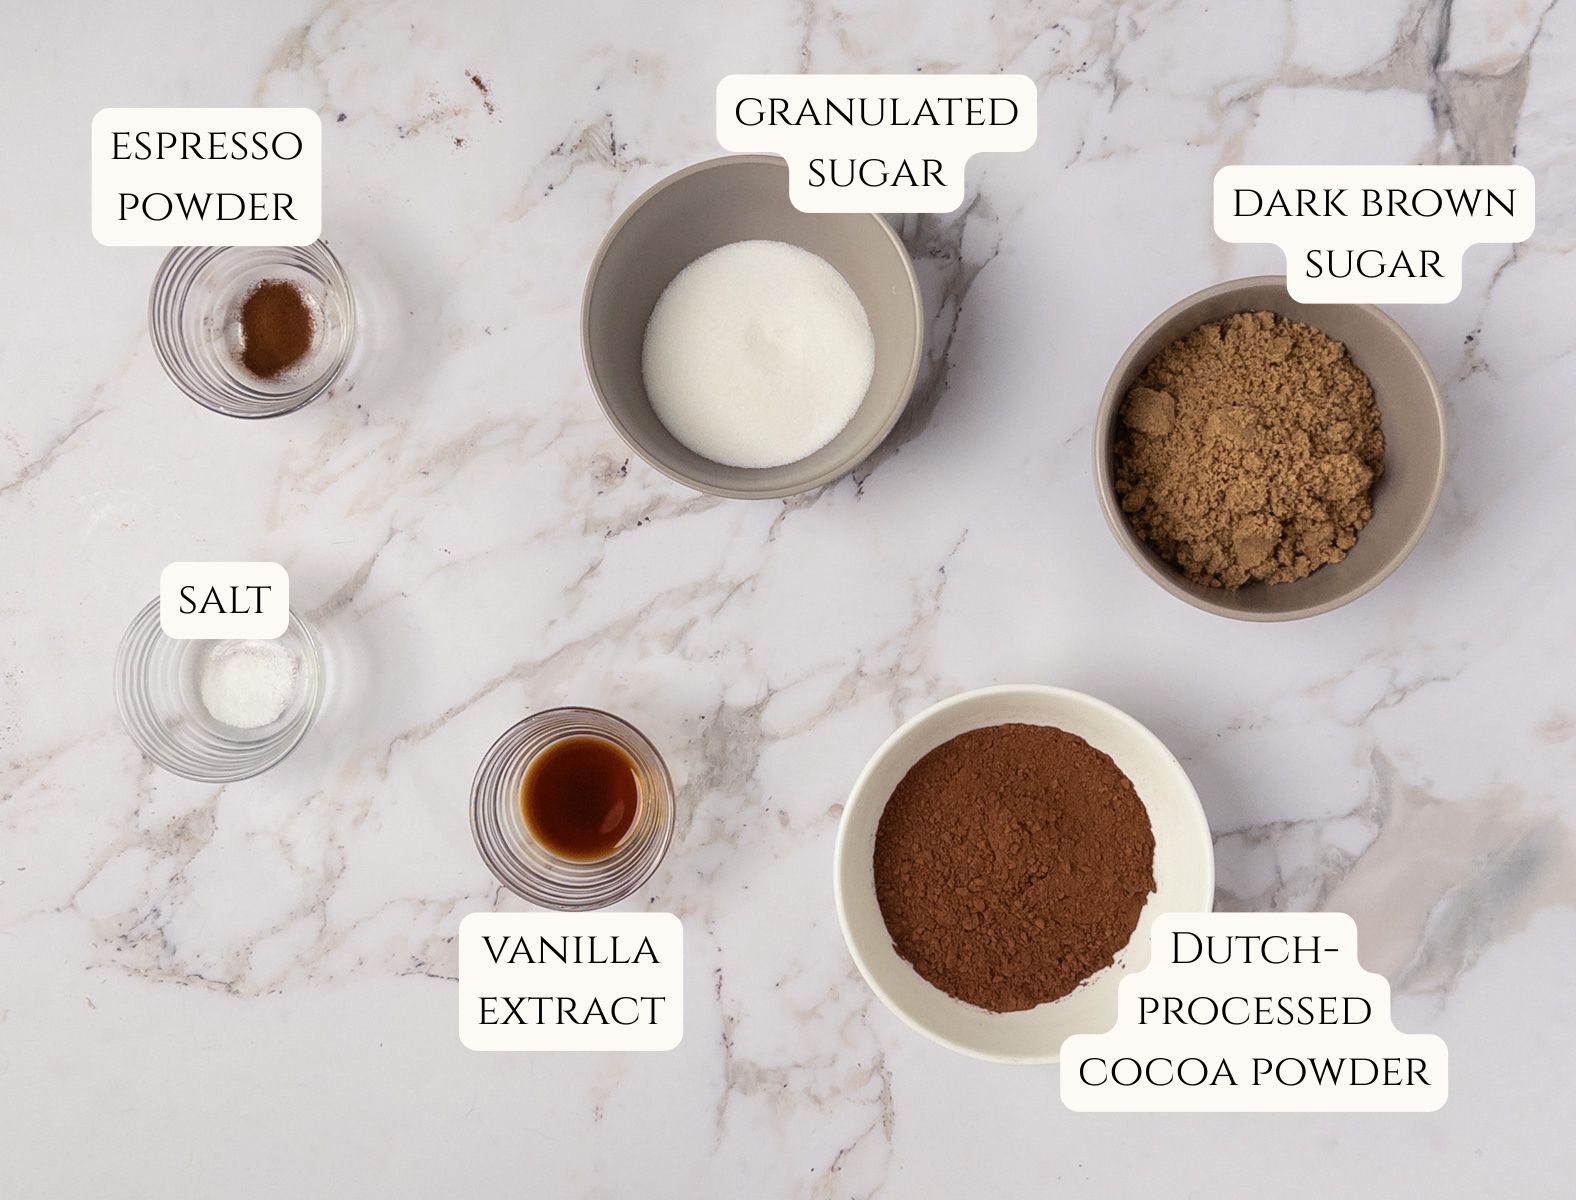
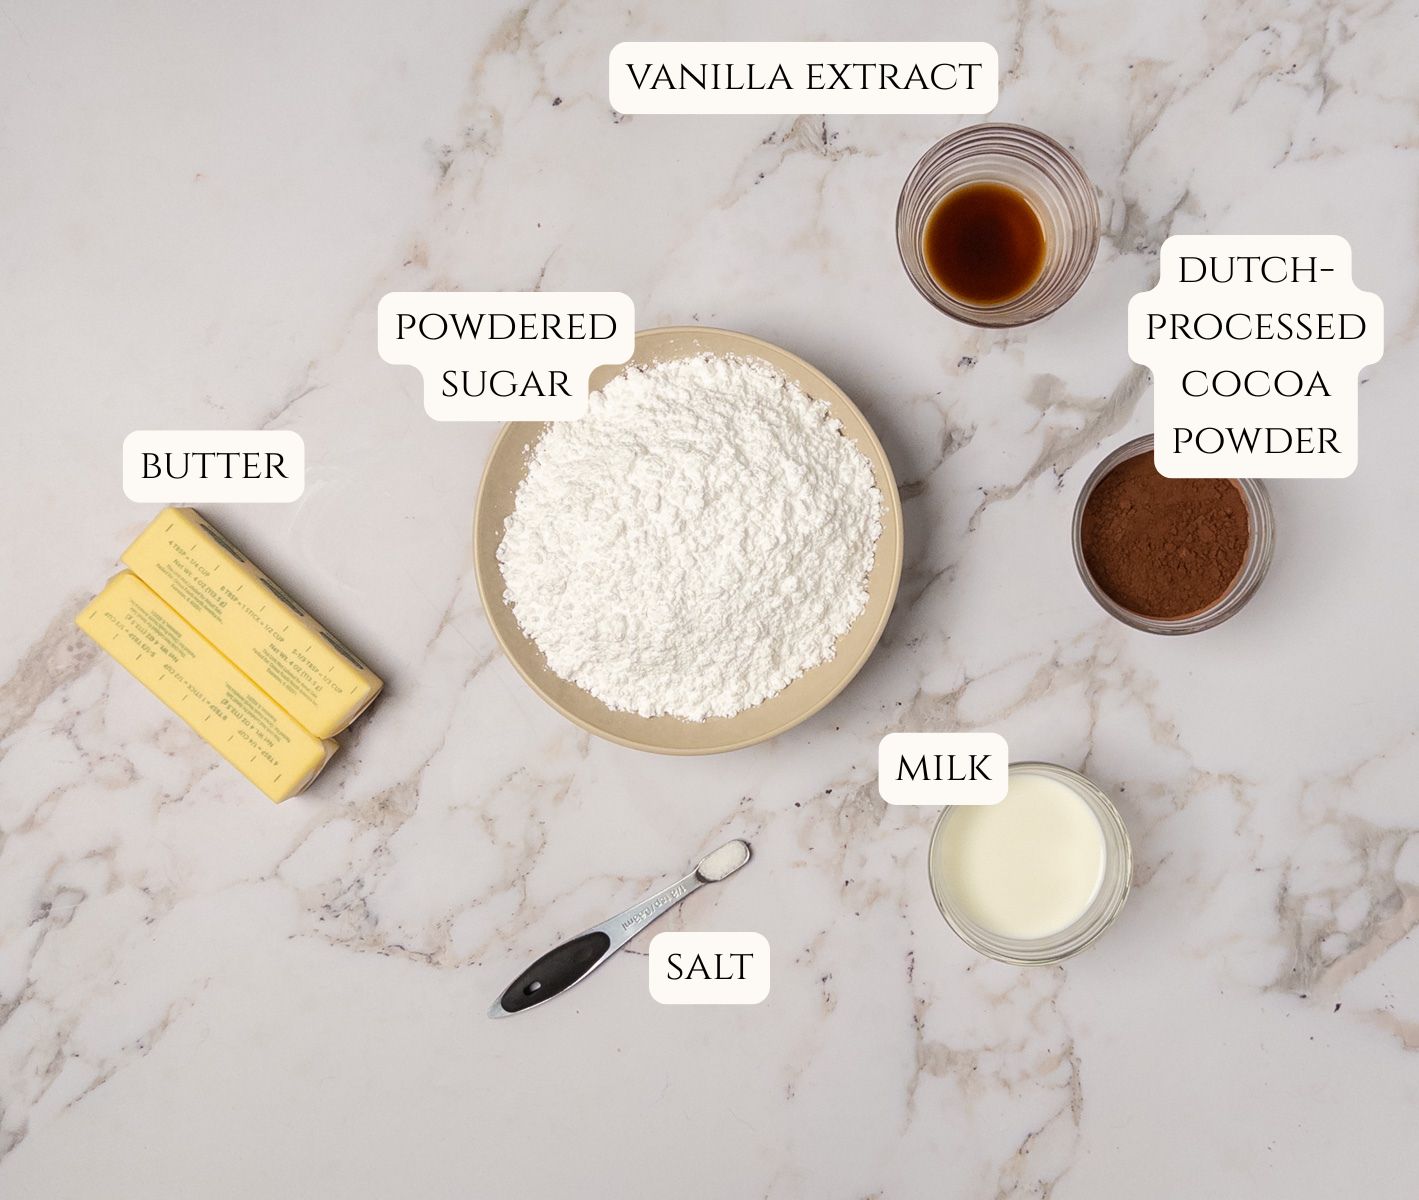
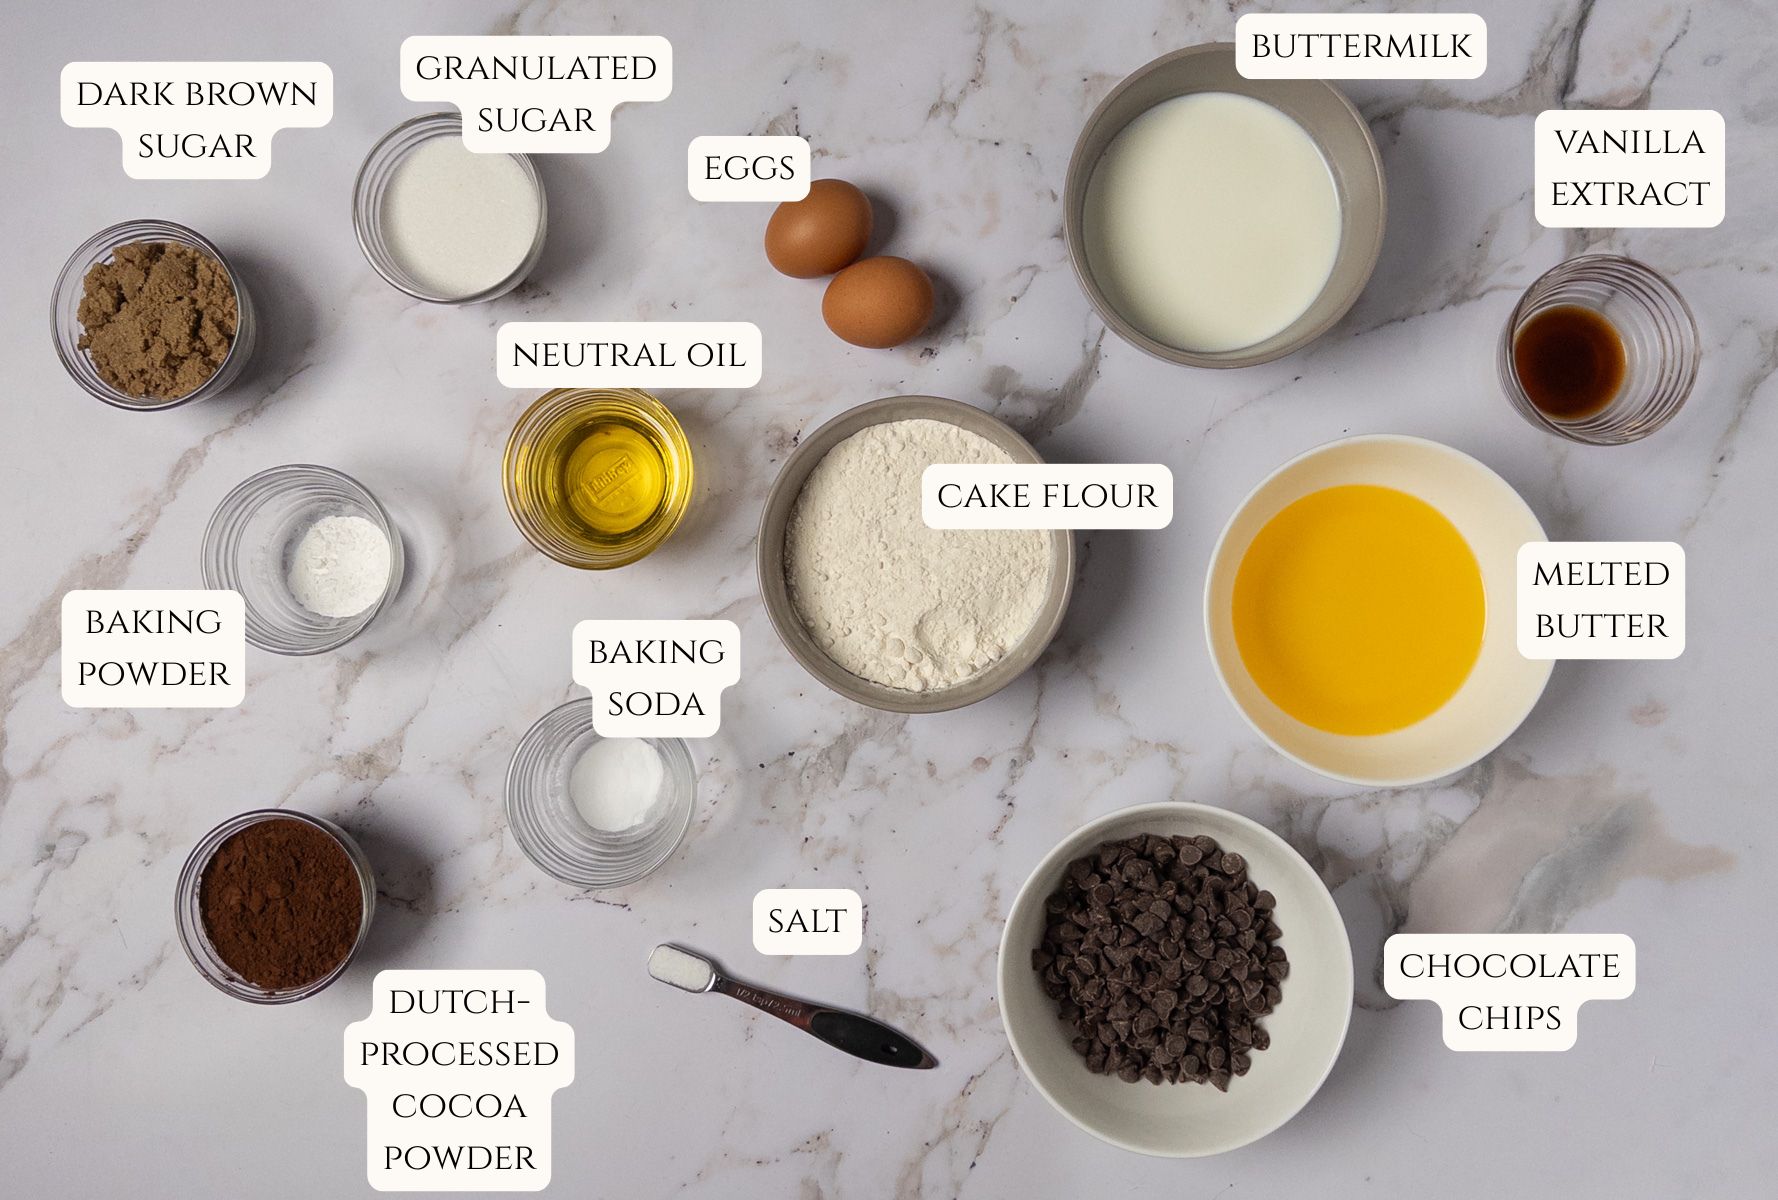
Ingredients and Variations
This might be one of the simplest chocolate cakes to prepare, and requires only commonly-found ingredients. A few notes below:
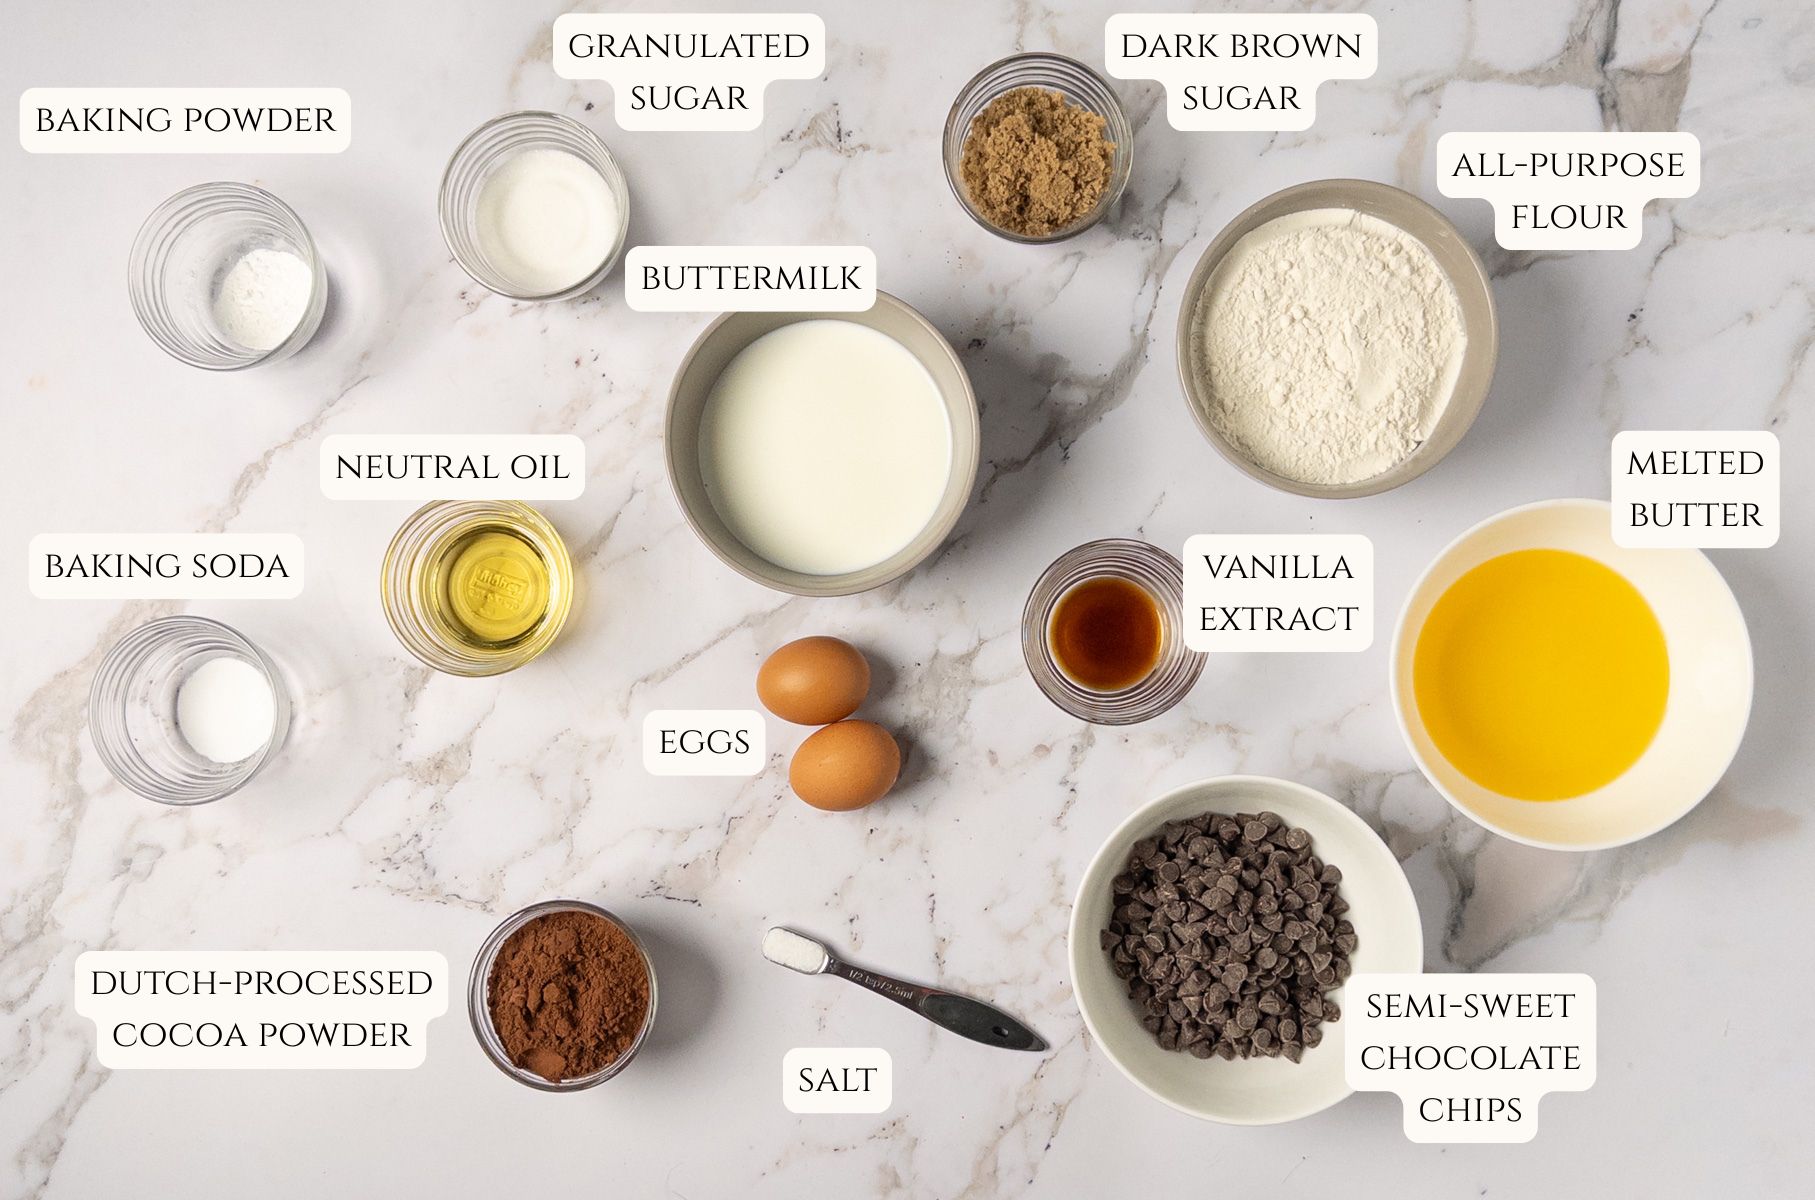
Melted butter — unlike most cakes which call for creaming together butter and sugar, this recipe uses melted butter to maintain the cake’s moist crumb.
Buttermilk — a super ingredient for cake baking! Buttermilk provides richness and rise to the loaf while imparting a slight, pleasant tangy flavor that is perfectly contrasted by the cocoa notes. If you don’t have buttermilk on hand, stir together 1 cup of milk with 1 tablespoon of vinegar or lemon juice and allow to sit for 5-10 minutes, or until the milk has visibly curdled and is then ready to use.
Avocado oil — using a liquid fat like oil lends richness to most baked goods, including cakes. If you don’t have avocado oil, you can easily substitute 1-1 with vegetable oil or sunflower oil.
Dutch-processed cocoa powder — for the most intense chocolate flavor, opt for Dutch-processed cocoa powder. However, unsweetened cocoa powder will also work in this recipe.
Baking powder and baking soda — this recipe uses a combination of both chemical leaveners to create a tall loaf without negatively impacting flavor.
Tips for Success
- Do not overmix the batter! Fold in the dry ingredients until just combined, and then use only a few more strokes to evenly incorporate the chocolate chips.
- Scoring the top of the loaf helps give steam a designated avenue to escape, rather than letting it burst or split open from different places in an uncontrolled fashion.
- If you find that the outside of the cake is finished baking before it’s done in the middle, lightly tent the loaf with aluminum foil to allow for the center to finish baking without allowing the outside to dry out or burn from prolonged heat exposure.
- Sprinkling a generous amount of turbinado sugar on top provides a caramelized element once baked and a delicious, satisfying crunch when eaten.
Detailed Preparation Instructions
- In a large mixing bowl, combine melted butter, granulated sugar, and dark brown sugar and stir to combine. Stream in the vanilla extract, eggs, buttermilk, and avocado oil and stir.
- Sift in the all-purpose flour, Dutch-processed cocoa powder, baking powder, baking soda, and salt. Gently fold in the dry ingredients until just combined, then fold in the chocolate chips.
- Grease a 9″x5″ loaf pan with nonstick cooking spray, line with parchment paper, and then lightly grease the paper as well. Scoop the batter into the loaf pan and spread into an even layer. Use the spatula to score the length of the loaf down the middle. (Optional): sprinkle turbinado sugar overtop the entire loaf, then dot with more chocolate chips.
- Bake on 350℉ for 45-50 minutes, or until a toothpick inserted in the center comes out with only a few wet crumbs. Allow to cool in the pan for 5-10 minutes, then remove and let cool completely on a wire rack before cutting into slices.
Storage and Reheating Instructions
To prevent the cake from drying out, wrap any leftovers in cling film before storing in either a resealable bag or airtight container. Store in a cool, dry place.
While you can eat a slice of this delicious cake as-is, a quick 15-30 seconds in the microwave restores it back to when it first came out of the oven, melted chocolate chips included.
Chocolate Loaf Cake (Chocolate Bread)
Finally, an easy cake that requires no decoration and comes together in under an hour! Underneath a chewy, crackled crust lies a moist, tender interior filled with chocolate chips. Score the top and add a few more chocolate chips and a sprinkle of turbinado sugar to create your new go-to quick cake recipe!
- 9"x5" loaf pan
- sheet parchment paper
- mixing bowl
- rubber spatula
- 113 grams butter, melted
- 60 grams granulated sugar
- 60 grams dark brown sugar
- 2 teaspoons vanilla extract
- 2 eggs
- 240 ml buttermilk
- 50 ml avocado oil
- 240 grams all-purpose flour
- 60 grams Dutch-processed cocoa powder
- 1 teaspoon baking powder
- 1 teaspoon baking soda
- 1/2 teaspoon salt
- 200 grams semi-sweet chocolate chips (plus more, for garnish)
- turbinado sugar, for garnish (optional)
In a large mixing bowl, combine melted butter, granulated sugar, and dark brown sugar and stir to combine. Stream in the vanilla extract, eggs, buttermilk, and avocado oil and stir.
Sift in the all-purpose flour, Dutch-processed cocoa powder, baking powder, baking soda, and salt. Gently fold in the dry ingredients until just combined, then fold in the chocolate chips.
Grease a 9"x5" loaf pan with nonstick cooking spray, line with parchment paper, and then lightly grease the paper as well. Scoop the batter into the loaf pan and spread into an even layer. Use the spatula to score the length of the loaf down the middle. (Optional): sprinkle turbinado sugar overtop the entire loaf, then dot with more chocolate chips.
Bake on 350℉ for 45-50 minutes, or until a toothpick inserted in the center comes out with only a few wet crumbs. Allow to cool in the pan for 5-10 minutes, then remove and let cool completely on a wire rack before cutting into slices.