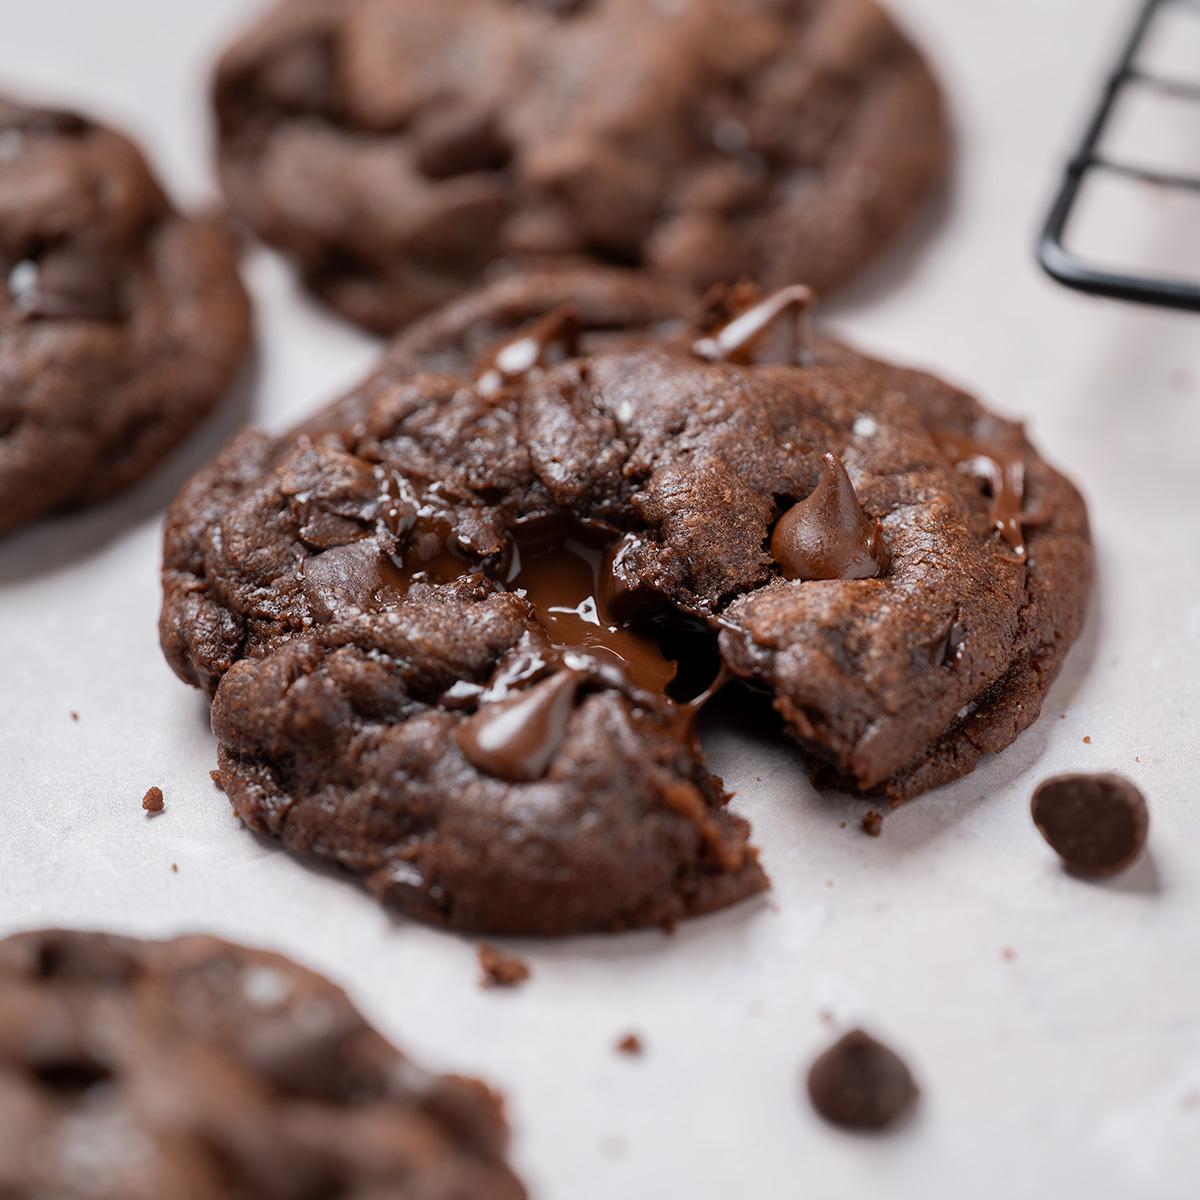
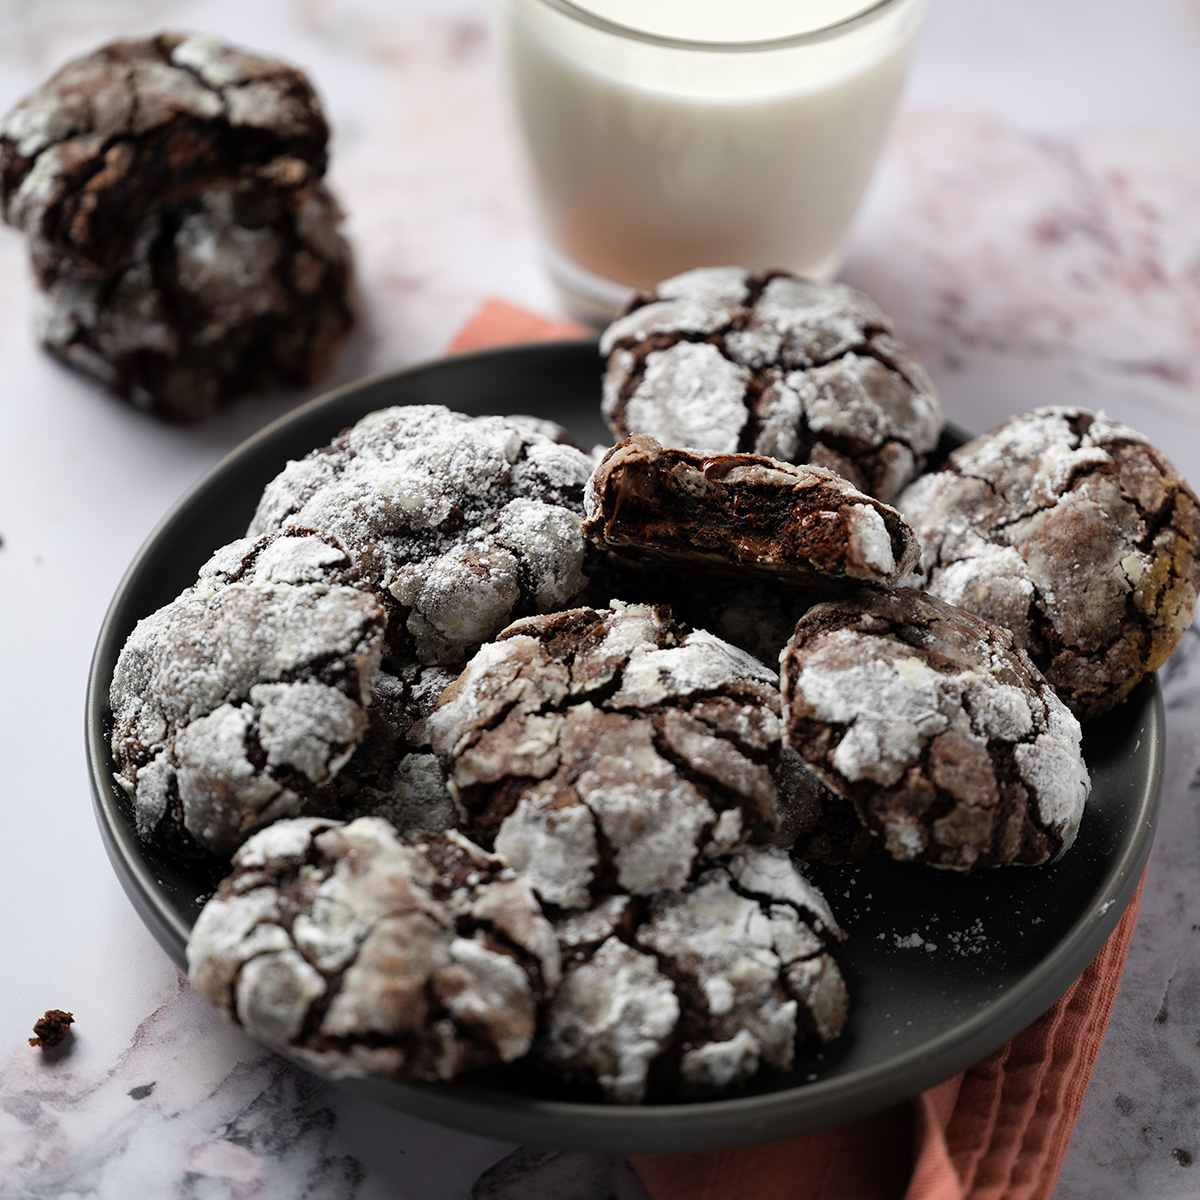
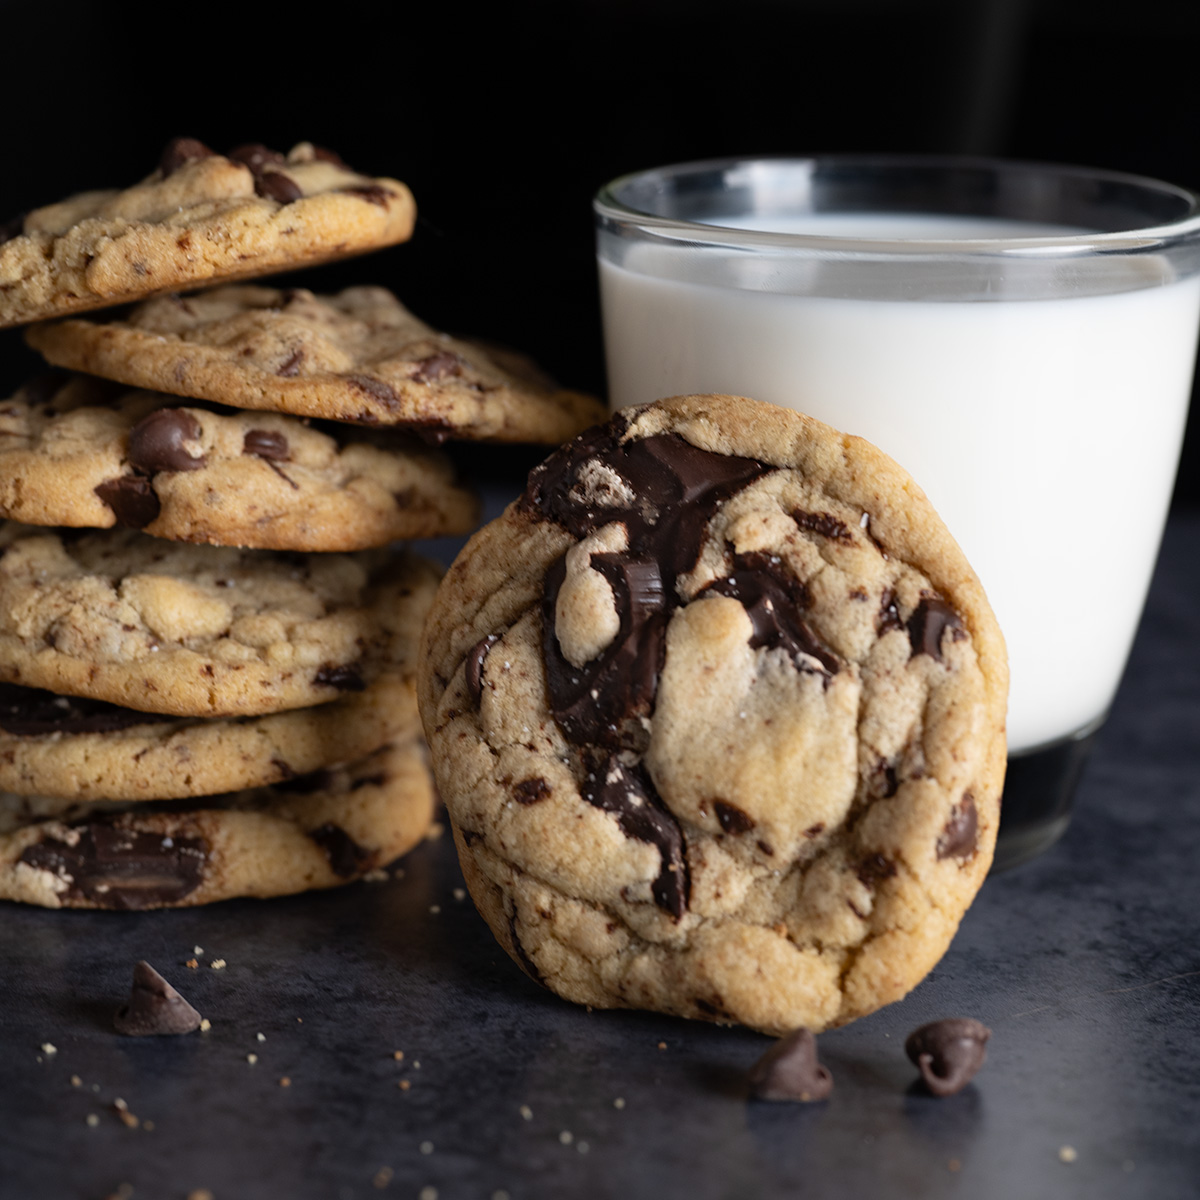
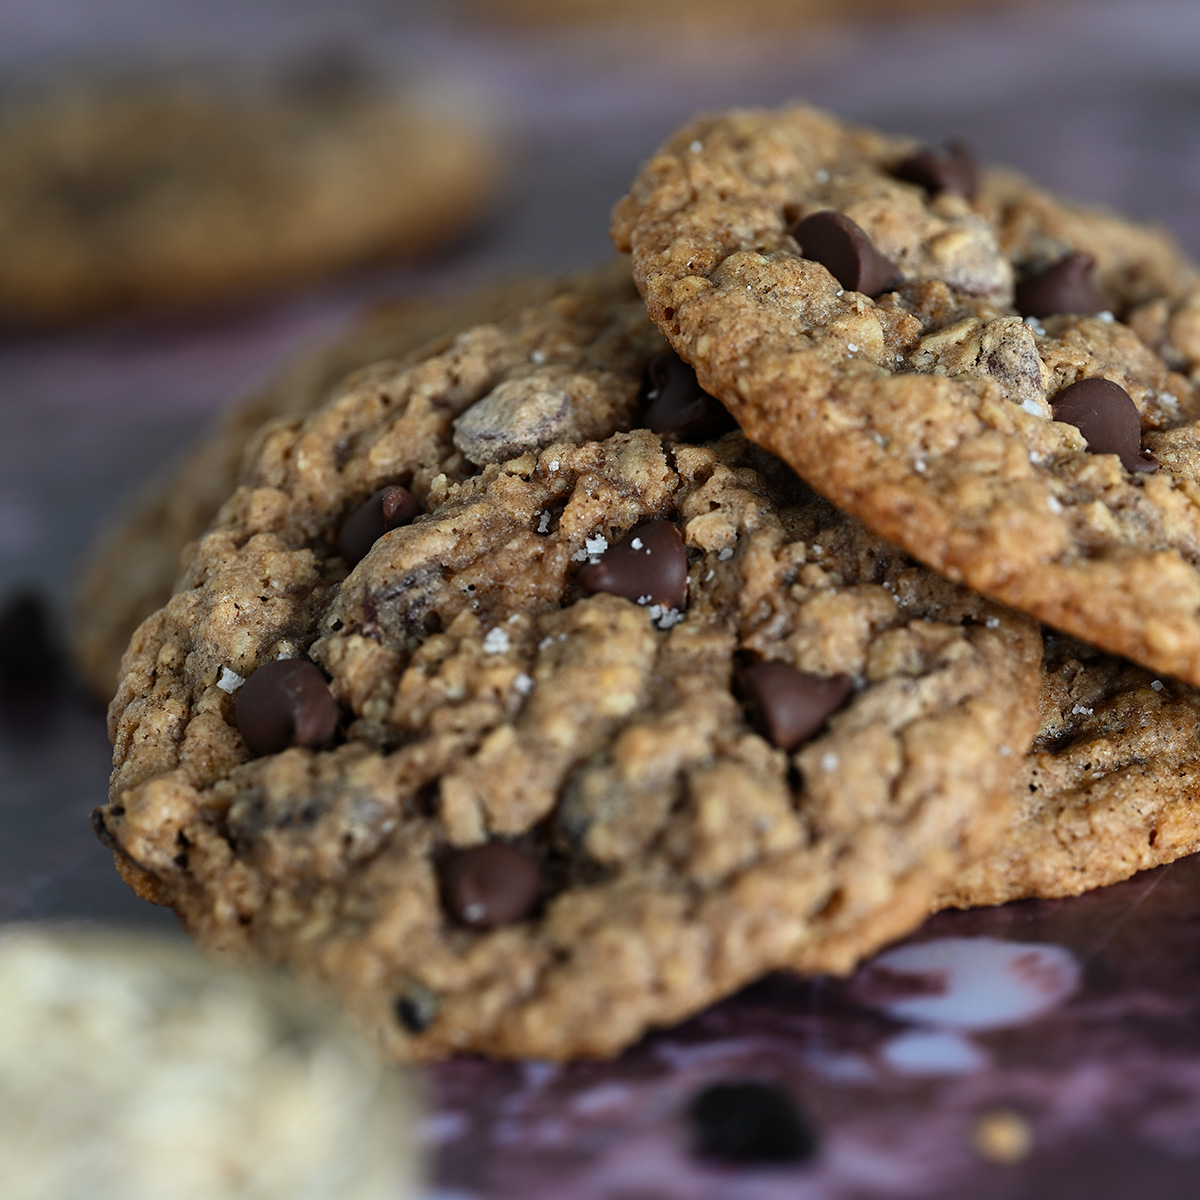
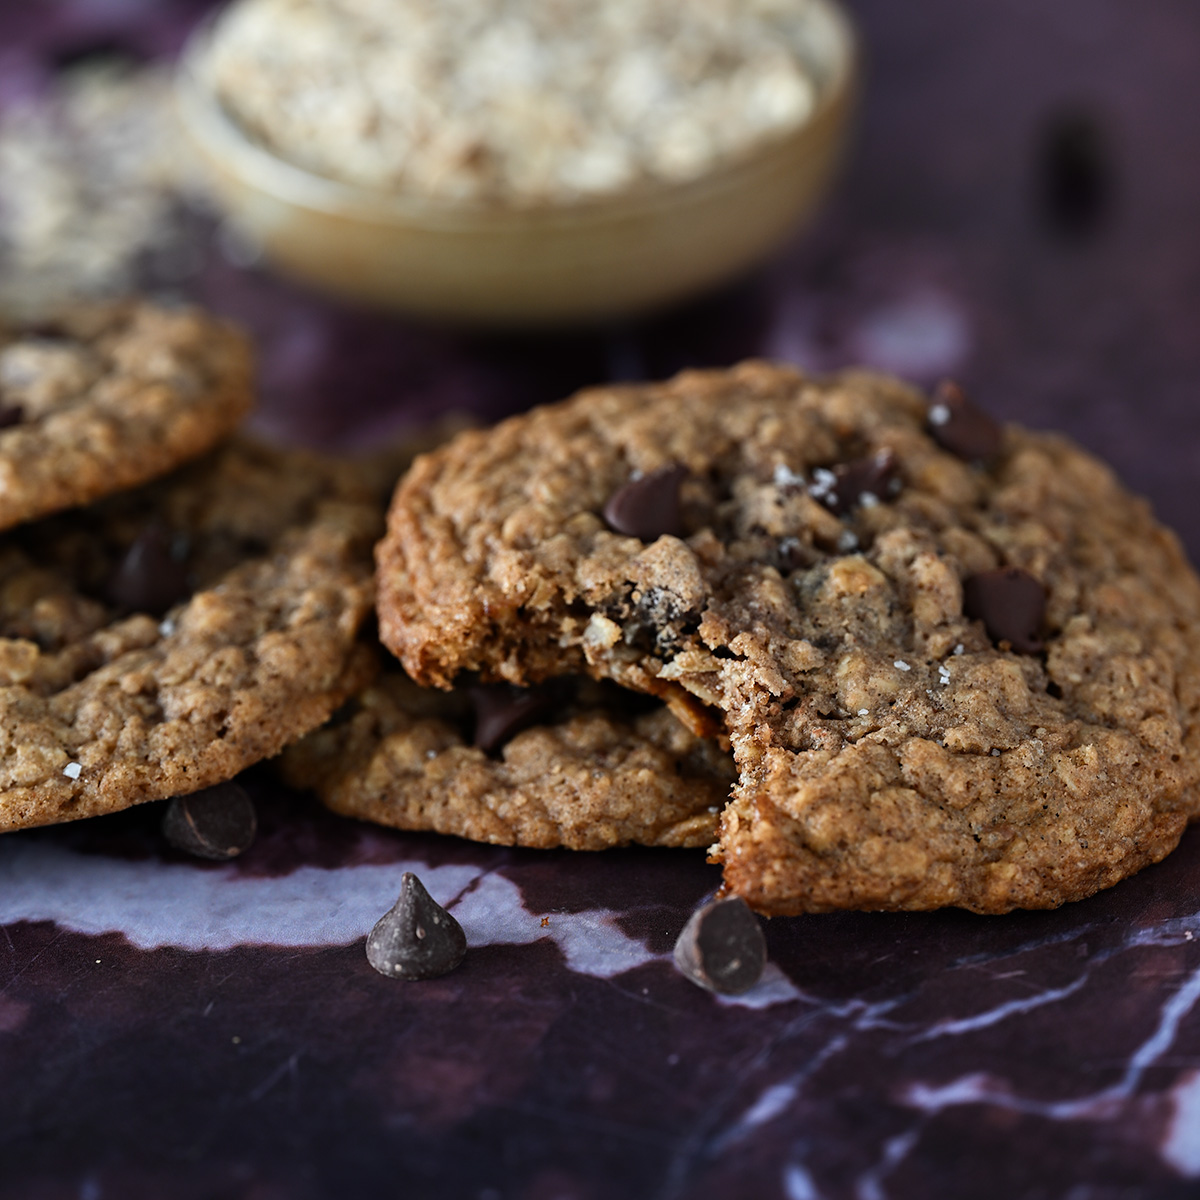
These classic cookies have chewy centers teeming with chocolate chips and raisins that give way to crispy, golden edges. Warm spices like cinnamon, nutmeg, and Dutch-processed cocoa powder make each bite full of warm, tender, chewy comfort.
What are you doing in the next 30 minutes?
Something regrettable, probably. I mean, really, when was the last time an idle half hour worked out in your favor?
Rather, make yourself (and your probation officer) happy by baking these delicious oatmeal chocolate chip cookies instead! Their toothsome centers are a perfect contrast to their crispy edges, all while keeping textural interest with raisins and chocolate chips.
These cookies are perfect for the fall and winter seasons for their warmth. Cinnamon, nutmeg, cocoa powder, and dark-brown sugar create a cozy flavor profile, then made even better with melted, gooey chocolate chips dotted throughout.
See, doesn’t this sound like a much better idea?
And if you like all-things oatmeal and granola, check out my Chocolate Granola Cereal for an instant boost to your mornings, 2pm snack break, or late night dessert adventures!
Plus, I’m currently working on a chocolate overnight oats and homemade chocolate granola bars, so stay tuned for those!
Why Chocolate Lovers Make This Recipe
- Classic cookie — oatmeal raisin cookies are one of the most popular cookies in the United States, especially around the fall and winter seasons for their warm spices and chewy comfort.
- Quick and easy recipe — these cookies can go from idea to table in about 30 minutes, so you better be able to cash the checks your cravings will be writing. Don’t start what you can’t finish.
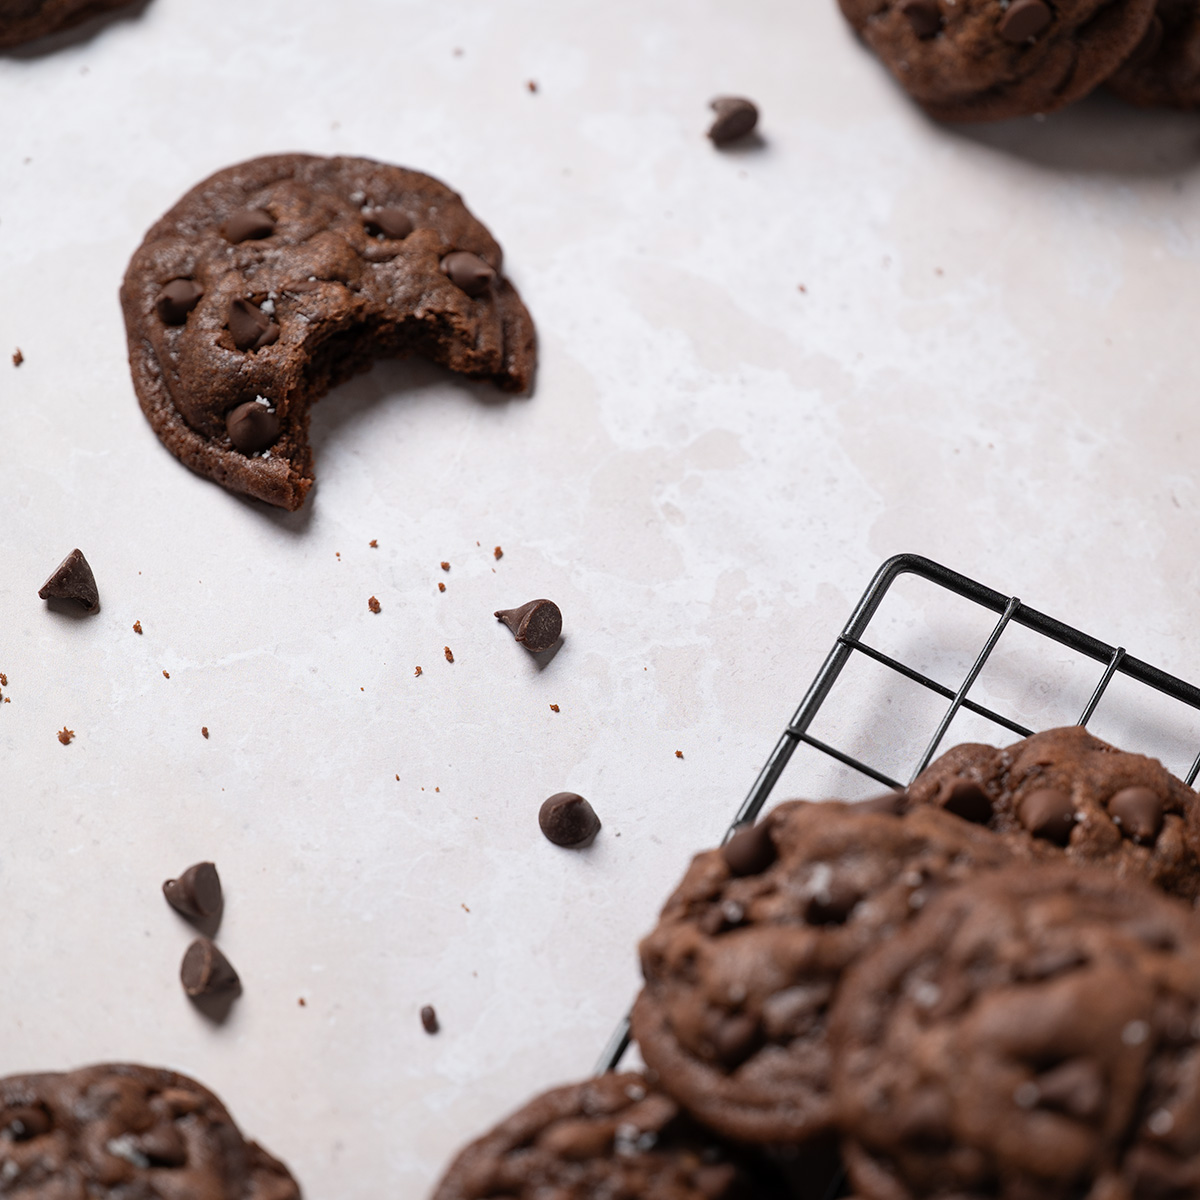
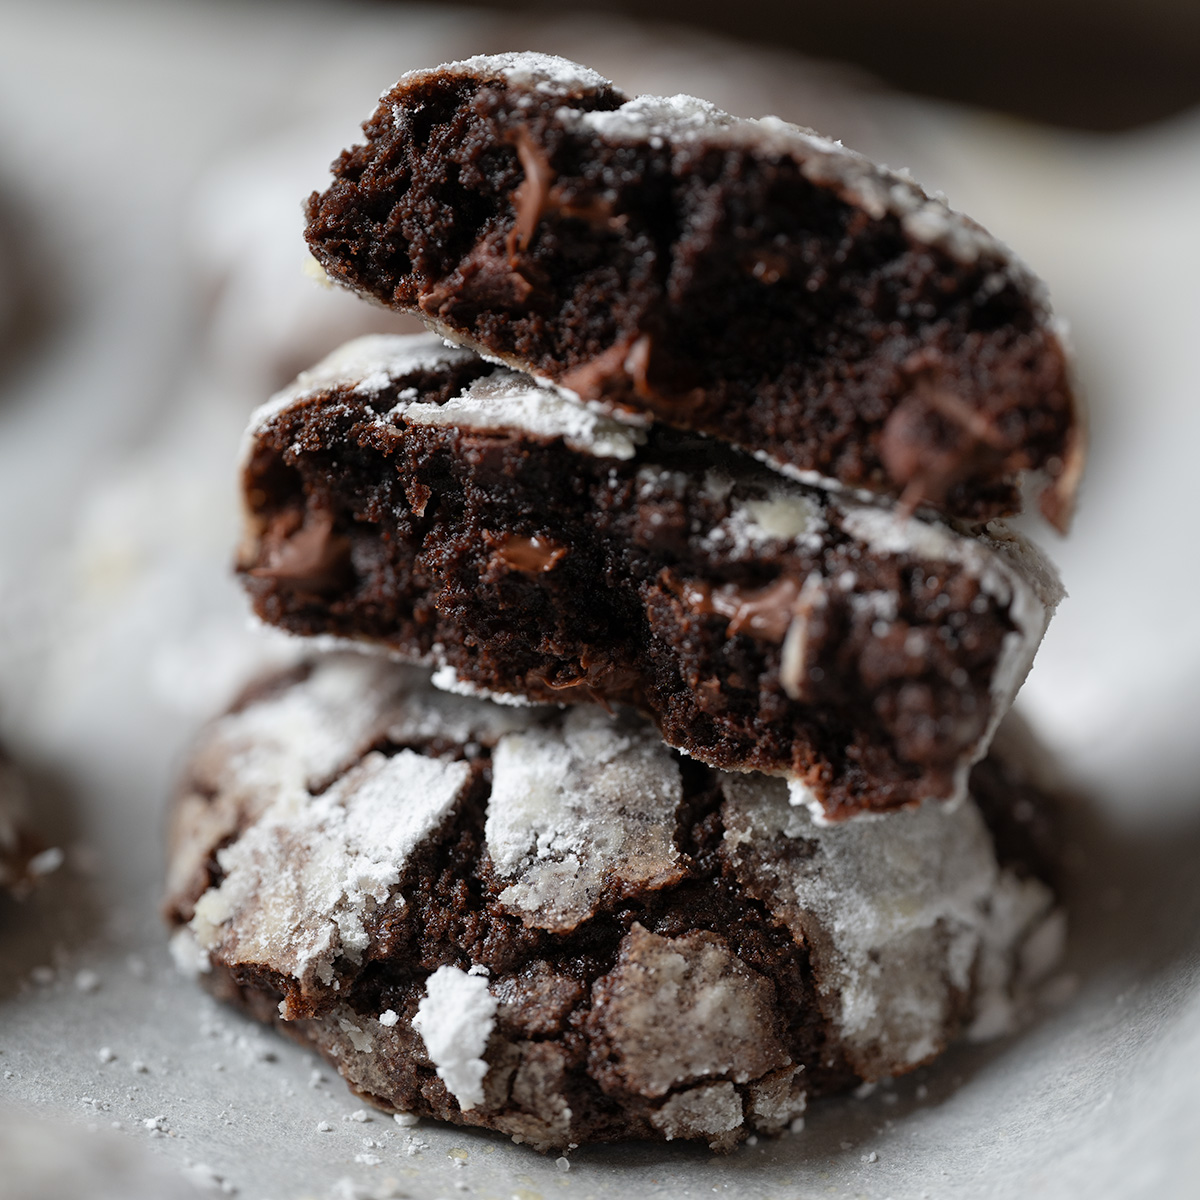
- Chewy goodness — if you’re a fan of chewy cookies with crispy, golden edges, then these will be positively addictive to you.
- Simple ingredients — I didn’t even need to go to the store to make these cookies, since this recipe maximizes household staple ingredients for even more stress-free enjoyment.
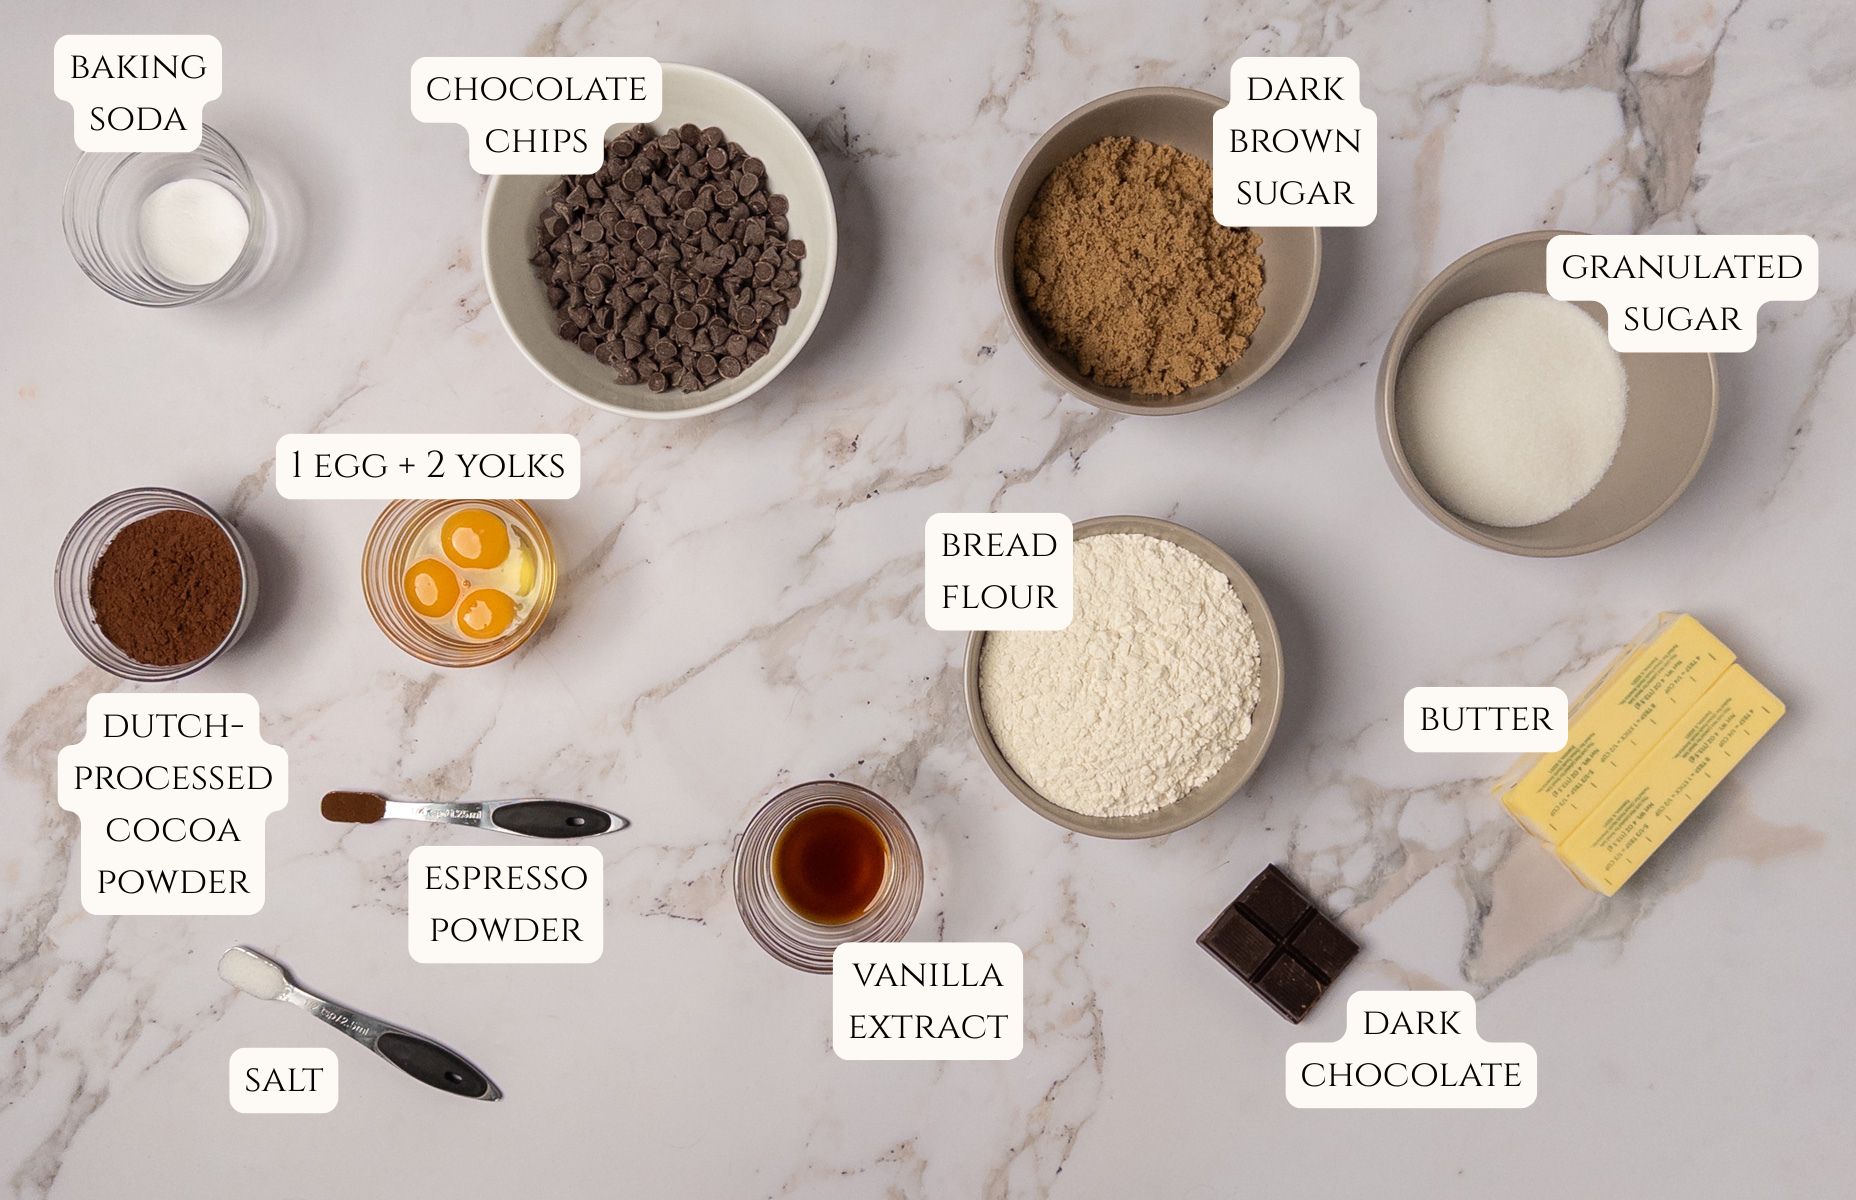
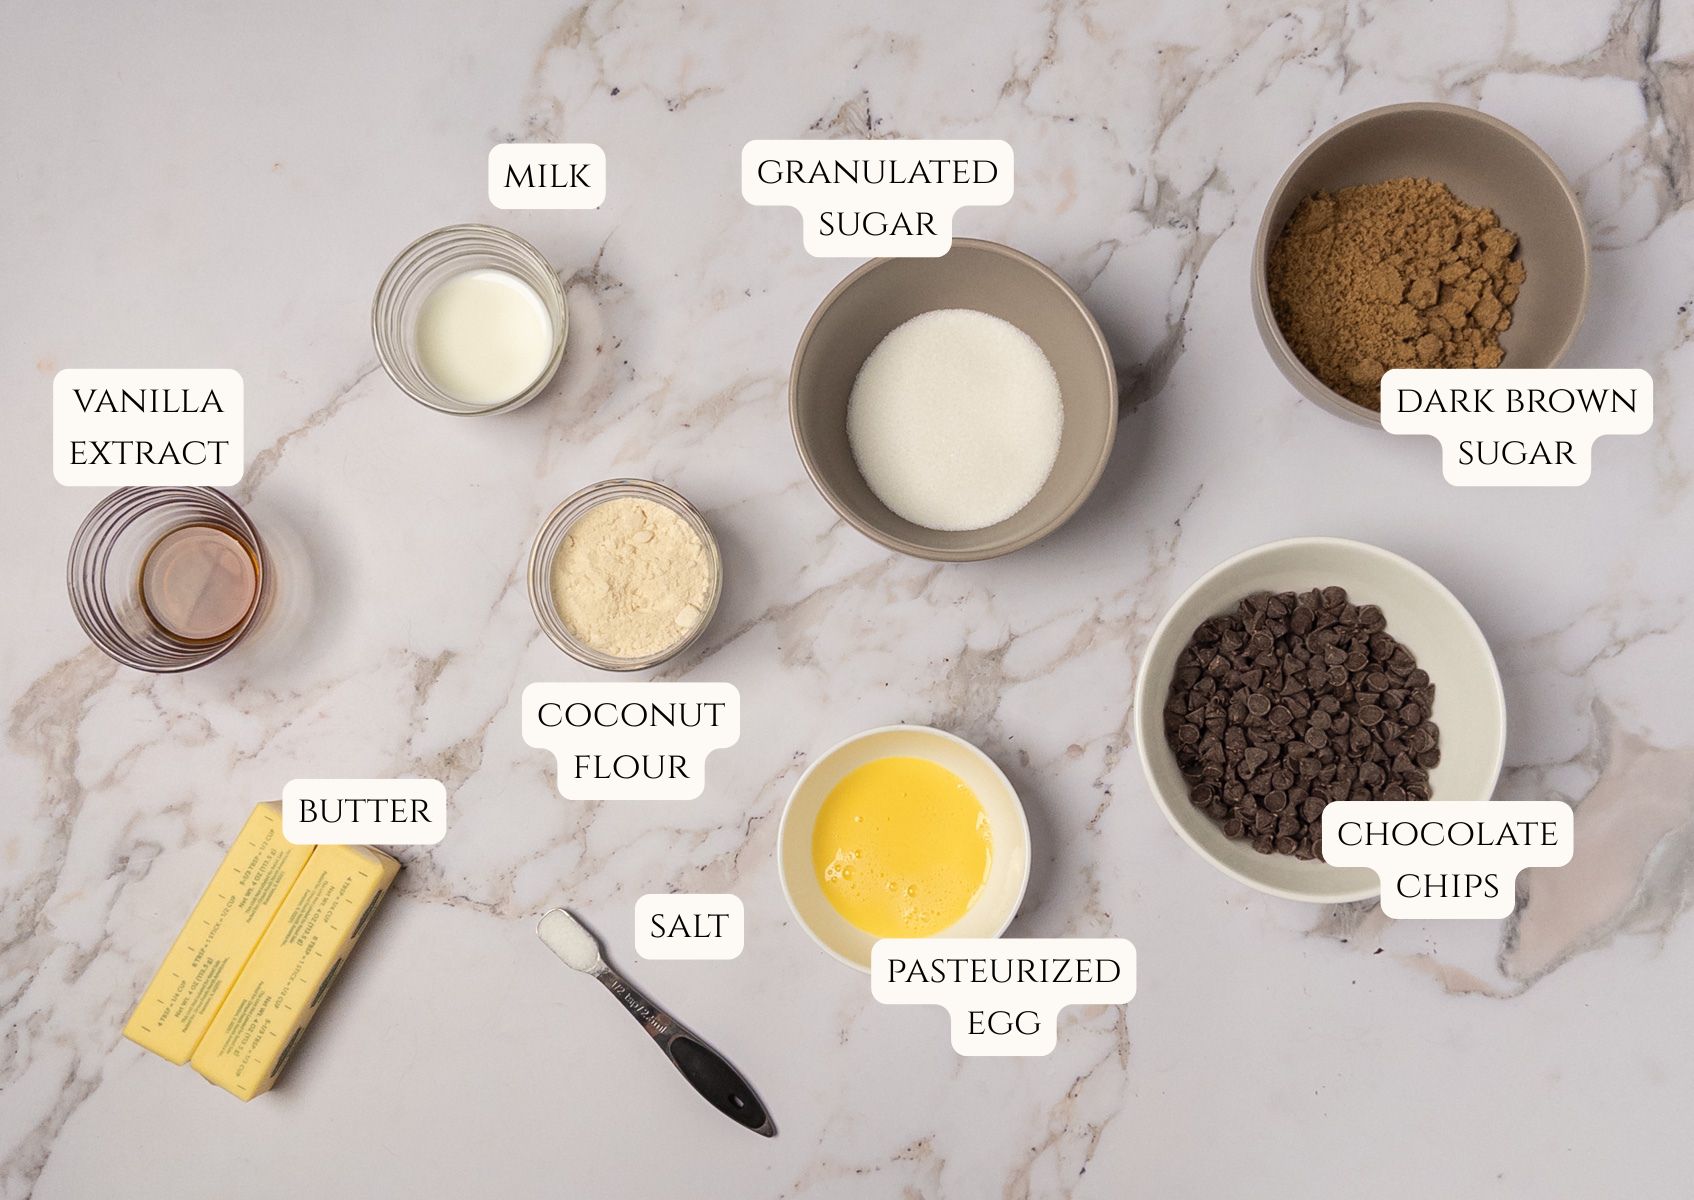
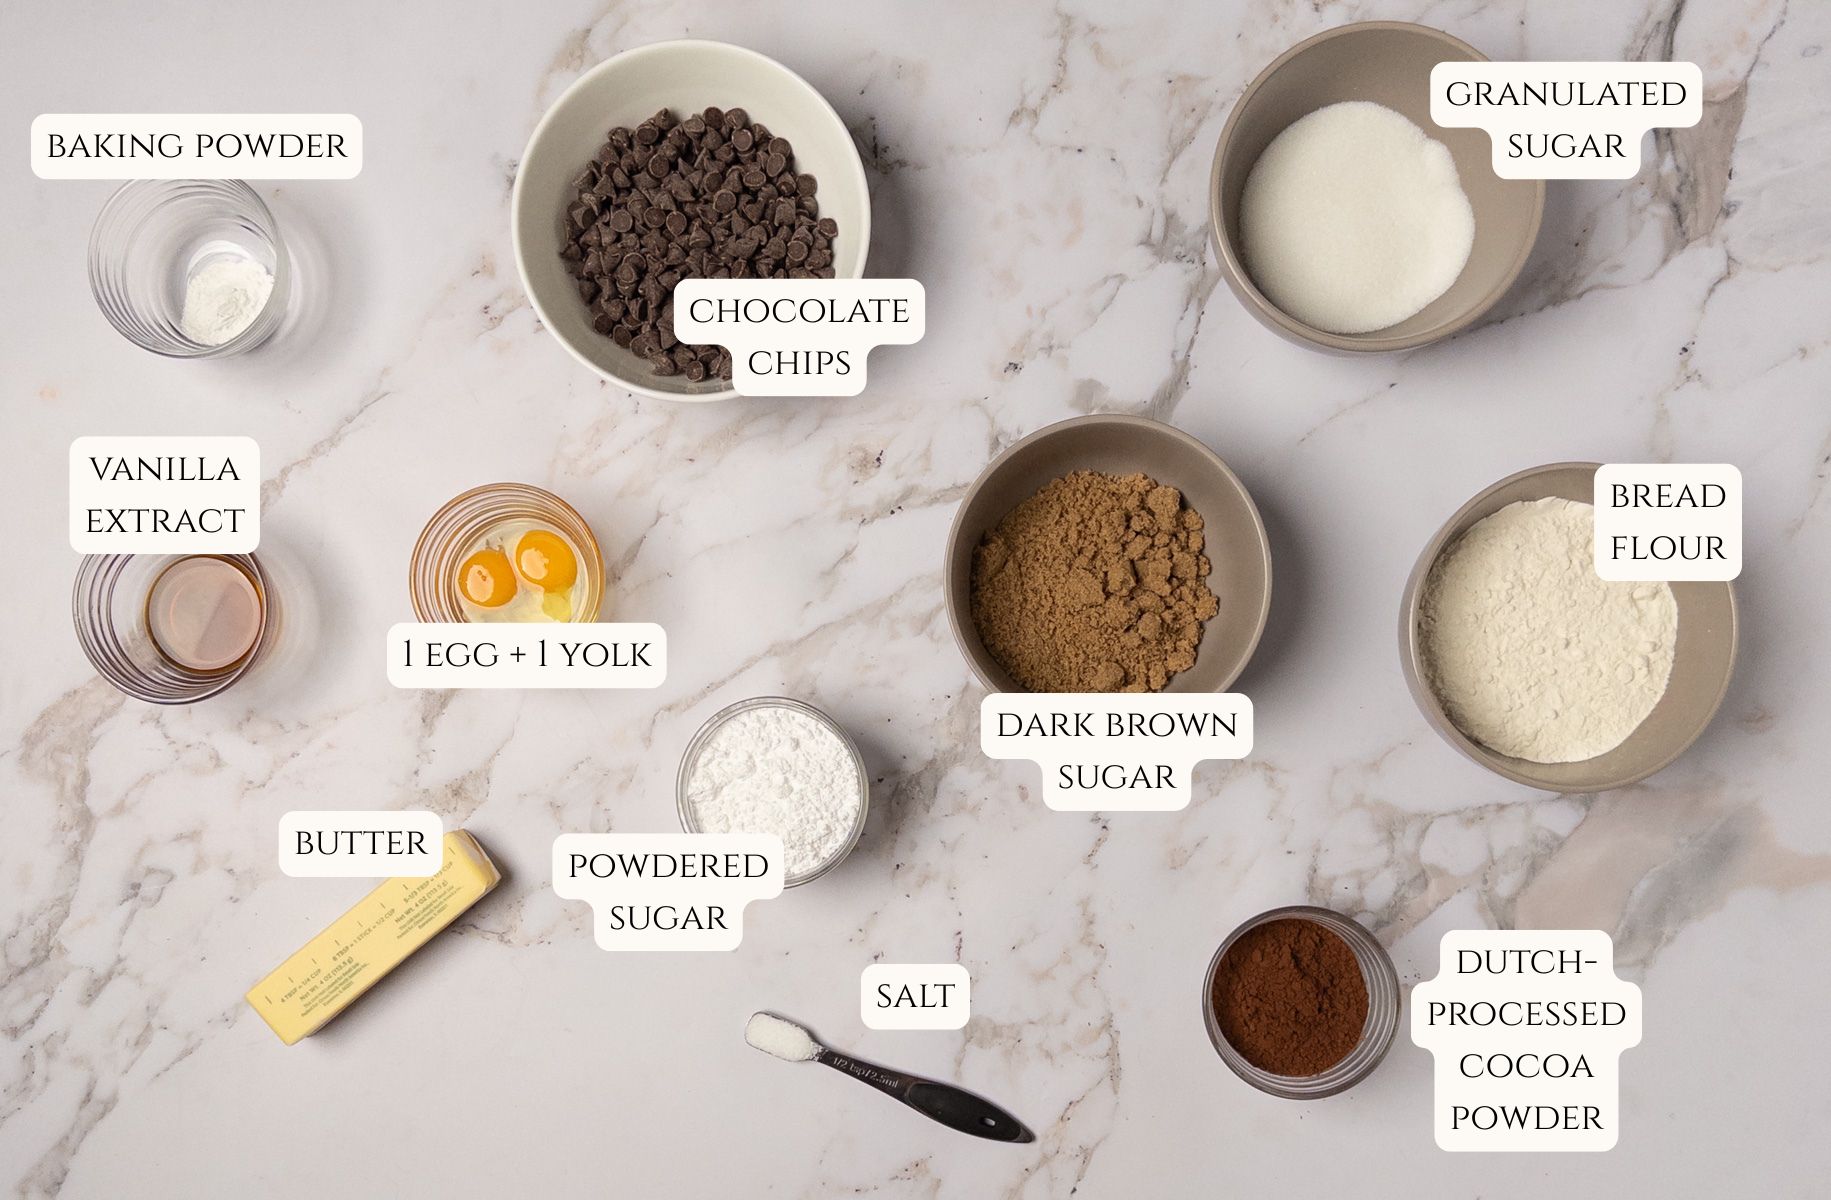
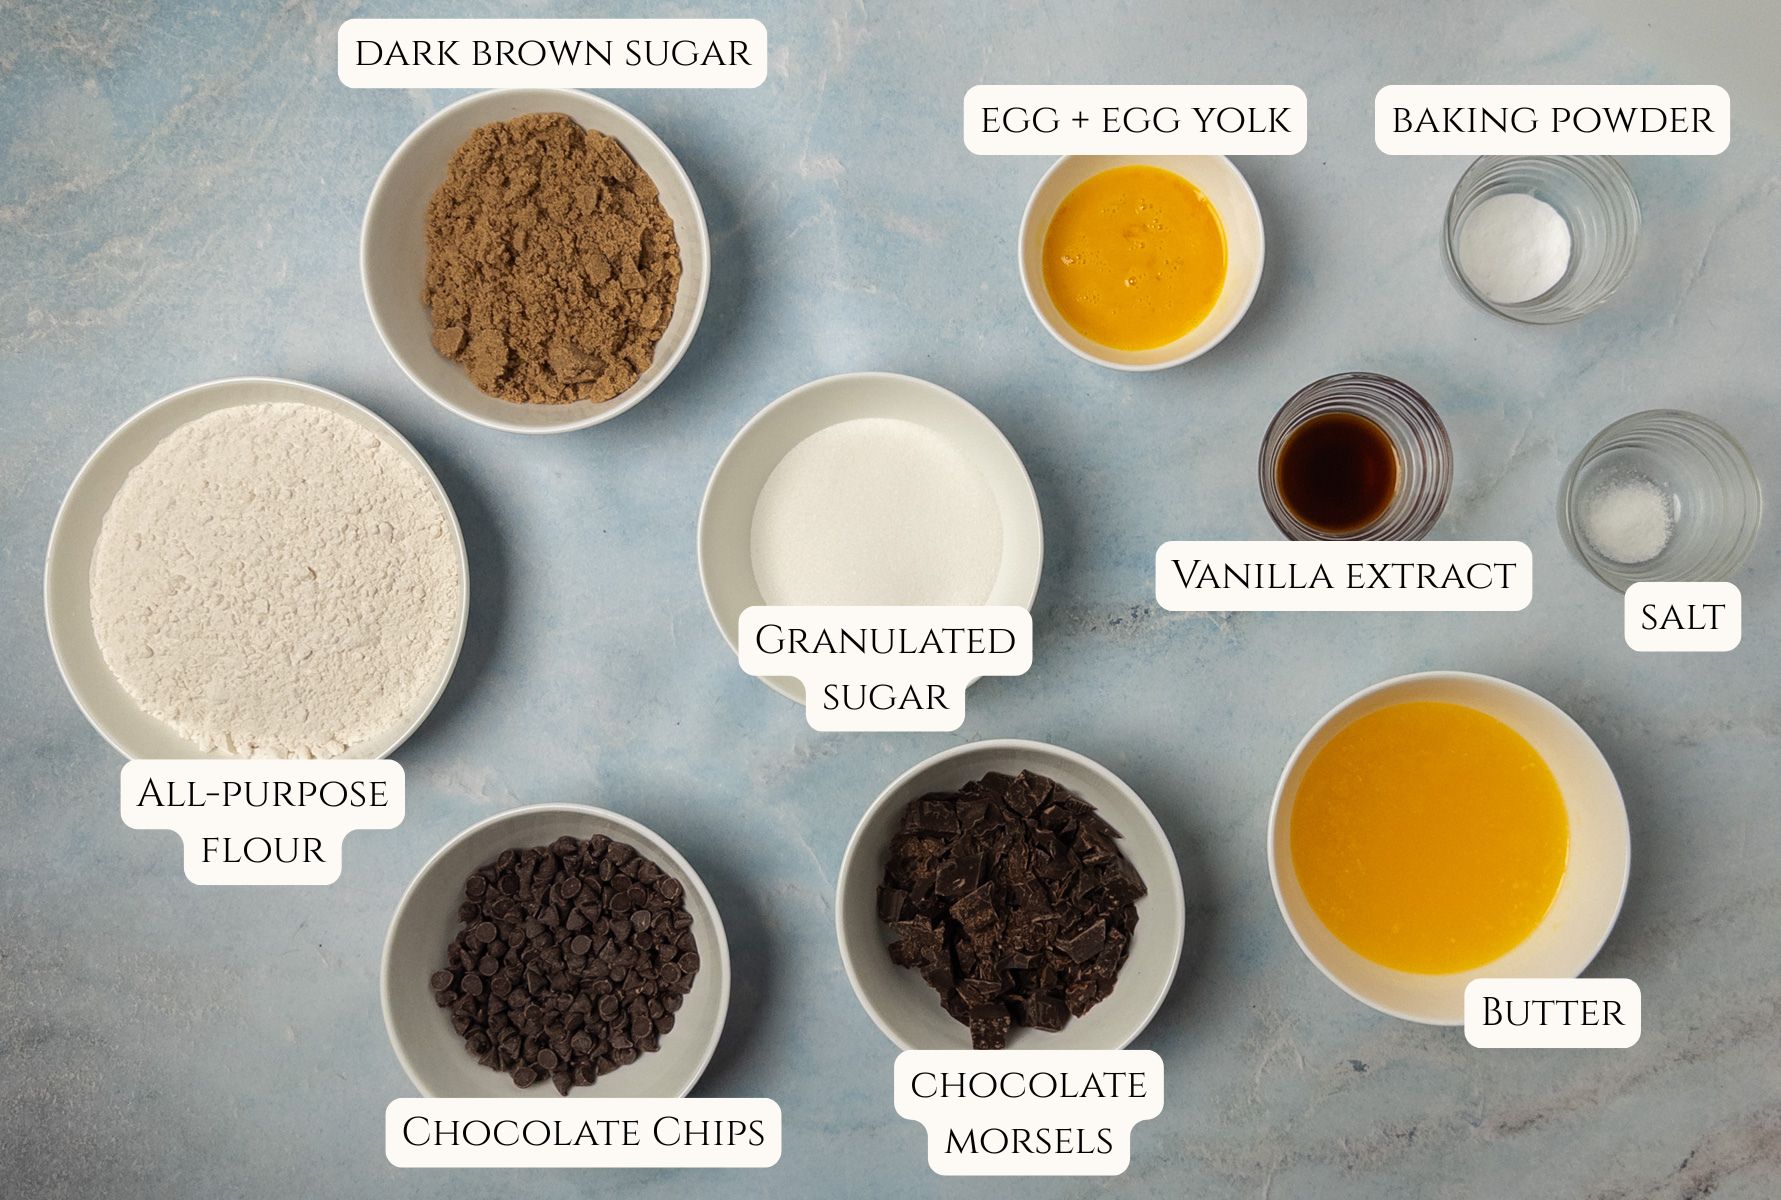
Ingredients and Variations
As mentioned above, you already have most (if not all!) of the ingredients to make oatmeal chocolate chip cookies. Some key notes on a few below:
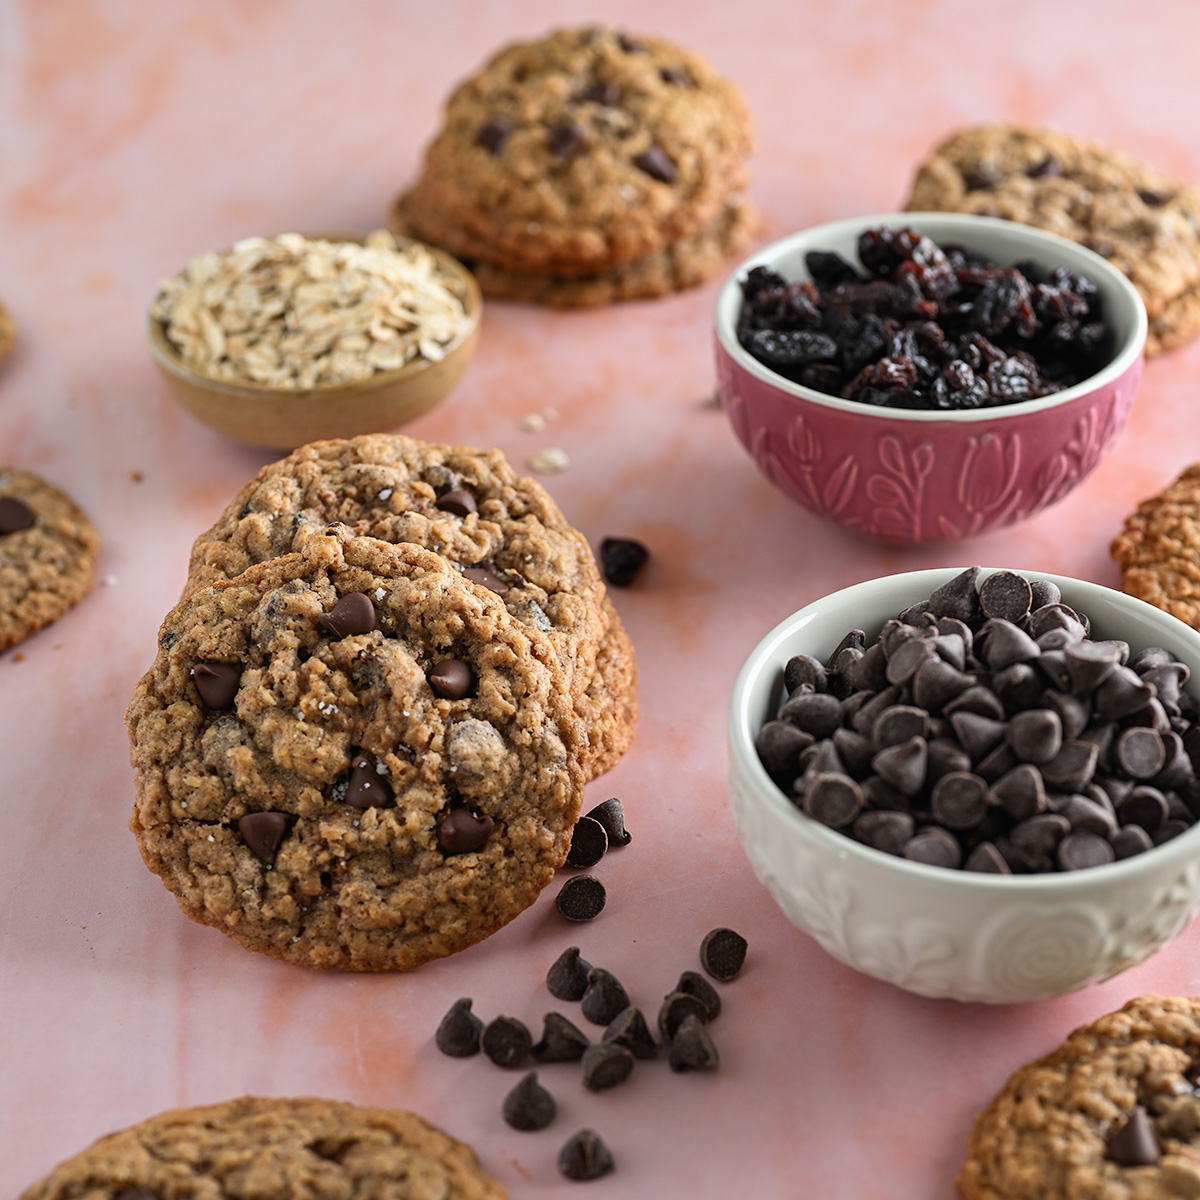
Old-fashioned rolled oats — affordable, available in bulk, and perfect for a wide variety of recipes, old-fashioned rolled oats are the key ingredient in this cookie recipe. They might be also be called “rolled oats” or “old-fashioned oats” at your grocery store.
I would NOT recommend substituting with quick or instant-oats, since these will cook too quickly when baked in the oven, resulting in piles of mush on your baking tray.
Raisins — For those who couldn’t (or wouldn’t!) decide between oatmeal raisin or chocolate chip cookies, I did both. 😉 This recipe doesn’t use as many raisins as you might have added in the past, but that’s to make more room for the chocolate chips!
If you don’t have raisins on hand, you can substitute with dried cranberries, sultanas, or currants. Just note that if you are using sultanas, the cookies might be a tad sweeter with a louder, brighter flavor than regular raisins.
Or, if you feel like your two cookie worlds are colliding, you can omit the dried fruit altogether!
Dark-brown sugar — dark-brown sugar makes chewy, delectable cookies infused with warm, caramel notes from the molasses that’s mixed in with the sugar.
Granulated sugar — using granulated sugar helps add some extra sweetness to this recipe’s otherwise warm and earthy flavor profile. Plus, granulated sugar helps cookies develop their crispiness and spread more in the oven during baking, so the combination of both sugars creates a perfectly-textured cookie.
Bread flour — bread flour results in a chewier cookie, but you can substitute 1:1 with all-purpose flour if that’s all you have on hand.
Baking soda — baking soda helps brown the cookies more (versus baking powder) and also allows for more spreading during baking.
Dutch-processed cocoa powder — this alkalized cocoa powder has a more intense chocolate flavor than unsweetened cocoa powder and is available in all major grocery stores.
Tips for Success
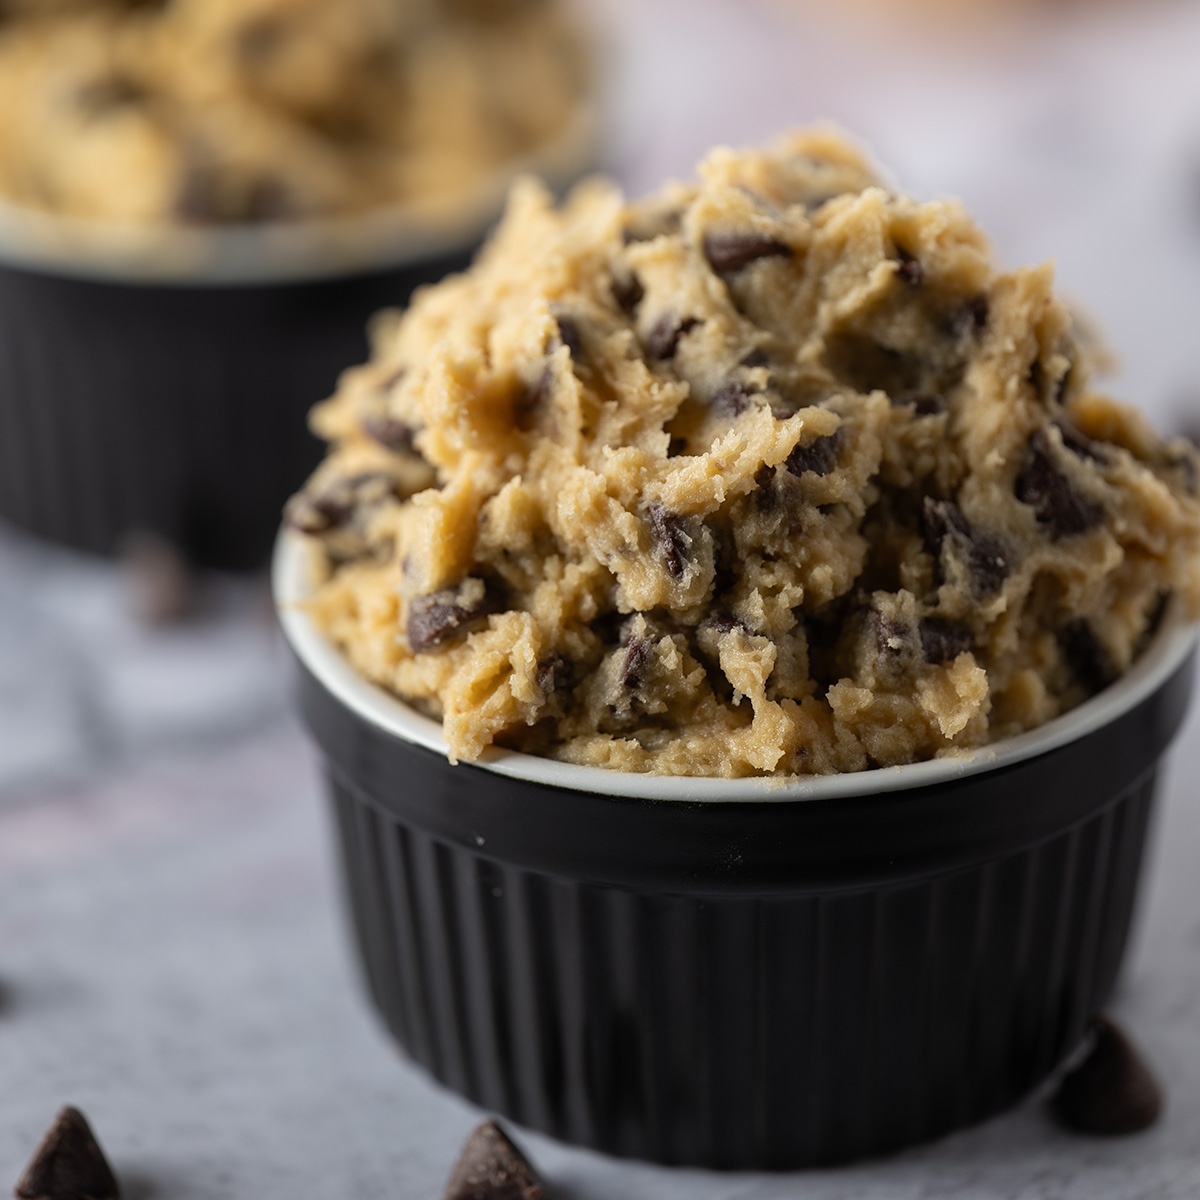
- When adding the chocolate chips, raisins, and rolled oats, use the stand mixer’s paddle attachment and mix on low speed for ~8-10 seconds. Because this cookie dough is denser than most, folding in these ingredients by hand until they are evenly distributed actually risks overmixing the dough, making for a tougher cookie.
- Whisk together the dry ingredients to break up any clumps of flour or baking soda before adding to the cookie dough. There’s nothing worse than suddenly encountering a bitter or soapy bite in your cookies! 😖
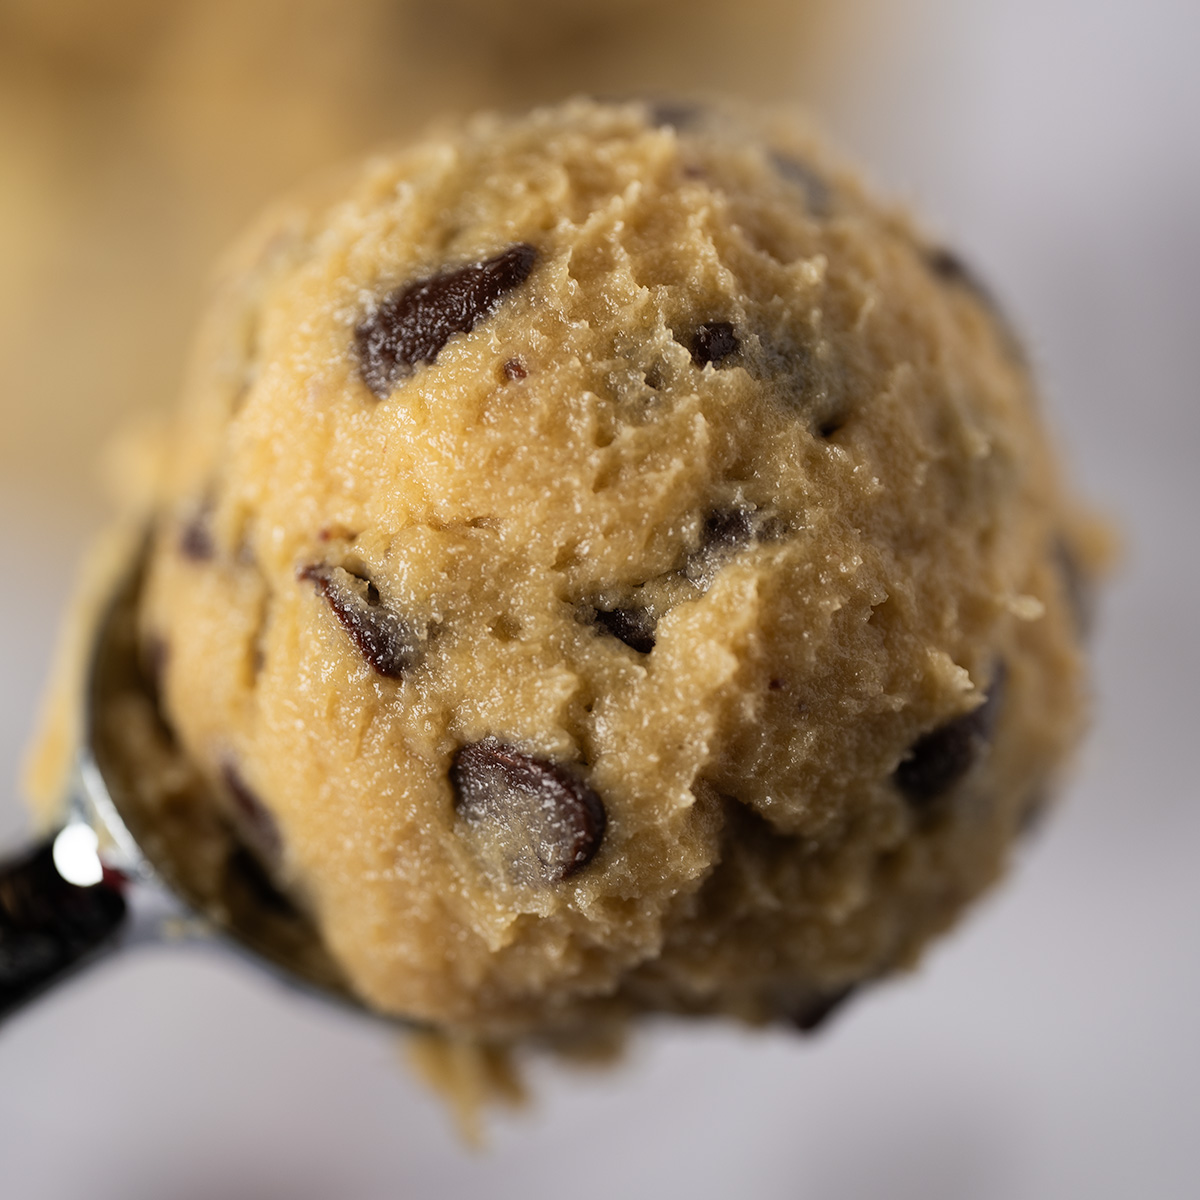
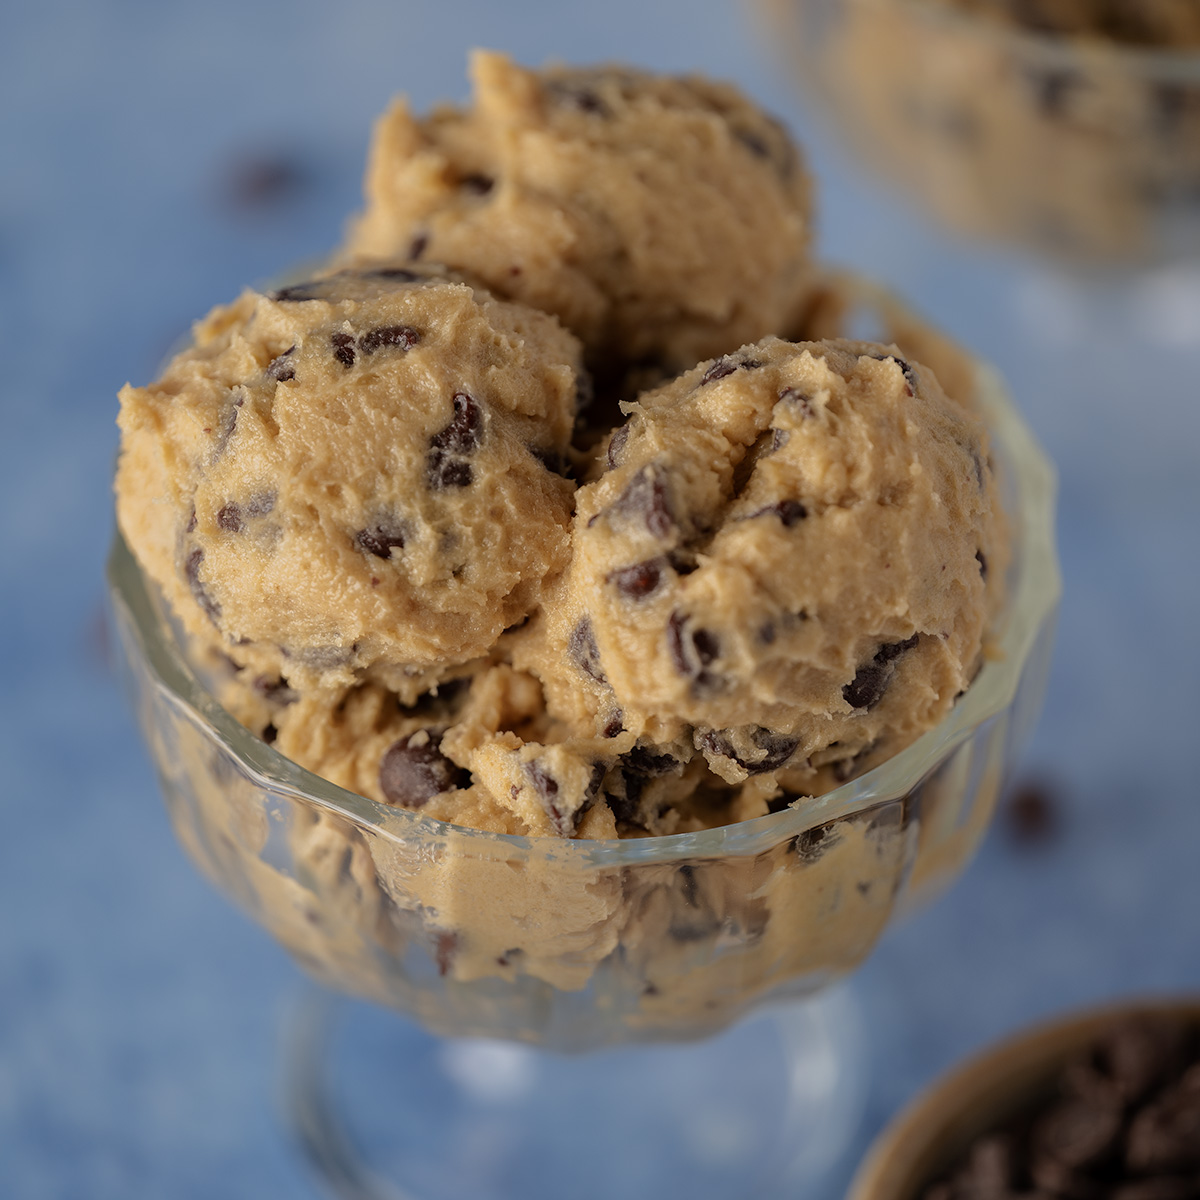
- These cookies are soft and chewy enough to make the perfect topping for your ice cream, yogurt parfait, or other favorite snack!
Storage Instructions
Keep leftover cookies (ha, good one, I know) in an airtight container or resealable bag. Store in a cool, dry place for up to 1 week.
Oatmeal Chocolate Chip Cookies

These classic cookies have chewy centers teeming with chocolate chips and raisins that give way to crispy, golden edges. Warm spices like cinnamon, nutmeg, and Dutch-processed cocoa powder make each bite full of warm, tender, chewy comfort.
- electric stand mixer
- rubber spatula
- mixing bowl
- whisk
- tablespoon-sized cookie scoop
- cookie sheet(s)
- sheets parchment paper
- wire cooling racks
- 227 grams butter
- 200 grams dark brown sugar
- 100 grams granulated sugar
- 2 eggs
- 2 teaspoons vanilla extract
- 170 grams bread flour
- 1 teaspoon baking soda
- 1 teaspoon ground cinnamon
- 1/4 teaspoon ground nutmeg
- 1 teaspoon Dutch-processed cocoa powder
- 1/2 teaspoon fine sea salt
- 225 grams old-fashioned rolled oats
- 100 grams raisins
- 140 grams semi-sweet chocolate chips
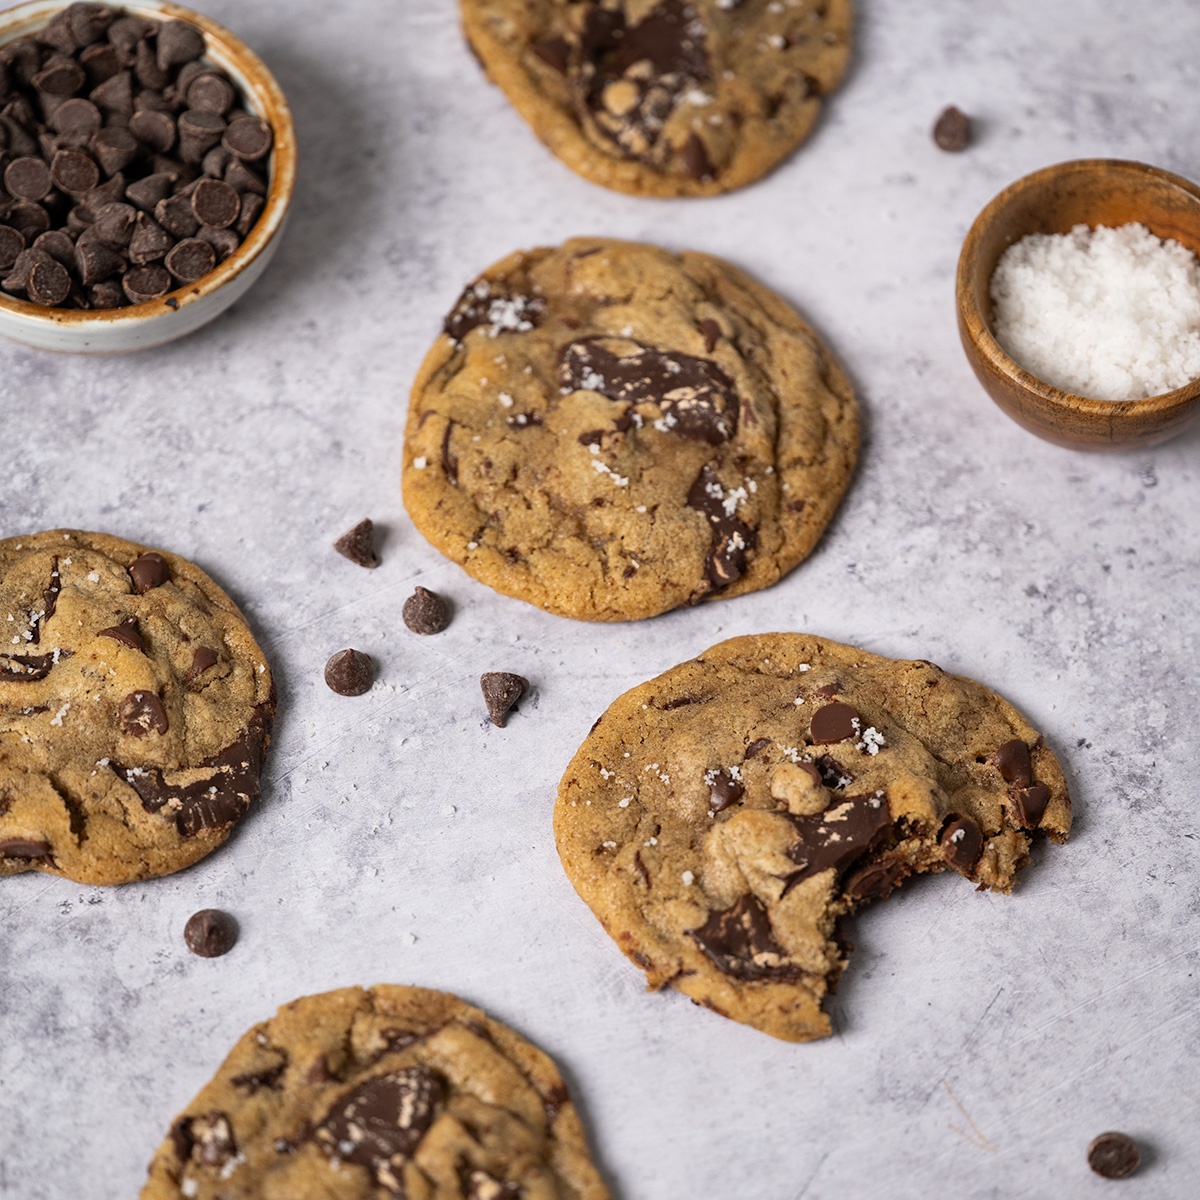
- fleur de sel (optional, for garnish)
Preheat the oven to 350℉. Prepare cookie sheet(s) by lining each with a piece of parchment paper. Set aside.
In the bowl of a stand mixer fixed with the paddle attachment, cream together the butter, dark brown sugar, and granulated sugar until light and fluffy, about 3 minutes. Scrape down the sides of the bowl periodically to ensure even mixing. Add each egg one at a time, then add the vanilla extract.
In a separate mixing bowl, whisk together the bread flour, baking soda, ground cinnamon, ground nutmeg, Dutch-processed cocoa powder, and sea salt. With the stand mixer running on medium-low speed, pour in half of the dry ingredients and wait until they are fully incorporated before adding the remainder.
Switch to the lowest speed setting and pour in the old-fashioned rolled oats, raisins, and chocolate chips until evenly distributed throughout the batter.
Using a tablespoon-sized cookie scoop, portion out and roll each dough ball until round and smooth. Aim for 45-50g of dough per cookie and arrange 2 inches apart on a cookie sheet. Bake for 11-13 minutes, or until the edges are golden brown.
Allow the cookies to sit on the baking sheet for another 3-5 minutes before transferring to a wire cooling rack. While the cookies are still on the tray, press more chocolate chips into each cookie. Garnish with some fleur de sel, if desired.