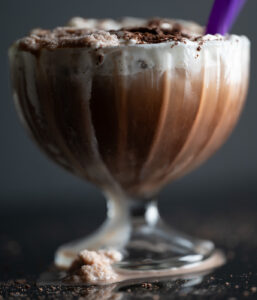
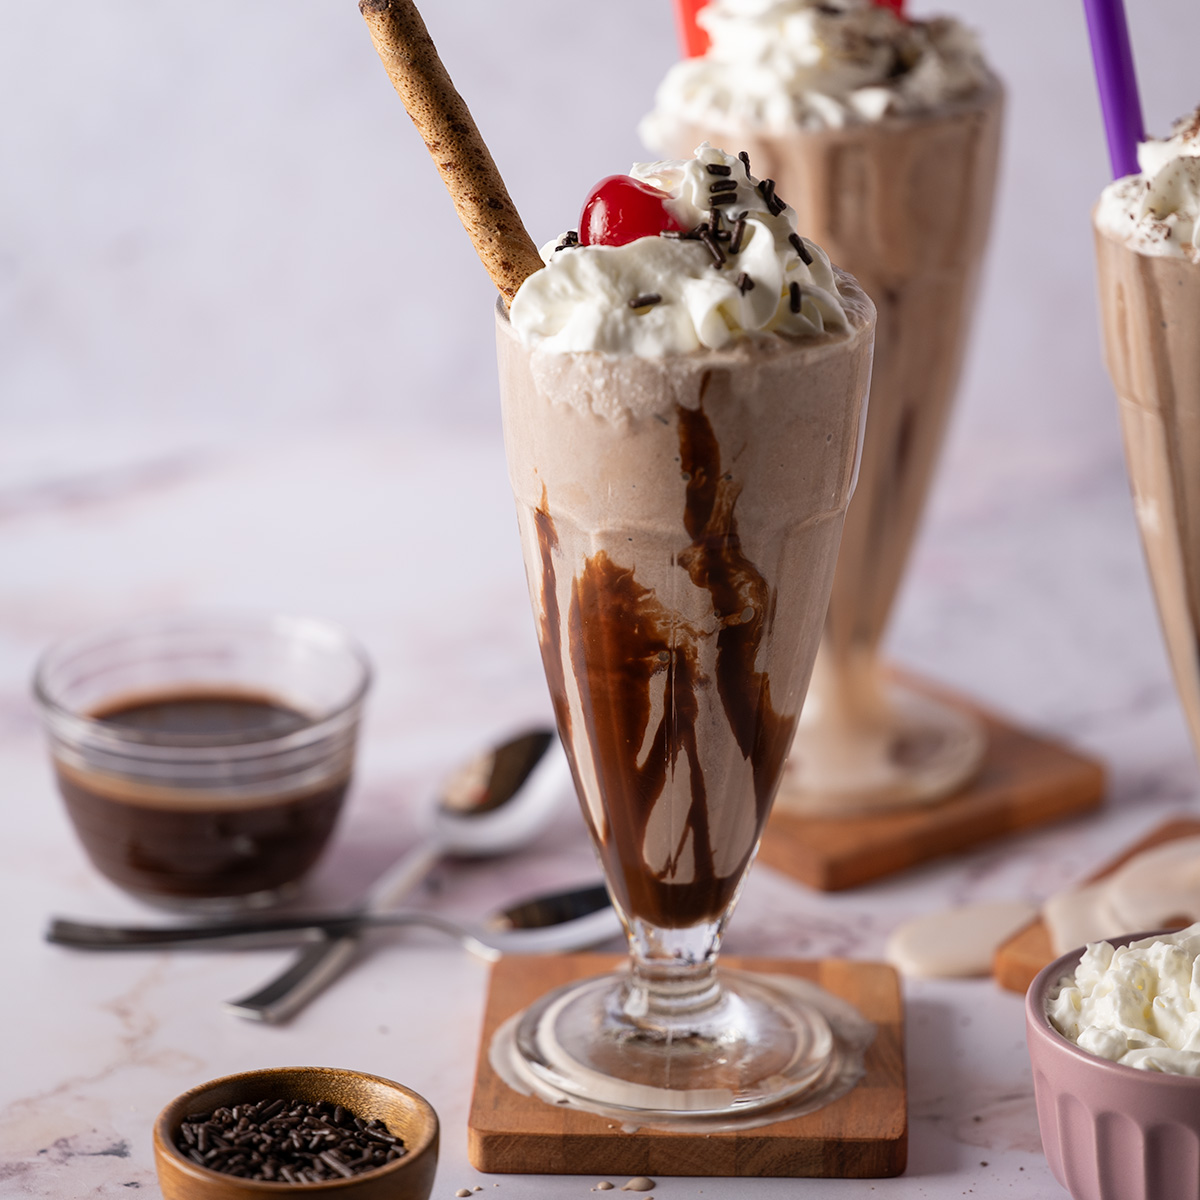
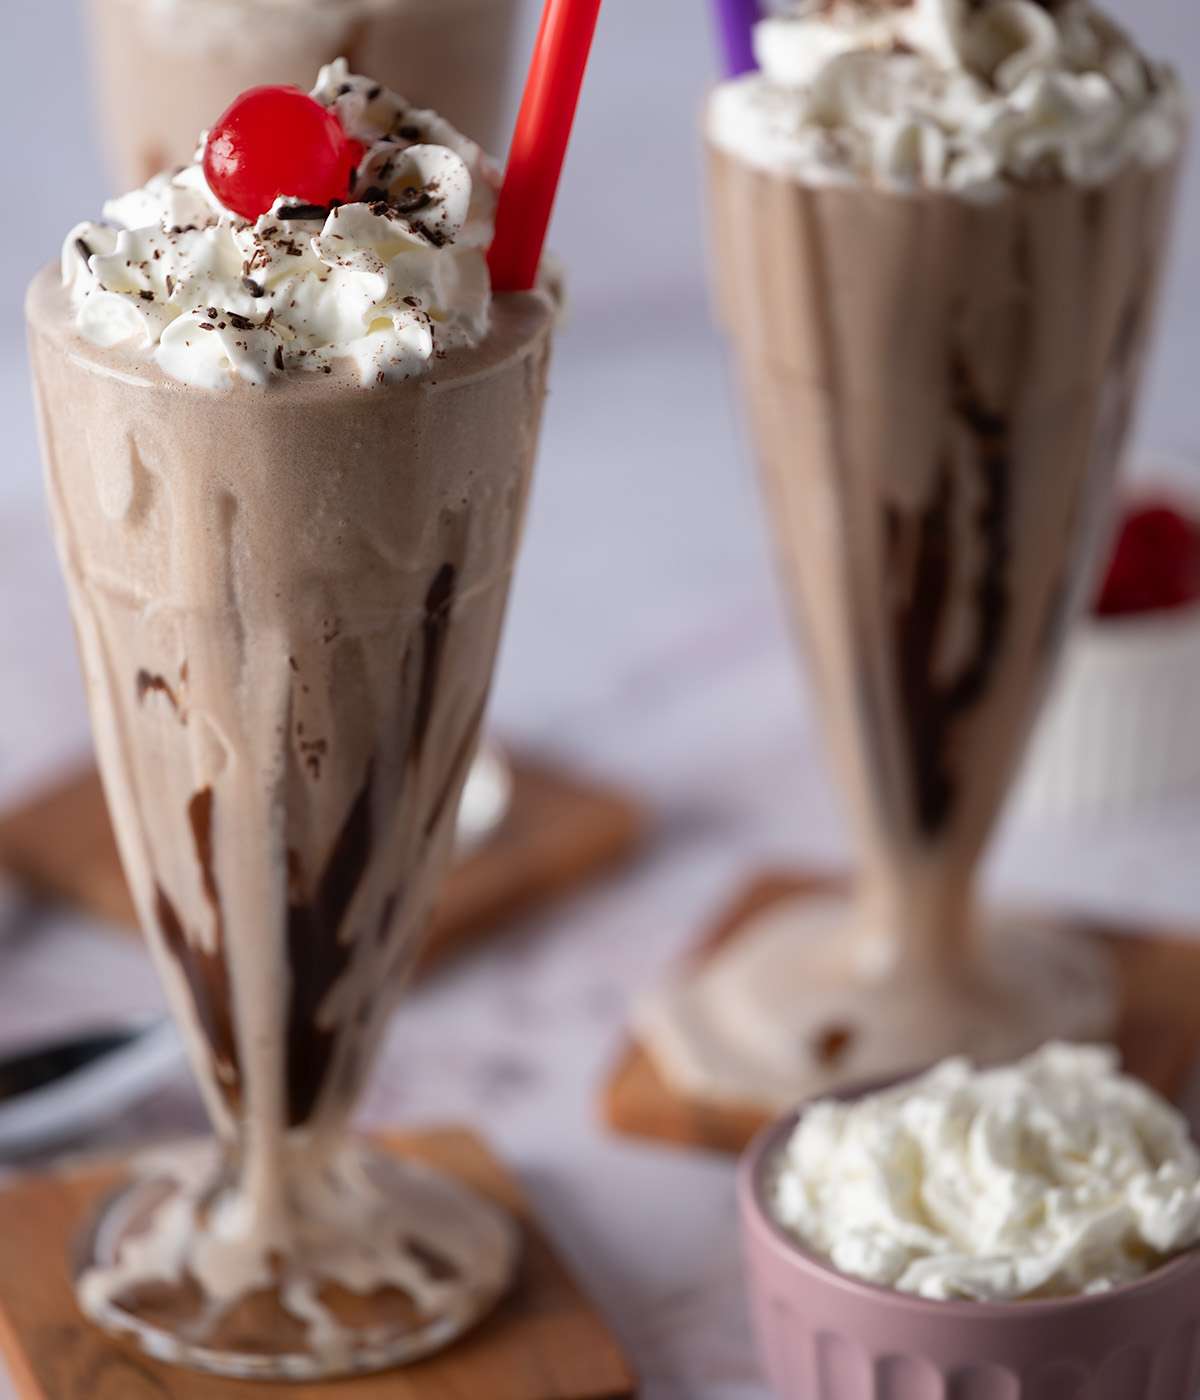
High-quality chocolate ice cream blends with heavy cream (instead of milk) to create a thick, decadent milkshake that is totally customizable!
Jump to:
My love of chocolate knows no season. While everyone else might only let themselves indulge in a milkshake during the hotter summer months, I bask in my inappropriateness of either ordering or whipping up my own milkshake any time of year. And yes, this works the opposite way as well, where I can be found drinking a piping hot mug of hot chocolate in scorching summer heat.
No, you're weird!
But I quickly grew weary of the fast-food style milkshakes that use a gritty, premade mix that really lacks in flavor. I keep waiting and waiting to be hit with that pow! of chocolate, but it never hits that crescendo. And while I have luckily found some amazing restaurants in my area that do milkshakes right (read, thiccccc and creamy and exploding with chocolate flavor), I don't always have the time for a sit-down experience.
Enter: my own recipe for the thickest, creamiest shake I could produce that has a real cocoa taste and a smooth, decadent mouthfeel. I promise, you'll be looking for any excuse to whip up this recipe once you try it!
What is a Milkshake?
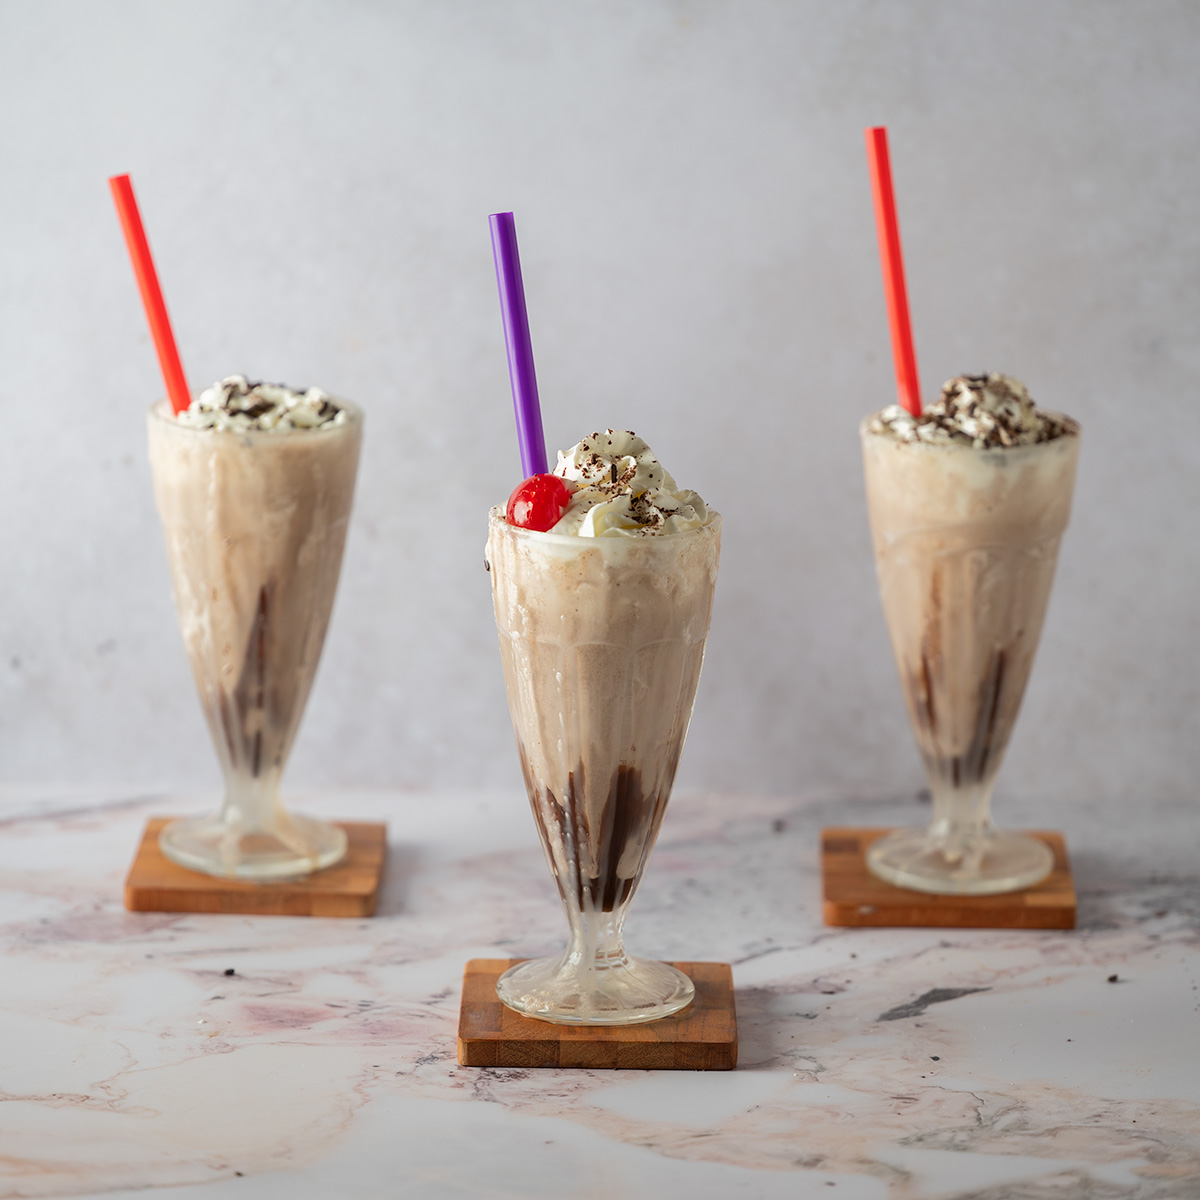
Arguably one of the easiest desserts you could make, a milkshake is a combination of milk and flavored ice cream that is blended into a rich, creamy consistency that you can sip through a straw. Enjoy a shake as-is, or feel free to dress it up with toppings and flavors of your choosing. Blend up frozen fruit, squirt in some flavored syrup, pile high with whipped cream -- the only limit is your imagination!
How to Make a Chocolate Milkshake
As mentioned above, while you can use any flavor of ice cream and toppings to make a shake, I of course prefer mine to be as chocolaty as possible! Therefore, I recommend using a high-quality chocolate ice cream combined with a full-fat dairy product that provides the thickest texture.
I personally omit any use of any syrup or sauce in the milkshake itself since I find that this actually detracts from the premium flavor of the ice cream. I will instead liberally drizzle a homemade mocha syrup overtop the whipped cream that caps my milkshake, but go ahead and include any sauce in your milkshake if you like.
How Do You Make a Thick Milkshake?
Most people prefer a thick milkshake that is just barely drinkable using a straw, and I'm no exception to this rule. In fact, rather than using milk (as the name even suggests), this recipe substitutes heavy cream for milk due to its higher fat content, which lends to a creamier mouthfeel than milk alone.
Another tip is to make sure your ice cream hasn't already begun to melt. The more melted your ice cream is, the thinner and runnier your shake will be.
Reasons to Make This Recipe Today
- Saves you money -- a gallon of milk and a gallon of ice cream can make LOTS of milkshakes for the same cost as 1-2 shakes from a restaurant.
- You don't have to leave your home -- you won't have to leave your house to satisfy that craving!
- Customize to your precise taste -- when you make your own shake, you have complete control over its texture, add-ins, and toppings.
- Great for all occasions -- whip these up for a party with friends, a night in with the family, or for when you just need something indulgent.
Ingredients and Variations
At their core, milkshakes are comprised of just two ingredients, with various toppings being optional.
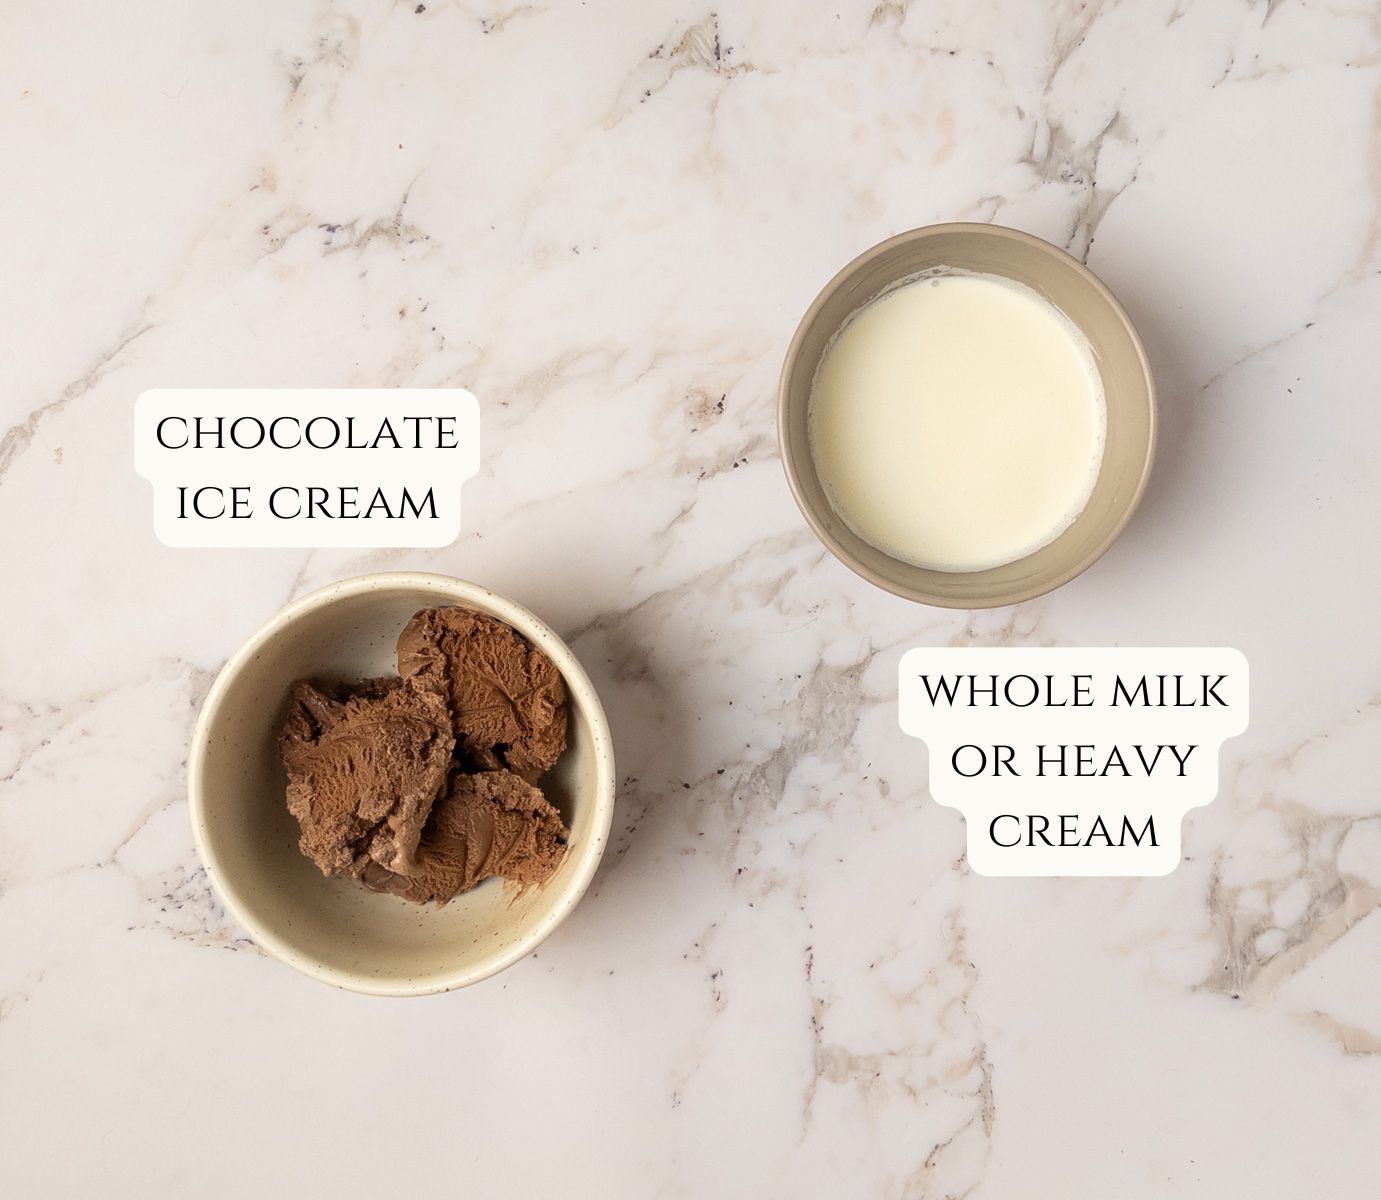
Chocolate ice cream -- one of the most crucial ingredients! Use a high-quality ice cream since they are made with less artificial ingredients are lend a fuller cocoa taste. Plus, I have found an ice cream like Haagen-Dazs doesn't melt nearly as quickly, which helps preserve that thicker consistency.
Heavy cream -- heavy cream has three to four times the fat content of whole milk, making it an excellent choice for achieving a superior thick and creamy texture. If you don't have heavy cream, you can easily substitute 1:1 with whole milk, which has a higher fat content than skim or nonfat milk for a creamier texture.
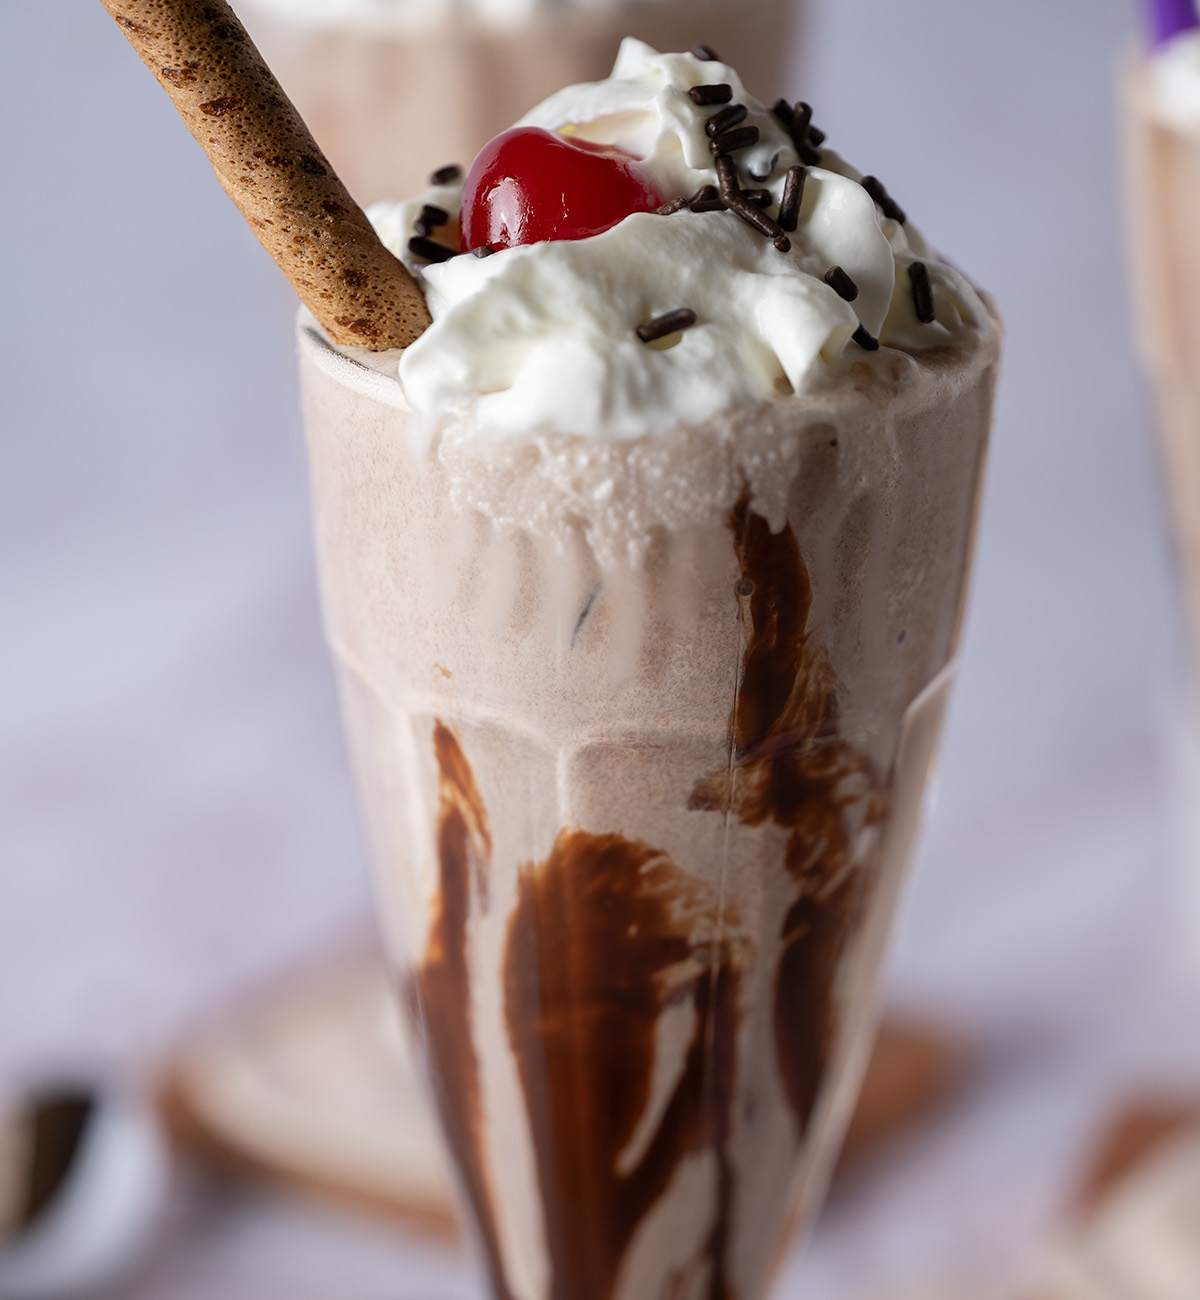
Toppings -- add any toppings of your choice! Go for whipped cream, syrup, sprinkles, candy, cookies and wafers, or anything else you like.
Tips for Success
- Chill the glass in the freezer for 15-20 minutes. This helps keep the ice cream from melting too quickly and ruining whatever texture you're trying to achieve.
- Take the ice cream out about five minutes before you're ready to use it so it softens slightly, but not so much that it has already begun to melt.
- Add the heavy cream or milk a little bit at a time so that you can measure the consistency as you blend.
- You can either use a traditional blender or an immersion blender to make the shake. I like to use an immersion blender so I can have better visibility and control over the final product.
- Blend for a limited amount of time. The longer you mix, the thinner the end result will be.
Storage Instructions
Since ice cream is never the same once it is refrozen, we don't recommend making these ahead of time. Instead, prepare and serve immediately.
Video
Perfectly Thick Chocolate Milkshake
Equipment
- 1 milkshake glass, chilled
- 1 digital scale
- 1 tablespoon or ice cream scoop
- 1 cocktail shaker
- 1 immersion blender
Ingredients
- 8 ounces premium chocolate ice cream
- 4 ounces whole milk or heavy cream
- Various toppings (optional)
Instructions
- Chill the glass in the freezer for 5 minutes. (Optional): line the glass with chocolate syrup, then return to the freezer for a further 5 minutes. Meanwhile, leave the ice cream to thaw slightly on the counter while you collect your favorite toppings.
- Scoop 8 ounces of ice cream into the cocktail shaker, stream in 4 ounces of whole milk, then use the immersion blender to blend to your desired consistency. Top with whipped cream, sprinkles, cookie crumbles, chocolate syrup, and more!