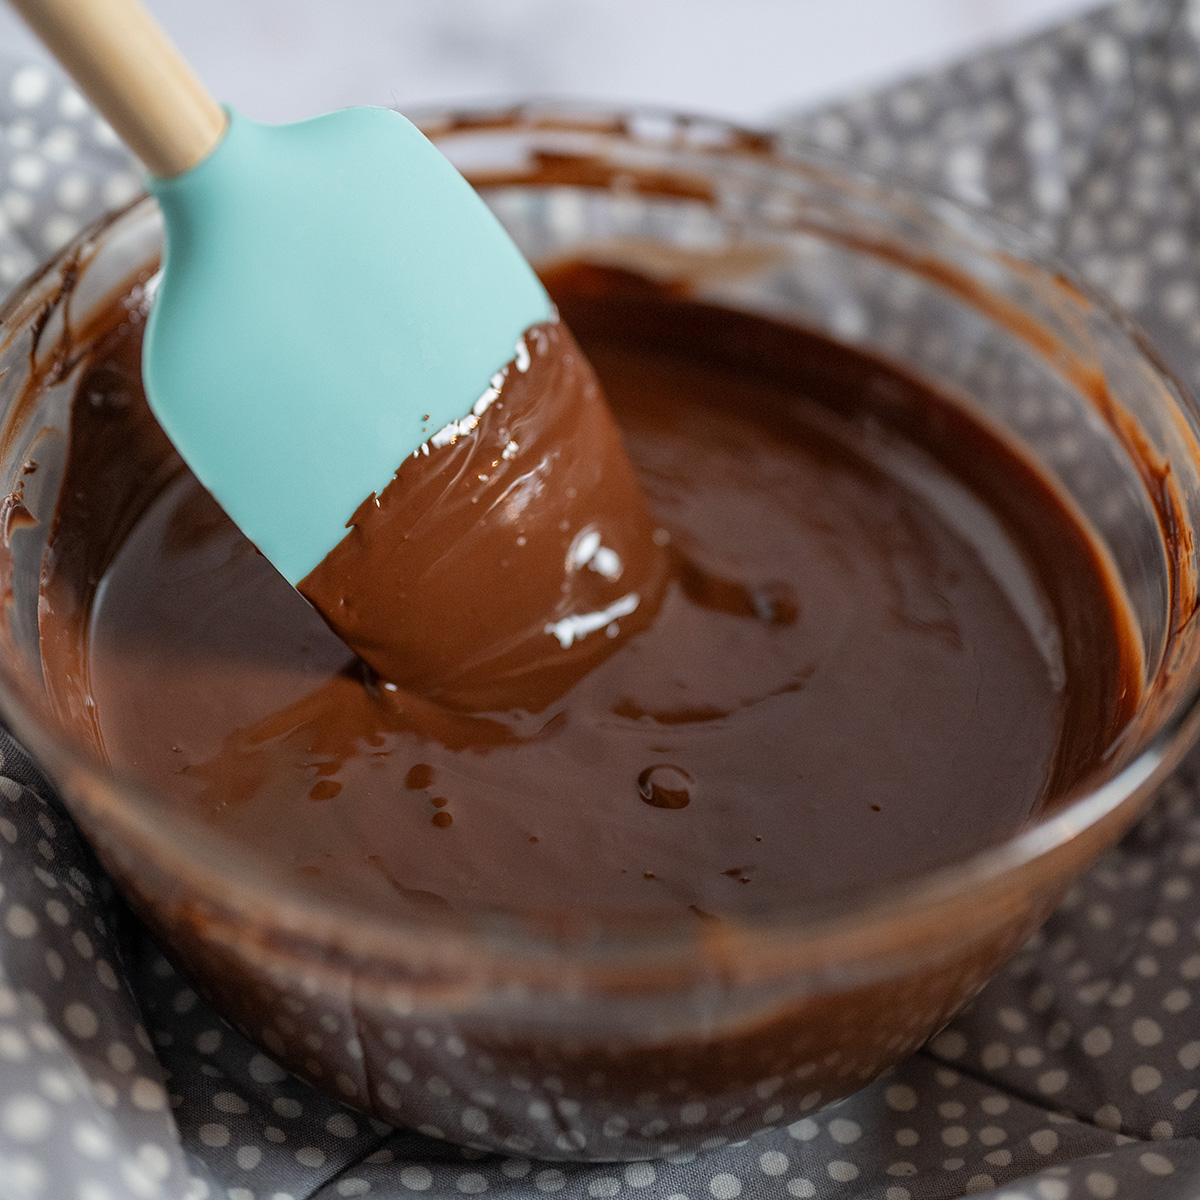
Everything you ever wanted to know about the most essential skill when working with chocolate! I will show you how to make perfectly tempered chocolate that has a bright shine, great snap, and delicious texture, every time!
I know that tempering might seem really intimidating at first, but I’m here to help simplify the process so that you get exquisite results again and again! I want you to feel confident the next time you make homemade chocolates or prepare snacks that the whole family can enjoy.
Get all of your tempering questions answered below, or ask me directly in the comments!
What Is Tempering Chocolate?
Chocolate is made up of cocoa mass (the actual ground up cocoa beans) and cocoa butter. Tempering chocolate solely focuses on cocoa butter.
Without delving too much into molecular science, tempering chocolate is the process of melting cocoa butter crystals and restructuring them into their most stable formation (known as “Beta-5 crystals” or “Form-V crystals,” for you fellow nerds out there) ;).
Now, what does that mean in practice?
Well, if you ever had chocolate that:
- had an ultra-shiny finish
- had a smooth, creamy texture
- had a clean, firm snap when broken into pieces
- didn’t easily melt in your hand
Then you’ve already reaped the benefits of tempered chocolate!
Why Temper Chocolate?
Tempering chocolate is a necessary part of any confectionary work. You cannot make bars, bon bons, or many other chocolate treats without properly tempering the chocolate first. Using either improperly tempered chocolate or only melted chocolate won’t work. Some problems that can arise include:
- bon bons won’t easily retract from their molds
- the final product will bend and have either streaks or flecks (known as “fat bloom,” where yellow or white cocoa butter globules mar the chocolate’s surface)
- the chocolate can be crumbly and smear on your hands and other surfaces
Do I Always Need to Temper Chocolate?
Fortunately, no! If the chocolate’s final importance is unimportant to the recipe, or if the chocolate needs to be shelf-stable and not melt or smear when eaten, then it won’t need to be tempered.
On the other hand, all molded chocolates will need to be tempered. In fact, 100% of “real” chocolate that is commercially available is tempered, so it is a foundational skill to master when working with chocolate.
To that end, “real” chocolate is defined as any chocolate product that contains cocoa butter instead of oil (known as “compound chocolate”). All types of chocolate containing cocoa butter can be tempered: white, milk, dark, ruby, and other types. Even regular cocoa butter can be tempered!
If you read “oil” anywhere in the ingredients on a package of chocolate, that chocolate cannot be tempered. Melting wafers and chocolate chips, while a common and affordable “chocolate,” are actually compound chocolate and cannot be tempered.
How to Temper Chocolate
Tempering is the process of heating chocolate to melt all existing cocoa butter crystals, then gradually cooling it to allow new crystals to form, then gently reheating the chocolate again to maintain the new, stable crystal growth.
The precise temperatures needed for this heating and cooling process vary by the brand of chocolate, so check your chocolate’s packaging to see if the temperatures are listed. These temperatures will be represented as a “tempering curve,” which looks like a line graph:
However, if you don’t see a tempering curve listed, the following temperatures can be used:
| Chocolate Type | Melting Temperature | Cooling Temperature | Tempered Temperature |
|---|---|---|---|
| Dark Chocolate | 113 F-123 F | 80 F | 87 F-89 F |
| Milk Chocolate | 113 F | 80 F | 84 F-86 F |
| White Chocolate | 113 F | 80 F | 84 F-86 F |
Methods
Tempering is usually done one of two ways: the “seeding” method and the “tabling” method. Each one produces the exact same results, so it really comes down to a matter of personal preference.
Seeding Method
The “seeding method” gets its name because once we melt down chocolate, we also melt down all of its cocoa butter crystals, creating weak, bendable chocolate with a poor shine and texture. As such, we have to reintroduce stable cocoa butter crystals to the chocolate in order to temper it.
“Seed chocolate” simply refers to adding already-tempered chocolate that contains stable cocoa butter crystals to melted chocolate to help temper it.
Whenever you use the seeding method, measure out an additional 20-25% of the weight of the chocolate being tempered and set aside. This is your seed chocolate.
Steps
- Reference the chocolate’s packaging for precise temperature instructions for that particular brand and type (white, milk, or dark), if listed. If it’s not listed, please reference the tempering table above according to the type of chocolate you are using.
- Heat chocolate to its melting point so that all existing cocoa butter crystals melt.
- Add a small quantity of existing (i.e., already tempered) chocolate to cool the chocolate and introduce beta-5 crystals that will begin to multiply. Add all of the seed chocolate.
- Gradually cool the chocolate by stirring constantly until it reaches its final cooled temperature.
- Gently warm the chocolate in either the microwave or over a double boiler to the final temperature labeled on the package.
Tabling Method
This technique is usually practiced by experience chocolatiers due to its faced-paced nature and reliance on visual cues from the chocolate, which take a while to learn.
Rather than using seed chocolate, this method relies on reserving one-third of the melted chocolate while the remaining two-thirds gets poured onto a cool, hard surface and worked with a chocolate scraper and offset spatula until the chocolate cools to 80-degrees Fahrenheit. The chocolate is then scraped back into the bowl of reserved chocolate, stirred, and should now be ready to use.
- Reference the chocolate’s packaging for precise temperature instructions for that particular brand and type (white, milk, or dark). If it’s not listed, please reference the tempering table above according to the type of chocolate you are using.
- Heat chocolate to a high enough temperature that melts all existing cocoa butter crystals.
- Pour two-thirds of the melted chocolate onto a clean and DRY marble slab. Use a chocolate scraper and an offset spatula to push the chocolate around to rapidly cool and assist with proper crystal formation.
- Once the chocolate has reached its recommended cooling temperature, scrape it back into the bowl and then continue to stir until the chocolate reaches the final working temperature listed on the package.
Can Any Chocolate Be Tempered?
No! Only chocolate made up of cocoa butter and cocoa solids (aka, “real chocolate”) can be tempered. Most candy wafers, chocolate chips, and other such “melting” chocolate are made with vegetable oil instead of cocoa butter, so these cannot be tempered since there aren’t any cocoa butter crystals to form.
Ingredients
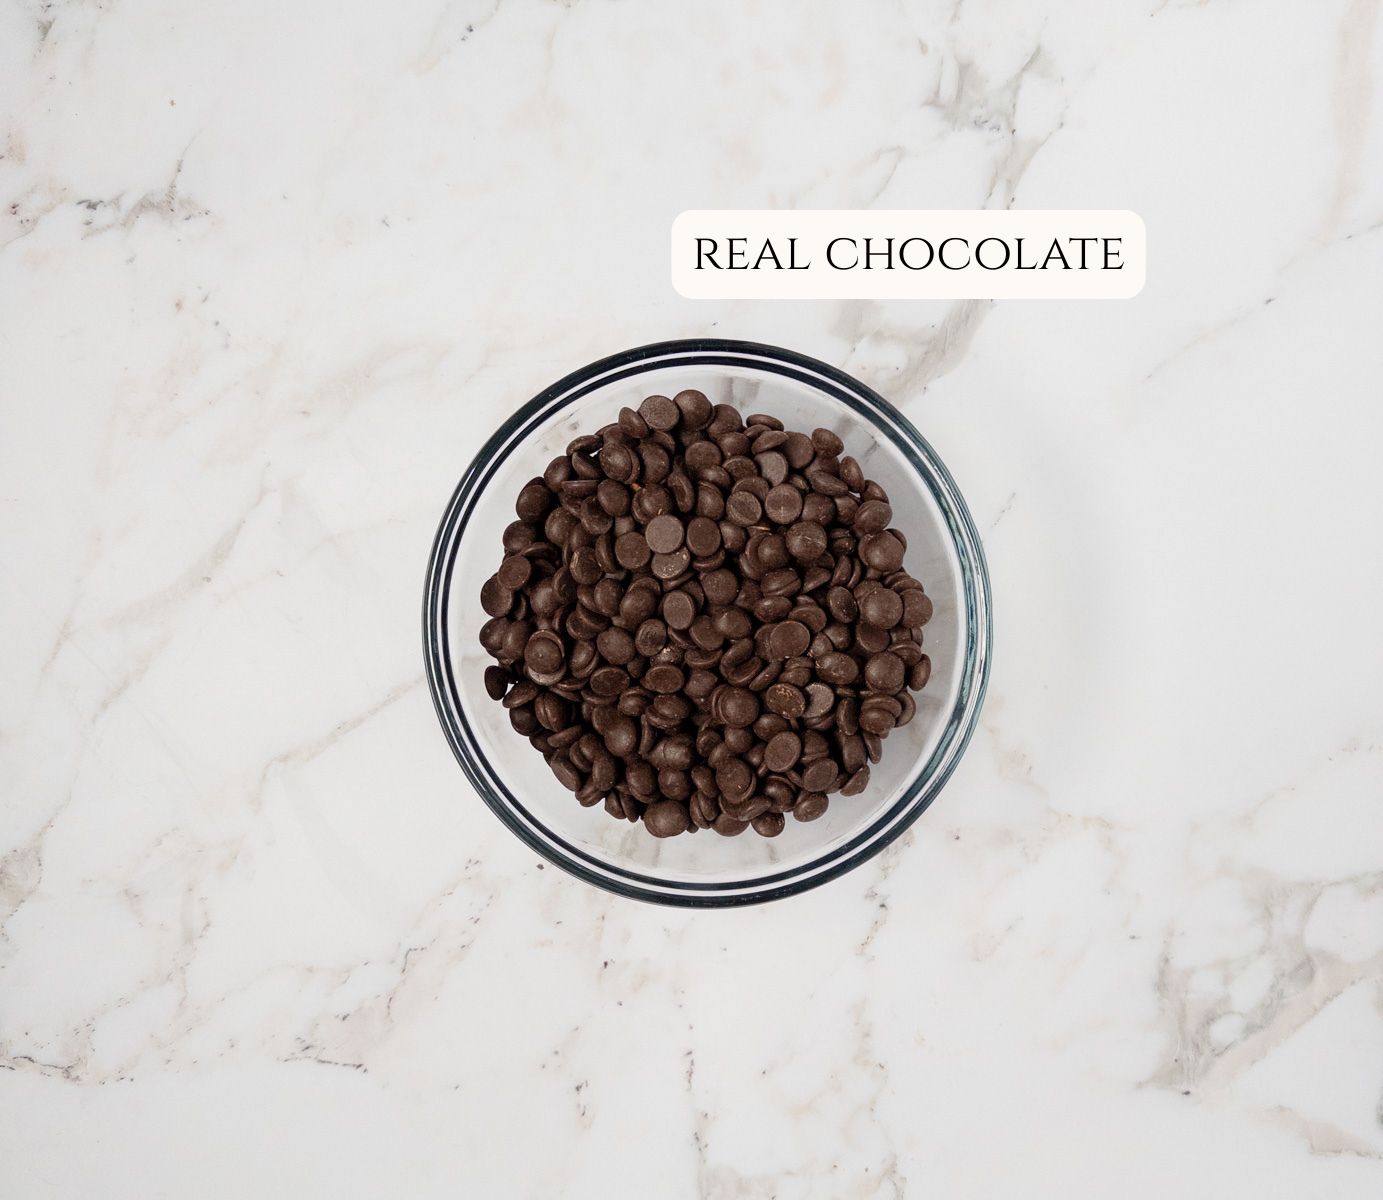
Chocolate, any one type — Again, only use real chocolate since it contains cocoa butter crystals (whereas compound chocolate, like chocolate chips or melting wafers, don’t contain any cocoa butter). Coverture works best for the creamiest, shiniest finish, such as Callebaut (pictured above) or Valrhona, among others.
Tips for Success
- Never, ever let water or any type of moisture touch the chocolate. Doing so will make the chocolate seize, and there is no way to remedy this one it occurs, and the chocolate will have to be discarded.
- It is much easier to keep a large quantity of chocolate in temper, as a smaller quantity cannot retain as much heat and thus cools much faster. For this reason, when working in bulk, use far more chocolate than you actually think you will need. Some recommend tempering no less than three pounds (roughly 1.3kg) at a time, but this is a matter of personal preference.
- Whenever possible, use coverture chocolate for its higher cocoa butter content. Coverture chocolate is used exclusively in molding chocolates, adds a spectacular finish and texture to hand-dipped confections, and makes ganache even silkier.
- You can choose the melt the chocolate either in the microwave or on the stovetop using a double-boiler.
- If using the microwave, heat in 30-second intervals and stir in between to ensure you don’t scald the chocolate, which will have to be discarded.
- Always test your temper before using the chocolate; you don’t want to discover an incorrect temper only after you’ve made (or gifted or sold!) the chocolate before it has fully crystallized. To test your temper, dip the tip of an offset spatula or a butter knife and set aside for 2-3 minutes. Properly tempered chocolate will have a smooth and glossy appearance with a crisp snap. Streaks, flecks, dullness, or a gray appearance indicate an improper temper.
- Don’t throw out any improperly tempered chocolate! Repair it by returning the chocolate to its melting temperature and begin the tempering process again, again checking your temper before use.
- While you work, periodically check the chocolate’s temperature in the bowl to ensure it’s still in temper. If it has cooled, gently rewarm in the microwave, over a double-boiler, or even with a heat gun (a new hair dryer works just as well)! If the chocolate is too warm, continue gently stirring to help cool.
Detailed Preparation Instructions (Seeding Method Only)
In either the microwave or a double-boiler, slowly melt the chocolate, stirring frequently for even heating.
Using the seeding method, remove the bowl from the heat and toss in 1-2 handfuls of coverture pistoles into the melted chocolate. Stir continuously from here on out until a thermometer registers the recommended temperature on the chocolate’s packaging.
Using either a heat gun, microwave, or a double-boiler, gently heat the chocolate to the final temperature listed on the packaging.
Dip an offset spatula into the chocolate to test its temper. If it sets quickly and comes out smooth and shiny, it’s ready to use!
Storage and Reheating Instructions
Roll out a long sheet of cling film and pour any unused tempered chocolate on top. Wrap tightly and store in a cool, dry place until ready to use. Chocolate without “inclusions,” or other ingredients, lasts indefinitely when properly stored.
Tempering Chocolate
Everything you ever wanted to know about the most essential skill when working with chocolate! I will show you how to make perfectly tempered chocolate that has a bright shine, great snap, and delicious texture, every time!
- digital scale
- heatproof bowl
- rubber spatula
- infrared thermometer or candy thermometer
- offset spatula
- 500 grams real chocolate, chopped or in pistoles (plus 125g more of the same chocolate, if using the seeding method)
Completely melt the chocolate in the microwave or a double-boiler until it registers the temperature listed on either the packaging or the above table on a food thermometer.
Toss in the seed chocolate and stir until melted. Consistently fold and stir the chocolate to help cool it until a thermometer registers the recommended temperature on the packaging.
Using either the microwave or a double-boiler, gently reheat it to the recommended temperature on the packaging.
Test the temper by dipping an offset spatula into the chocolate. If it sets quickly and comes out smooth and shiny, it's ready to use!