jerseygirlbagelshop.com

  • Recipes
  • About

Home Confectioner’s Complete Equipment Checklist

September 30, 2025 by Abigail Leave a Comment

Beginner home confectioners can experience great success with making their first chocolates using the pared down 8 Essential Tools for Homemade Confections.

However, for those feeling ready to create more advanced and decorated chocolates, you will have so much fun collecting the tools listed below that can immediately make your confections look and feel more artistic and expensive.

I ONLY recommend products that I have purchased and use myself, and include links to the exact items in my own kitchen, where applicable. For instance, you will find the below equipment throughout my videos and on social media.

The home confectioner’s complete checklist

Now, I don’t expect or advise you to run out and purchase all of this equipment at once. Rather, first identify a few goals that you would like to accomplish with your next batch of chocolates.

Perhaps you want to fill them with marshmallow, ganache, or other fillings. Or maybe you are looking to add some color, whether it be with stylish designs or completely coloring each bon bon. Or maybe you’re looking to get better with framing or hand-dipping centers.

Whatever your goal, this post contains a COMPLETE list of tools and equipment that home confectioners can use to achieve a variety of delicious results.

Kitchen Equipment Essentials

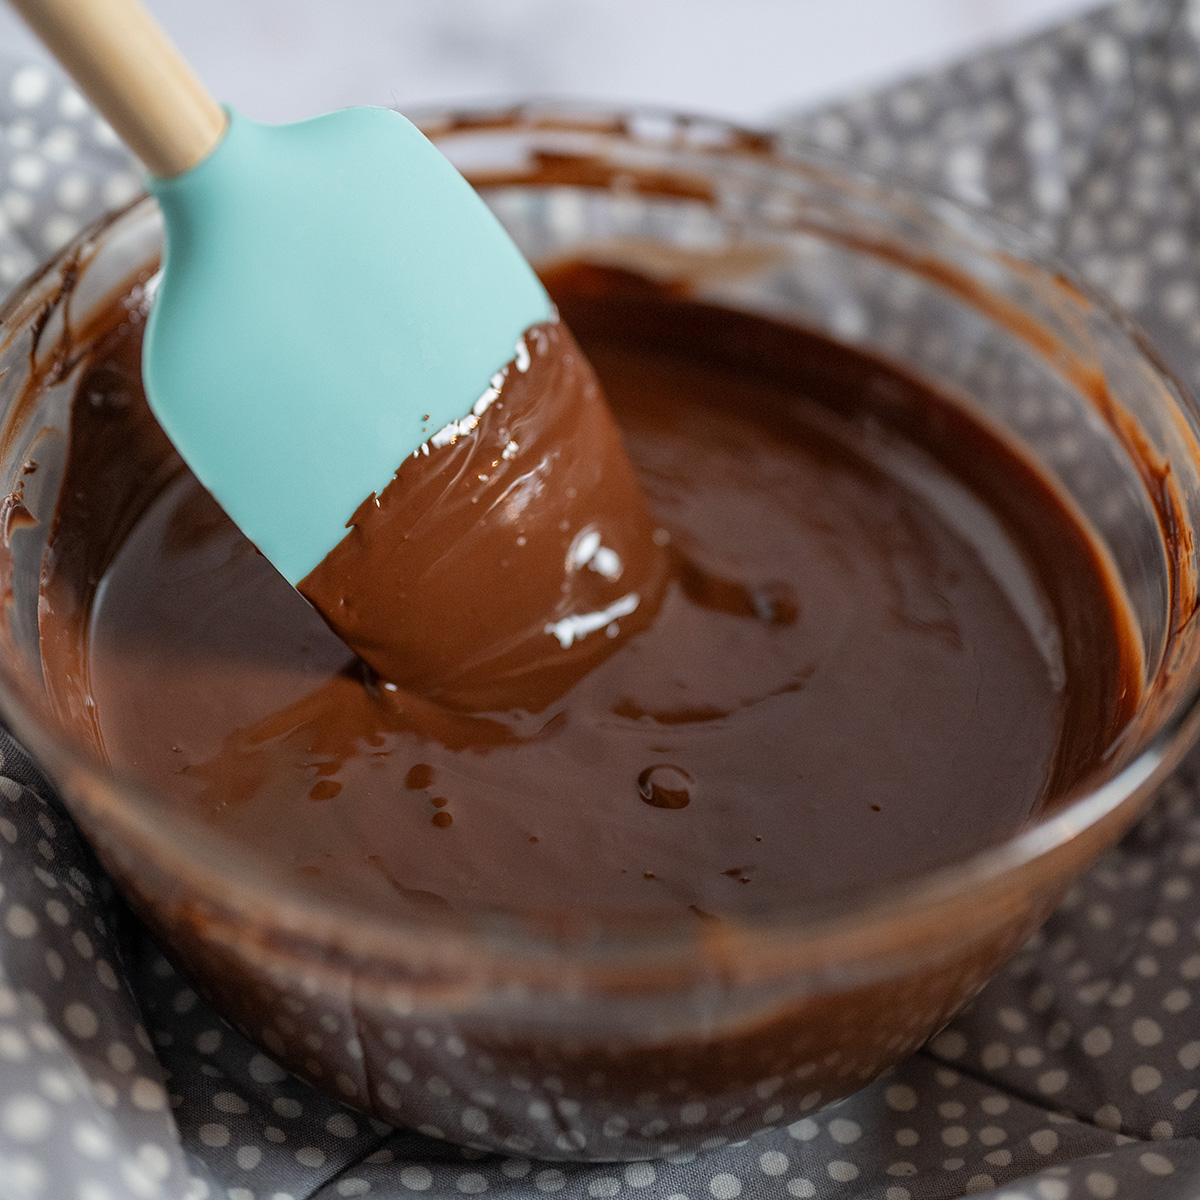
  • Stainless steel bowls — For continued tempering success, I highly recommend investing in several stainless steel bowls in various sizes.

    Stainless steel conducts and maintains heat more evenly than glass or plastic bowls, which means that your chocolate will stay at temperature for longer, giving you more time to fill or hand-dip chocolates.
  • Rubber spatulas — melting chocolate, tempering chocolate, stirring fillings, mixing and spreading batter…rubber spatulas are ubiquitous kitchen tools. I ordered two sets of these particular spatulas because they come in so many different sizes and have already held up for a few years without any incident, including working with heavier batters that previously broke my grocery store spatulas.
  • Infra-red food-grade thermometer — you will find most chocolatiers work with an infrared thermometer for it’s pinpoint-accuracy in a pinch, but any probe thermometer will work just as well. Plus, you can use a probe thermometer to make caramels and other delicious bon bon fillings without fear!
  • Stand mixer — I thought I could get away with using any off-brand stand mixer, but the two I used previously were loud and very cheaply-made. So I finally splurged on a KitchenAid, and let me tell you: it IS worth the hype and the investment. Sturdy, reliable, and even comes with a panning attachment for chocolate work, I would have purchased this forever ago to make cookies, breads, frosting, and just about anything else worth baking. ๐Ÿ˜‹

Confectionary equipment Essentials

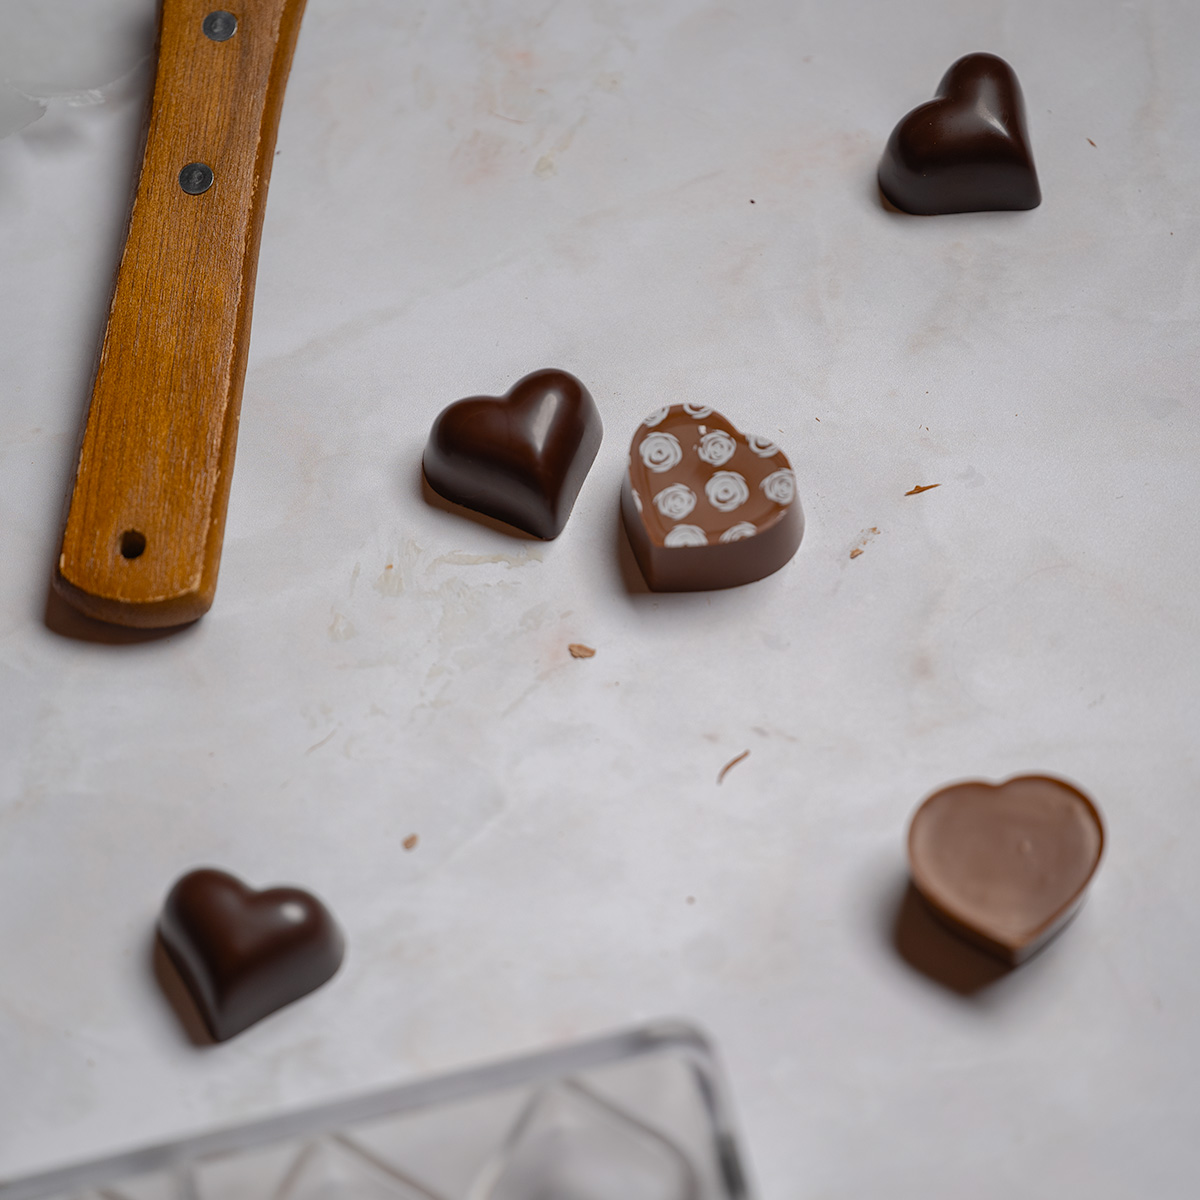
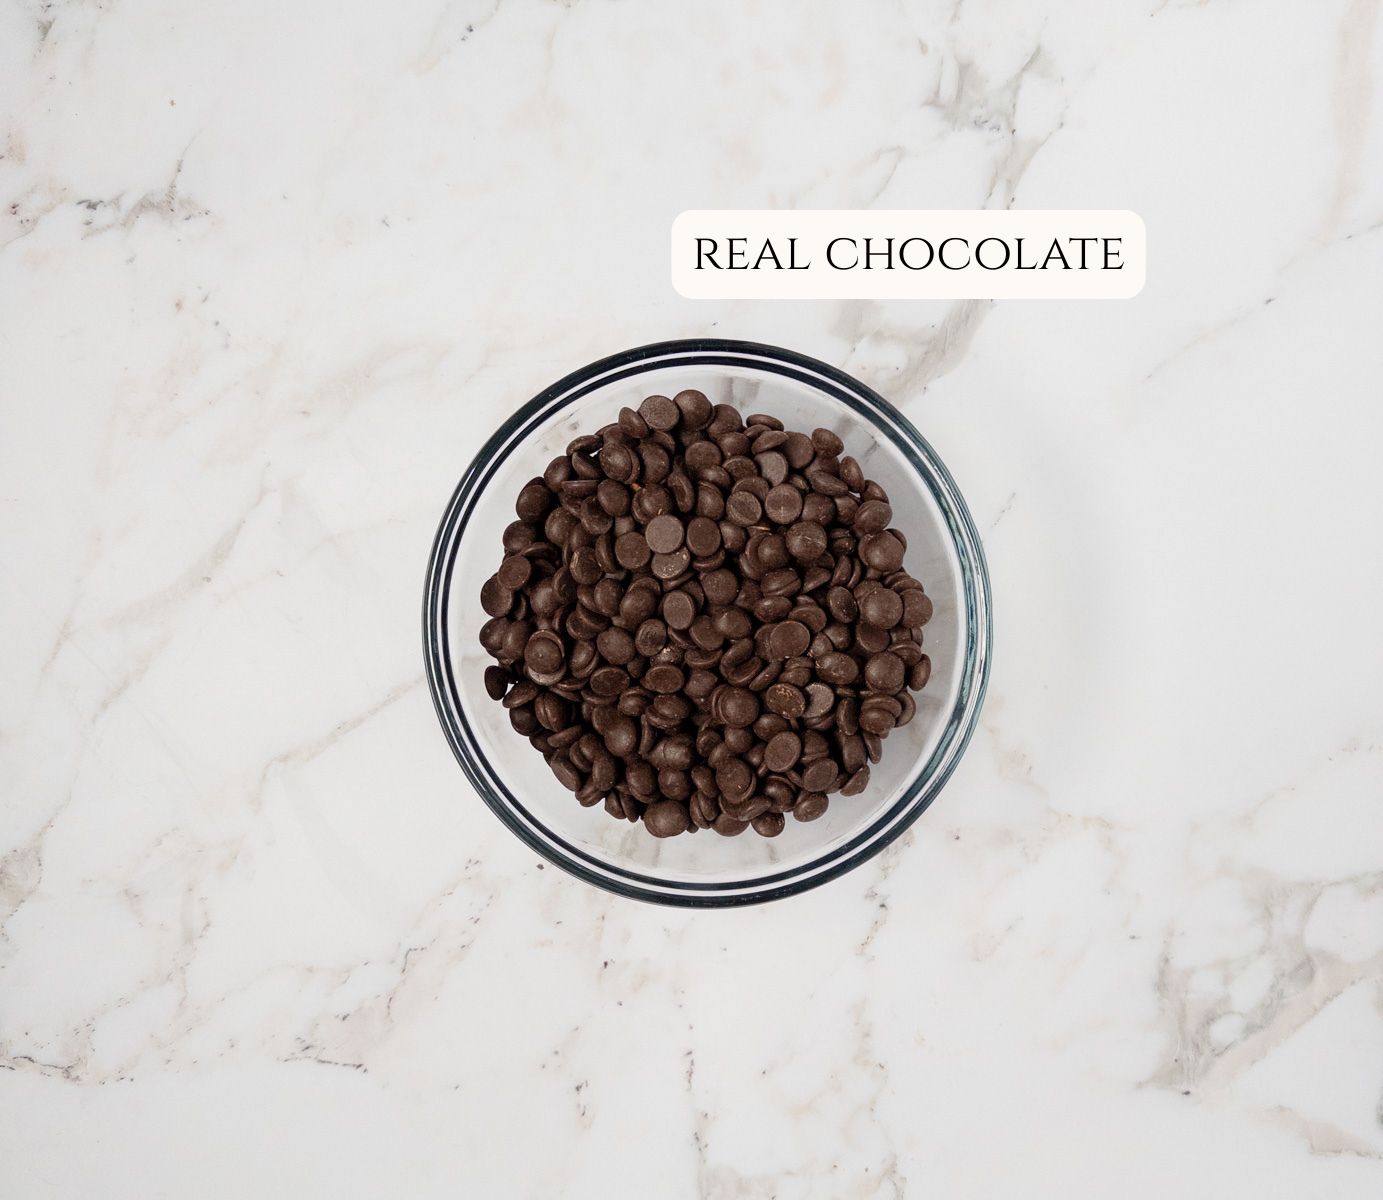
  • Coverture chocolate — if you want to make molded chocolates, then coverture chocolate should be your go-to chocolate of choice. Coverture chocolate contains a much higher amount of cocoa butter than regular tempered chocolate, making for a shiny bon bon with a creamy, luxurious texture.
  • Polycarbonate chocolate molds — for molded chocolates with a superior, professional finish, I strongly recommend using polycarbonate molds over silicone or metal molds. They are affordable, lightweight, easier to work with than silicone, and can last for many years with proper care.
  • Silicone molds — This isn’t me immediately contradicting myself with the paragraph above! I recognize that not everyone has polycarbonate molds, but I’m sure a few of you already have some candy molds in your pantry.

    Besides, it’s still important to have silicone molds on hand for certainly chocolate candies, pastries, and desserts — all of which I will include on this site. ๐Ÿ™‚ Definitely have at least one silicone mold with candy bar cavities, since you can make snack bars and other simpler snacks and desserts to get used to how they move and feel.

    I’m in the process of testing three silicone molds: one for peanut butter cups, one for keto fat bombs, and another for different chocolates–and yes, recipes are coming for all of these! If I like them, I will provide a recommendation here, so check back soon!
  • Chocolate scrapers — I have three of these, and they are a lifesaver when you’re working on a few batches of chocolate. A messy scraper gives imperfect results, and it wastes so much crucial time working with tempered chocolate to constantly stop and wipe the blade clean after each stroke. So it made my life easier when I finally invested in more of them.

    Plus, you’ll want at least two different ones if you often work with different types of chocolate at once (you don’t want them bleeding together)!

    These scrapers are large enough to fit over most polycarbonate molds in a single stroke, which greatly simplifies the molding process! They’ve held up for a year and a half and still going strong — zero complaints here.
  • Piping bags — I’d recommend two sizes: these smaller bags for light batches or for substituting a paper cone, and extra-large bags for when you’re not here to P-L-A-Y. Ultimately, if you had to pick only one, go with the extra-large bags, as they will make filling molds so much easier and faster.
  • Offset spatulas — I have three of these sets, and get the most mileage out of the 4″ and 6″ varieties from testing tempering, spreading batter, and framing ganache. You’ll also use these for layering and frosting chocolate cakes, swirling caramel or peanut butter throughout brownies, or really anything else you can imagine.
  • Acrylic rods — there is a lot of debate as to how chocolate molds should dry: upside down or on their sides. While there isn’t much difference between the final results from either method, I see most professional chocolatiers recommend drying upside down and slightly elevated for full airflow.

    Thus, each end of a polycarbonate mold fits neatly on either side of these types of bars. You will see me using these bars throughout this site and my videos.
  • Transfer sheets — with literally thousands of designs to choose from, transfer sheets are a super easy way to print elegant and intricate patterns on your chocolates in bulk. Their designs range from cute, festive, and sophisticated options, and eliminate the need to hand-paint with various tools using colored cocoa butter.
  • Dipping utensils — you can use these two different ways! Not only are these great for dipping centers and other treats entirely in chocolate, but they make professional-looking designs when pressed into still-wet chocolate. Once you know what sorts of designs these utensils make (more on that in an upcoming post!), you’ll start seeing them everywhere in chocolate shops around the world!
  • Colored cocoa butter — pigmented cocoa butter turns chocolate ANY color of the rainbow, so you can achieve dramatic results with minimal effort. Choose a monochrome effect for supreme shine, or hand-paint flecks and patterns with brushes and spray guns for a creative, personal touch.
  • Heat gun — if you only need to heat your chocolate a few degrees, then it is much safer to use a heat gun for a few seconds over possibly throwing your chocolate out of temper in the microwave or over a double-boiler, since these are far stronger heat sources.

    Alternatively, you can use a (new, designated) hairdryer — just be sure to keep this dedicated to your chocolate work to avoid cross-contamination! My $20 Revlon hairdryer from the grocery store has served me well all these years, so it’s up to you as to which you’d prefer to use, as the cost comes out to be roughly the same.
  • Immersion blender — an immersion blender is an essential tool to make silky ganache that won’t split, so you can fill or enrobe tens or hundreds of chocolates with confidence. I bought this exact one two years ago, and it works just as well as when I first unwrapped it. Plus, you can use this for other sauces and dishes, so it’s definitely worth the value.

While the above lists contain the daily tools and equipment you will need when making your own chocolate and chocolate desserts at home, I will continue to add products as we grow together in our pastry and confectionary journeys, so check back often for even more tips and recommendations!

Filed Under: Equipment Product Reviews, Tutorials

8 Essential Tools for Perfect Homemade Chocolates

September 28, 2025 by Abigail Leave a Comment

Unmolding chocolate hearts.

Want to make your own chocolates at home but don’t have the budget or space for a lot of equipment? While I recommend gradually collecting the equipment in my Home Confectioner’s Complete Equipment Checklist as you advance through your confectionary journey, I also understand the need for just getting down to the bare essentials.

With a minimum collection of the below tools, you will confidently be able to produce professional-grade chocolates in your very own kitchen.

I ONLY recommend products that I have purchased and use myself, and include links to the exact items in my own kitchen, where applicable. For instance, you will find the below equipment throughout my videos and on social media.

Kitchen Equipment (with Easy Alternatives)

  1. Stainless steel bowls — I just looked into getting a Restaurant Depot-sized quantity of stainless steel bowls in various sizes– that’s how important these things are! Stainless steel absorbs and retains heat better than glass or plastic, making this a crucial purchase to make hand-tempering that much easier on yourself.

    You can also use these bowls with a double-boiler, when you’re working with variously-sized batches (especially larger ones!), or when you’re working with centers like caramel that need a durable vessel to help cool.

    And if that weren’t enough, they are just an fundamental, versatile kitchen tool to have on hand, even just for everyday cooking.
  2. Rubber spatulas — I have two sets of spatulas since they are imperative when melting or tempering chocolate. As chocolate cools, it begins to set, and any set chocolate that remains on the sides of the bowl can throw off your temper or cause lumps of solid chocolate in your bon bons.

    To avoid either of the above issues, invest in rubber spatulas that scrape and conform to the edge of the bowl, keeping your chocolate cohesive, reducing waste, and maintaining an even, silky texture throughout.
  3. Microwave-safe bowl(s) — if you don’t have a access to a double-boiler, you will need to melt the chocolate in the microwave instead. Having bowls in various sizes gives you the flexibility to work with different batch sizes — melt as much or as little as you need.

    While professional confectioners opt for plastic bowls since they don’t get hot in the microwave, I have had great success with simply reusing the same cereal bowls I already have at home. Pick whichever type works best for you.
  4. Butter knife/parchment paper — while confectioners opt to use offset spatulas for testing their chocolate’s temper, you can just as easily dip the end of a butter knife or small pieces of parchment paper and set aside.

    However, as you become more advanced in your confectionary journey, offset spatulas will become your next kitchen staple for their versatility in working with spreading fillings for enrobing, frosting chocolate cakes, or evenly spreading brownie brittle
  5. Infra-red food-grade thermometer — you will find most chocolatiers work with an infrared thermometer for it’s pinpoint-accuracy in just a few moments, but any probe thermometer will work just as well. Plus, you can use a probe thermometer to make caramels and other delicious bon bon fillings without fear!
Video still showing the same rubber spatula folding chocolate chips into cookie dough

Confectionary Equipment

  1. Polycarbonate chocolate molds — while there are several different types of chocolate molds, with each one giving you varying results, ALL professional chocolatiers and confectioners use polycarbonate molds.

    Affordable, flexible, easy to work with, and coming in literally thousands of different shapes, polycarbonate molds are what I recommend to anyone looking to make perfect chocolates. Plus, their material provides a superior shine to tempered chocolate even without additional cocoa butter — a chocolate shop secret. ๐Ÿ˜‰
  2. Chocolate scrapers — I have three of these, and I recommend getting at least that many if you are working with a few different types of chocolate or fillings, which is a common scenario. Otherwise, you will have to pause to properly wipe off your spatula to create unblemished chocolates
  3. Piping bags — I’d recommend two sizes: these smaller bags for light batches or for substituting a paper cone, and extra-large bags for when you’re not here to P-L-A-Y. Ultimately, if you had to pick only one, go with the extra-large bags, as they will make filling molds so much easier and faster.

I have been, and will continue to be for the foreseeable future, a home confectioner. I understand your struggles, your questions, and your confusion, for I’m right there in the trenches with you in this very mysterious world of chocolate. I want you to always feel empowered that these are the very same tools I used with much success, and I hope they serve you just as well.

Filed Under: Equipment Product Reviews, Tutorials

Tempering Chocolate

October 1, 2024 by Abigail Leave a Comment

A glass bowl of tempered milk chocolate.

Everything you ever wanted to know about the most essential skill when working with chocolate! I will show you how to make perfectly tempered chocolate that has a bright shine, great snap, and delicious texture, every time!

A glass bowl of tempered milk chocolate.

I know that tempering might seem really intimidating at first, but I’m here to help simplify the process so that you get exquisite results again and again! I want you to feel confident the next time you make homemade chocolates or prepare snacks that the whole family can enjoy.

Get all of your tempering questions answered below, or ask me directly in the comments!

What Is Tempering Chocolate?

Chocolate is made up of cocoa mass (the actual ground up cocoa beans) and cocoa butter. Tempering chocolate solely focuses on cocoa butter.

Without delving too much into molecular science, tempering chocolate is the process of melting cocoa butter crystals and restructuring them into their most stable formation (known as “Beta-5 crystals” or “Form-V crystals,” for you fellow nerds out there) ;).

Now, what does that mean in practice?

Well, if you ever had chocolate that:

  • had an ultra-shiny finish
  • had a smooth, creamy texture
  • had a clean, firm snap when broken into pieces
  • didn’t easily melt in your hand

Then you’ve already reaped the benefits of tempered chocolate!

Why Temper Chocolate?

Tempering chocolate is a necessary part of any confectionary work. You cannot make bars, bon bons, or many other chocolate treats without properly tempering the chocolate first. Using either improperly tempered chocolate or only melted chocolate won’t work. Some problems that can arise include:

  • bon bons won’t easily retract from their molds
  • the final product will bend and have either streaks or flecks (known as “fat bloom,” where yellow or white cocoa butter globules mar the chocolate’s surface)
  • the chocolate can be crumbly and smear on your hands and other surfaces

Do I Always Need to Temper Chocolate?

Fortunately, no! If the chocolate’s final importance is unimportant to the recipe, or if the chocolate needs to be shelf-stable and not melt or smear when eaten, then it won’t need to be tempered.

On the other hand, all molded chocolates will need to be tempered. In fact, 100% of “real” chocolate that is commercially available is tempered, so it is a foundational skill to master when working with chocolate.

To that end, “real” chocolate is defined as any chocolate product that contains cocoa butter instead of oil (known as “compound chocolate”). All types of chocolate containing cocoa butter can be tempered: white, milk, dark, ruby, and other types. Even regular cocoa butter can be tempered!

If you read “oil” anywhere in the ingredients on a package of chocolate, that chocolate cannot be tempered. Melting wafers and chocolate chips, while a common and affordable “chocolate,” are actually compound chocolate and cannot be tempered.

How to Temper Chocolate

Tempering is the process of heating chocolate to melt all existing cocoa butter crystals, then gradually cooling it to allow new crystals to form, then gently reheating the chocolate again to maintain the new, stable crystal growth.

The precise temperatures needed for this heating and cooling process vary by the brand of chocolate, so check your chocolate’s packaging to see if the temperatures are listed. These temperatures will be represented as a “tempering curve,” which looks like a line graph:

However, if you don’t see a tempering curve listed, the following temperatures can be used:

Chocolate TypeMelting TemperatureCooling TemperatureTempered Temperature
Dark Chocolate113 F-123 F80 F87 F-89 F
Milk Chocolate113 F80 F84 F-86 F
White Chocolate113 F80 F84 F-86 F

Methods

Tempering is usually done one of two ways: the “seeding” method and the “tabling” method. Each one produces the exact same results, so it really comes down to a matter of personal preference.

Seeding Method

The “seeding method” gets its name because once we melt down chocolate, we also melt down all of its cocoa butter crystals, creating weak, bendable chocolate with a poor shine and texture. As such, we have to reintroduce stable cocoa butter crystals to the chocolate in order to temper it.

“Seed chocolate” simply refers to adding already-tempered chocolate that contains stable cocoa butter crystals to melted chocolate to help temper it.

Whenever you use the seeding method, measure out an additional 20-25% of the weight of the chocolate being tempered and set aside. This is your seed chocolate.

Steps

  1. Reference the chocolate’s packaging for precise temperature instructions for that particular brand and type (white, milk, or dark), if listed. If it’s not listed, please reference the tempering table above according to the type of chocolate you are using.
  2. Heat chocolate to its melting point so that all existing cocoa butter crystals melt.
  3. Add a small quantity of existing (i.e., already tempered) chocolate to cool the chocolate and introduce beta-5 crystals that will begin to multiply. Add all of the seed chocolate.
  4. Gradually cool the chocolate by stirring constantly until it reaches its final cooled temperature.
  5. Gently warm the chocolate in either the microwave or over a double boiler to the final temperature labeled on the package.

Tabling Method

This technique is usually practiced by experience chocolatiers due to its faced-paced nature and reliance on visual cues from the chocolate, which take a while to learn.

Rather than using seed chocolate, this method relies on reserving one-third of the melted chocolate while the remaining two-thirds gets poured onto a cool, hard surface and worked with a chocolate scraper and offset spatula until the chocolate cools to 80-degrees Fahrenheit. The chocolate is then scraped back into the bowl of reserved chocolate, stirred, and should now be ready to use.

  1. Reference the chocolate’s packaging for precise temperature instructions for that particular brand and type (white, milk, or dark). If it’s not listed, please reference the tempering table above according to the type of chocolate you are using.
  2. Heat chocolate to a high enough temperature that melts all existing cocoa butter crystals.
  3. Pour two-thirds of the melted chocolate onto a clean and DRY marble slab. Use a chocolate scraper and an offset spatula to push the chocolate around to rapidly cool and assist with proper crystal formation.
  4. Once the chocolate has reached its recommended cooling temperature, scrape it back into the bowl and then continue to stir until the chocolate reaches the final working temperature listed on the package.

Can Any Chocolate Be Tempered?

No! Only chocolate made up of cocoa butter and cocoa solids (aka, “real chocolate”) can be tempered. Most candy wafers, chocolate chips, and other such “melting” chocolate are made with vegetable oil instead of cocoa butter, so these cannot be tempered since there aren’t any cocoa butter crystals to form.

Ingredients

Ingredients needed to temper chocolate.

Chocolate, any one type — Again, only use real chocolate since it contains cocoa butter crystals (whereas compound chocolate, like chocolate chips or melting wafers, don’t contain any cocoa butter). Coverture works best for the creamiest, shiniest finish, such as Callebaut (pictured above) or Valrhona, among others.

Tips for Success

  1. Never, ever let water or any type of moisture touch the chocolate. Doing so will make the chocolate seize, and there is no way to remedy this one it occurs, and the chocolate will have to be discarded.
  2. It is much easier to keep a large quantity of chocolate in temper, as a smaller quantity cannot retain as much heat and thus cools much faster. For this reason, when working in bulk, use far more chocolate than you actually think you will need. Some recommend tempering no less than three pounds (roughly 1.3kg) at a time, but this is a matter of personal preference.
  3. Whenever possible, use coverture chocolate for its higher cocoa butter content. Coverture chocolate is used exclusively in molding chocolates, adds a spectacular finish and texture to hand-dipped confections, and makes ganache even silkier.
  4. You can choose the melt the chocolate either in the microwave or on the stovetop using a double-boiler.
  5. If using the microwave, heat in 30-second intervals and stir in between to ensure you don’t scald the chocolate, which will have to be discarded.
  6. Always test your temper before using the chocolate; you don’t want to discover an incorrect temper only after you’ve made (or gifted or sold!) the chocolate before it has fully crystallized. To test your temper, dip the tip of an offset spatula or a butter knife and set aside for 2-3 minutes. Properly tempered chocolate will have a smooth and glossy appearance with a crisp snap. Streaks, flecks, dullness, or a gray appearance indicate an improper temper.
  7. Don’t throw out any improperly tempered chocolate! Repair it by returning the chocolate to its melting temperature and begin the tempering process again, again checking your temper before use.
  8. While you work, periodically check the chocolate’s temperature in the bowl to ensure it’s still in temper. If it has cooled, gently rewarm in the microwave, over a double-boiler, or even with a heat gun (a new hair dryer works just as well)! If the chocolate is too warm, continue gently stirring to help cool.

Detailed Preparation Instructions (Seeding Method Only)

In either the microwave or a double-boiler, slowly melt the chocolate, stirring frequently for even heating.

Using the seeding method, remove the bowl from the heat and toss in 1-2 handfuls of coverture pistoles into the melted chocolate. Stir continuously from here on out until a thermometer registers the recommended temperature on the chocolate’s packaging.

Using either a heat gun, microwave, or a double-boiler, gently heat the chocolate to the final temperature listed on the packaging.

Dip an offset spatula into the chocolate to test its temper. If it sets quickly and comes out smooth and shiny, it’s ready to use!

Storage and Reheating Instructions

Roll out a long sheet of cling film and pour any unused tempered chocolate on top. Wrap tightly and store in a cool, dry place until ready to use. Chocolate without “inclusions,” or other ingredients, lasts indefinitely when properly stored.

Tempering Chocolate

Everything you ever wanted to know about the most essential skill when working with chocolate! I will show you how to make perfectly tempered chocolate that has a bright shine, great snap, and delicious texture, every time!

  • digital scale
  • heatproof bowl
  • rubber spatula
  • infrared thermometer or candy thermometer
  • offset spatula
  • 500 grams real chocolate, chopped or in pistoles (plus 125g more of the same chocolate, if using the seeding method)
  1. Completely melt the chocolate in the microwave or a double-boiler until it registers the temperature listed on either the packaging or the above table on a food thermometer.

  2. Toss in the seed chocolate and stir until melted. Consistently fold and stir the chocolate to help cool it until a thermometer registers the recommended temperature on the packaging.

  3. Using either the microwave or a double-boiler, gently reheat it to the recommended temperature on the packaging.

  4. Test the temper by dipping an offset spatula into the chocolate. If it sets quickly and comes out smooth and shiny, it's ready to use!

Filed Under: Tutorials

Copyright © 2026 ยท Foodie Pro 5 on Genesis Framework ยท WordPress ยท Log in