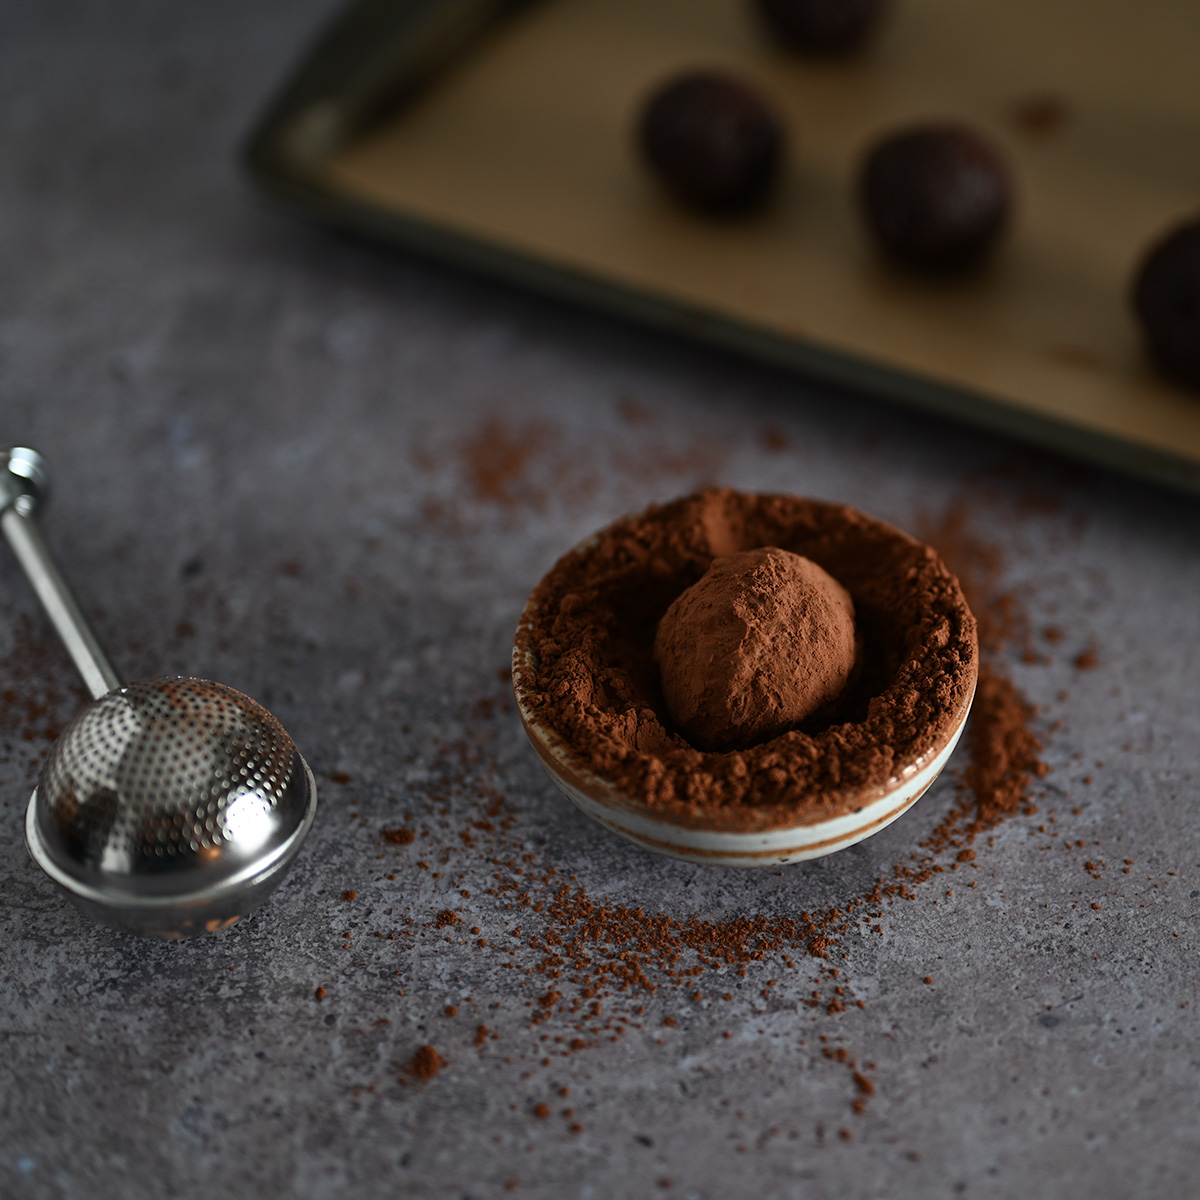
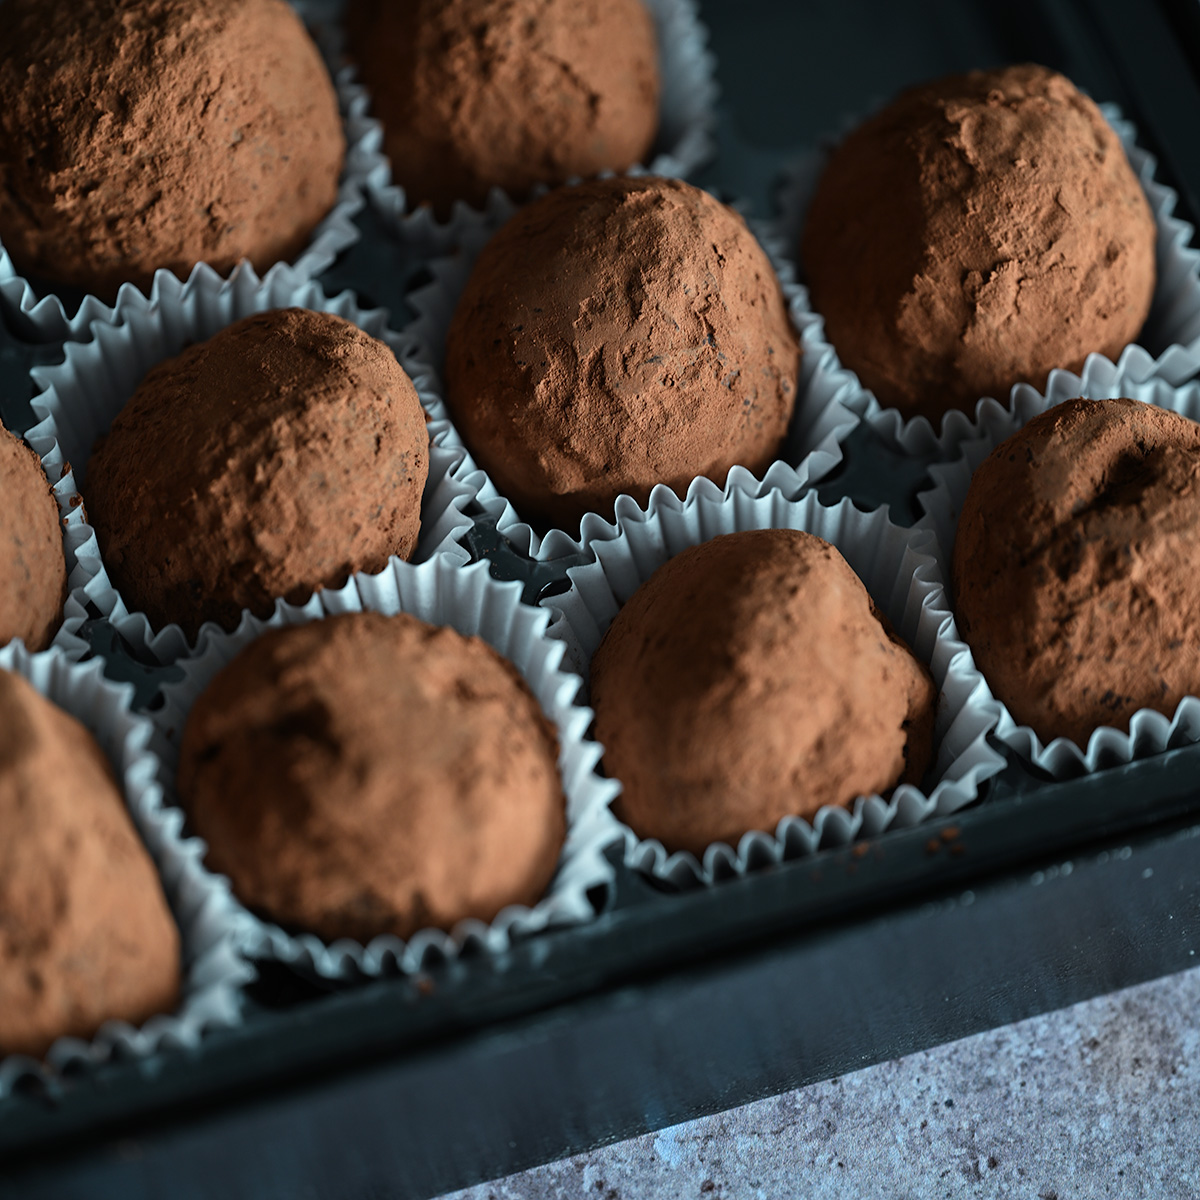
These professional-grade truffles are so easy to make at home with just three ingredients! Premium dark chocolate blends with rich heavy cream to create a silky, luxurious ganache that is then rolled in cocoa powder.

According to confectionary lore, chocolate ganache truffles first emerged in France on Christmas Day in the late 1800s, and have been a staple in chocolate shops around the world ever since.
No longer just a holiday gift, chocolate ganache truffles have been adapted thousands of times throughout the centuries, incorporating new ingredients and flavors that include coffee, tea, fruit, and nuts that create innovative truffle combinations.
But before you start experimenting with these more advanced variations, this recipe introduces you to the fundamentals of working with ganache in a focused exercise with professional, sophisticated results.
I’m also actively creating a ganache series in the “Tutorials” section of this site for when you feel like you’ve mastered the basics and are ready to create more advanced truffles (think infusions, enrobing, flavor and texture profiles, and more!), so stay tuned!
What is Ganache?
In its most popular form, ganache is typically an emulsion of chocolate and heavy cream, though milk, plant-based milk substitutes, and even fruit can be used. If using non-dairy alternatives, adjustments need to be made to the ganache’s fat-to-water ratio to stabilize the emulsion.
For simplicity’s sake, I don’t recommend using substitutions for this recipe since the fat-to-water ratio has already been properly balanced.
What Type of Chocolate to Use in Ganache?
Coverture chocolate, which is chocolate primarily used for molded chocolates, also yields the best ganache due to its higher cocoa butter content than real chocolate.
However, coverture is significantly more expensive than most chocolate, and you can get beautiful, creamy ganache at home by using your favorite brand of chocolate, so long as it actually contains cocoa butter. More accessible and more cost effective? Win-win!
I would NOT recommend using compound chocolate of any kind, including chocolate chips and melting wafers.
Not only does compound chocolate contain zero cocoa butter and instead substitutes using unhealthy vegetable oils, but it also contains ingredients that prevent it from fully melting (otherwise, your chocolate chip cookies would instead be a puddle of goo).
The result? Thick, gloopy, grainy ganache amid a sudden world of disappointment.
Why Chocolate Lovers Make This Recipe
- Three ingredient recipe — confectionary recipes don’t get much simpler or more affordable than this! You can find all of these ingredients at your local grocery store, and as long as you can melt chocolate and stir in cream, you’re ready to make your first batch!
- Timeless classic — thought to have first originated in France, these types of truffles can be found in chocolate shops all over the world due to their simple elegance and wide audience appeal.
- Great for gifts — the anticipation and satisfaction of giving someone you love a handmade gift of this caliber is truly special. Gift a box of these truffles next Valentine’s Day, Mother’s Day, or as an anniversary present that just might become a new tradition for you!
- Widely popular — many people are already in love with the scrumptious simplicity of chocolate truffles, so don’t be afraid to serve these at your next holiday party!
Ingredients and variations
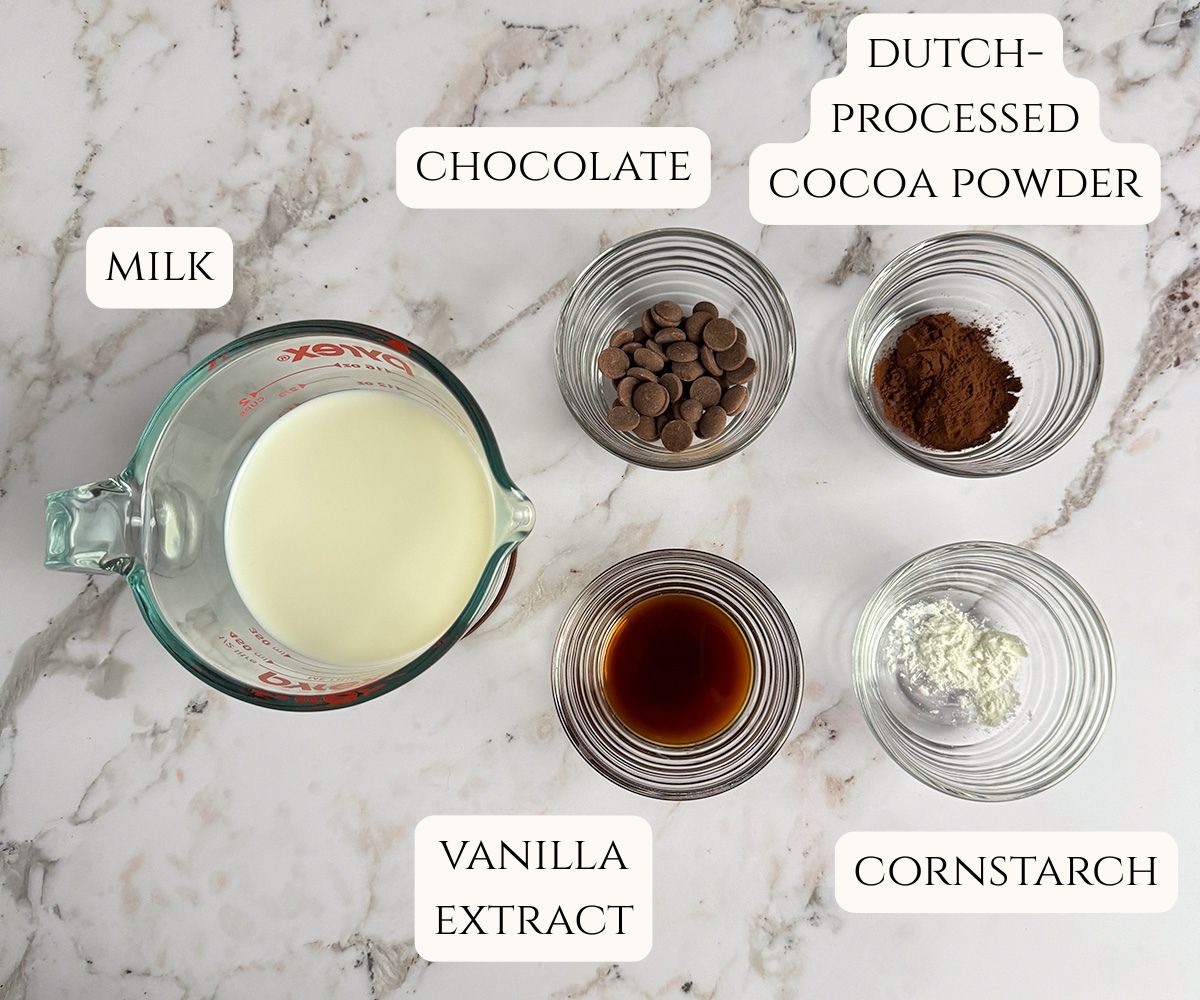
Classic dark chocolate truffles are a timeless dessert that, at their core, come together with just three ingredients:
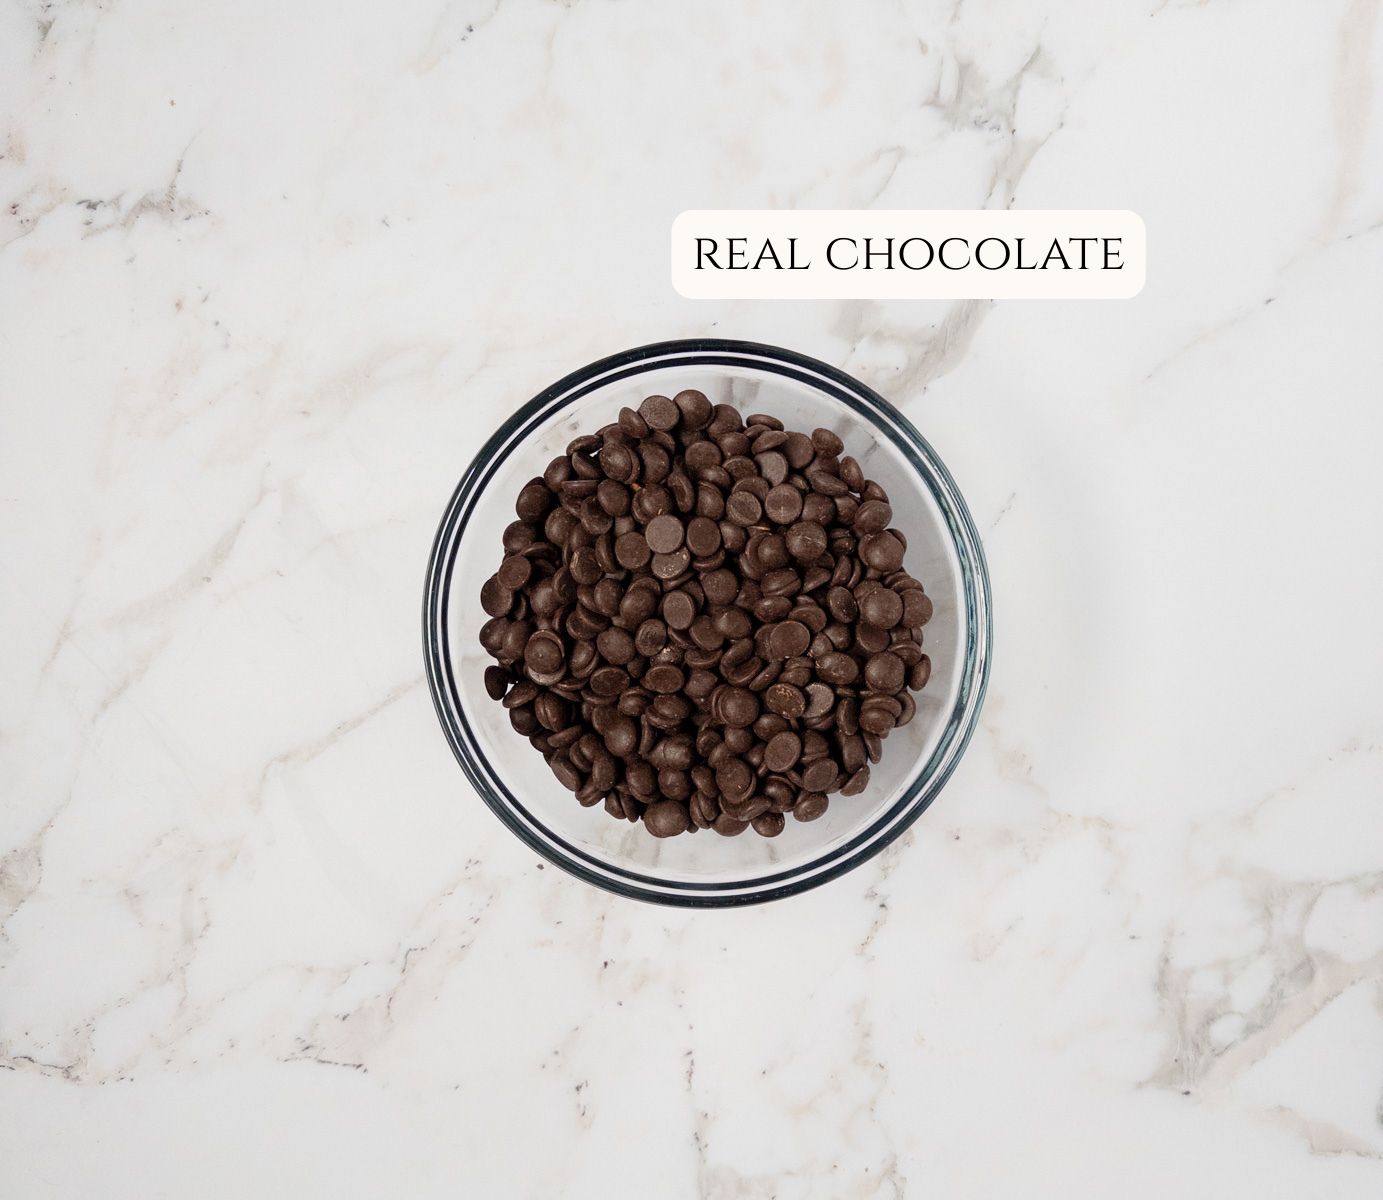
Real chocolate — the extra fat content from cocoa butter in real chocolate, rather than the oil substitute used in chocolate chips and melting wafers, help provide a creamier, richer ganache. Coverture chocolate contains even more cocoa butter than regular chocolate, and this is my preferred chocolate to use.
Heavy cream — many professional-grade truffles use heavy cream in their ganache due to its high fat content (36% fat). Fat lends to a more silky, creamy ganache, but adding too much can cause the ganache to split. The ratios provided in this recipe are balanced enough to keep your ganache tasting amazing from the first day.
Cocoa powder — technically ganache truffles are made with a minimum of two ingredients, but you never see “raw ganache” being sold as a finished product without some kind of decoration, be it cocoa powder, tempered chocolate, chocolate shavings, powdered sugar, sprinkles, or a variety of other toppings. This recipe uses cocoa powder for a timeless finish, but you can substitute with whatever topping you like.
Tips for Success
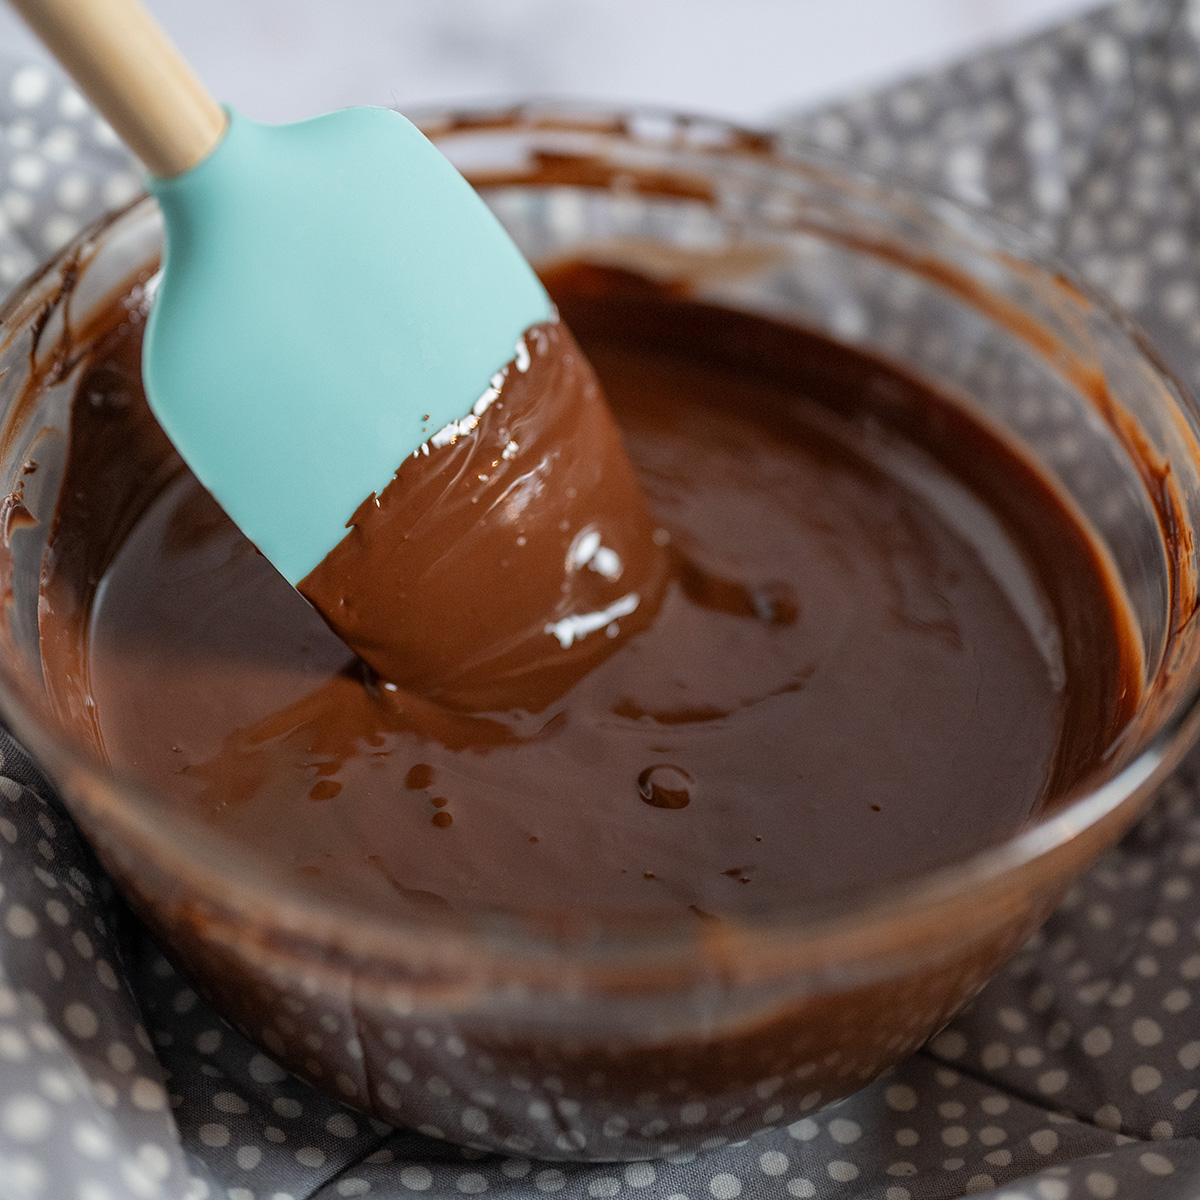
- While many recipes call for you to pour the heated heavy cream over chopped chocolate, I have repeatedly found that this runs the risk of not melting the chocolate all of the way before the cream cools too much.
Rather, melting the chocolate first before adding the cream provides more homogenous results from the start and greatly increases the success of your emulsion. - To begin the emulsion, rapidly stir the mixture in small circles, starting from the center of the bowl and working your way outwards, gradually increasing your circles’ circumference. As you stir, you will start to see the emulsion taking shape by the cream suddenly resembling glossy frosting or brownie batter– keep stirring until the entire mixture is thick and glossy (the below video shows you the final texture).
- Contrary to many other recipes, ganache should set in a cool, dry place between 60-70 degrees Fahrenheit, rather than being left to chill in the fridge. Allowing the ganache to set and crystallize in the fridge risks unnecessary exposure to moisture, shortening the ganache’s texture and shelf-life.
Storage and Reheating Instructions
Since this truffle recipe does not involve enrobing the ganache in tempered chocolate, the ganache will have to be stored in an airtight container (to reduce moisture) and stored in the fridge.
When ready to serve, first allow the truffles to sit on the counter for 15-20 minutes to soften the ganache for the creamiest texture.
Video
Classic Dark Chocolate Truffles
These professional-grade truffles are so easy to make at home with just three ingredients! Premium dark chocolate blends with rich heavy cream to create a silky, luxurious ganache that is then dusting of cocoa powder.
- microwave-safe bowl
- rubber spatula
- small saucepan
- small bowl
- small sifter
- teaspoon
- sheet parchment paper
- 8 ounces premium dark chocolate
- 4.5 ounces heavy cream
- Dutch-processed cocoa powder, for rolling
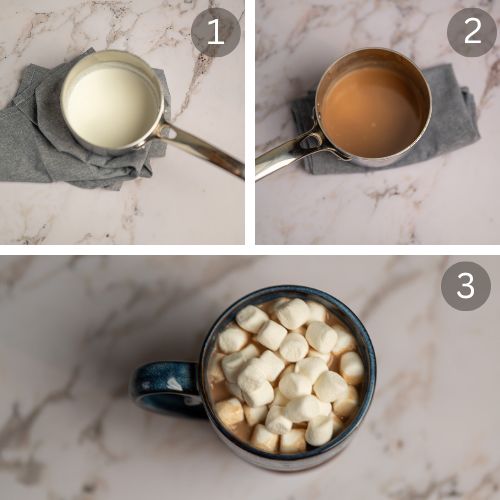
Finely chop the chocolate and add to a microwave-safe bowl. Heat the chocolate in the microwave in 30-second intervals on 50% power, stirring in between, until fully melted.
In a small saucepan, heat the cream until small bubbles form around the edges, or until a food-grade thermometer registers around 125℉ for dark chocolate. Pour the cream over the melted chocolate and allow to sit undisturbed for 1 minute.
Starting in the center, use the rubber spatula to stir in small, rapid circles to start the emulsion of cream and chocolate until it goes from looking like chocolate milk to glossy chocolate frosting. Continue stirring in larger circles until the entire mixture is thick and glossy, 1-2 minutes more.
Tightly press a strip of cling film against the ganache to prevent a skin from forming. Set aside for 2 hours in a cool, dry place.
Add Dutch-processed cocoa powder to a small bowl. Use a teaspoon to scoop out the ganache and roll into a smooth, round ball between your palms. Roll in the cocoa powder and place finished truffles on a sheet of parchment paper. Repeat until all the ganache has been used.