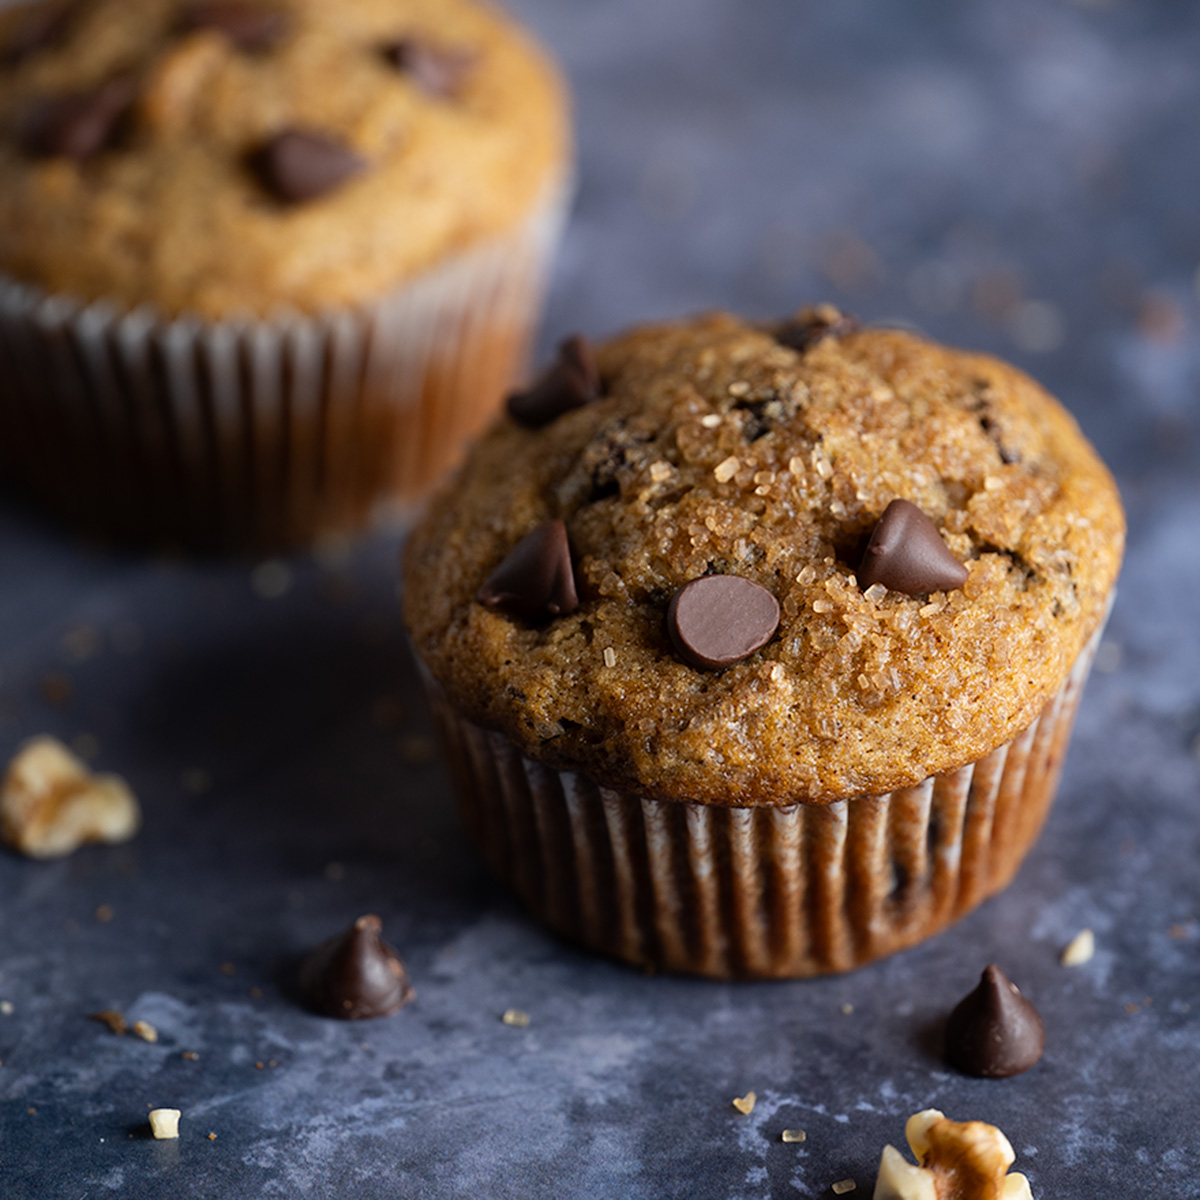
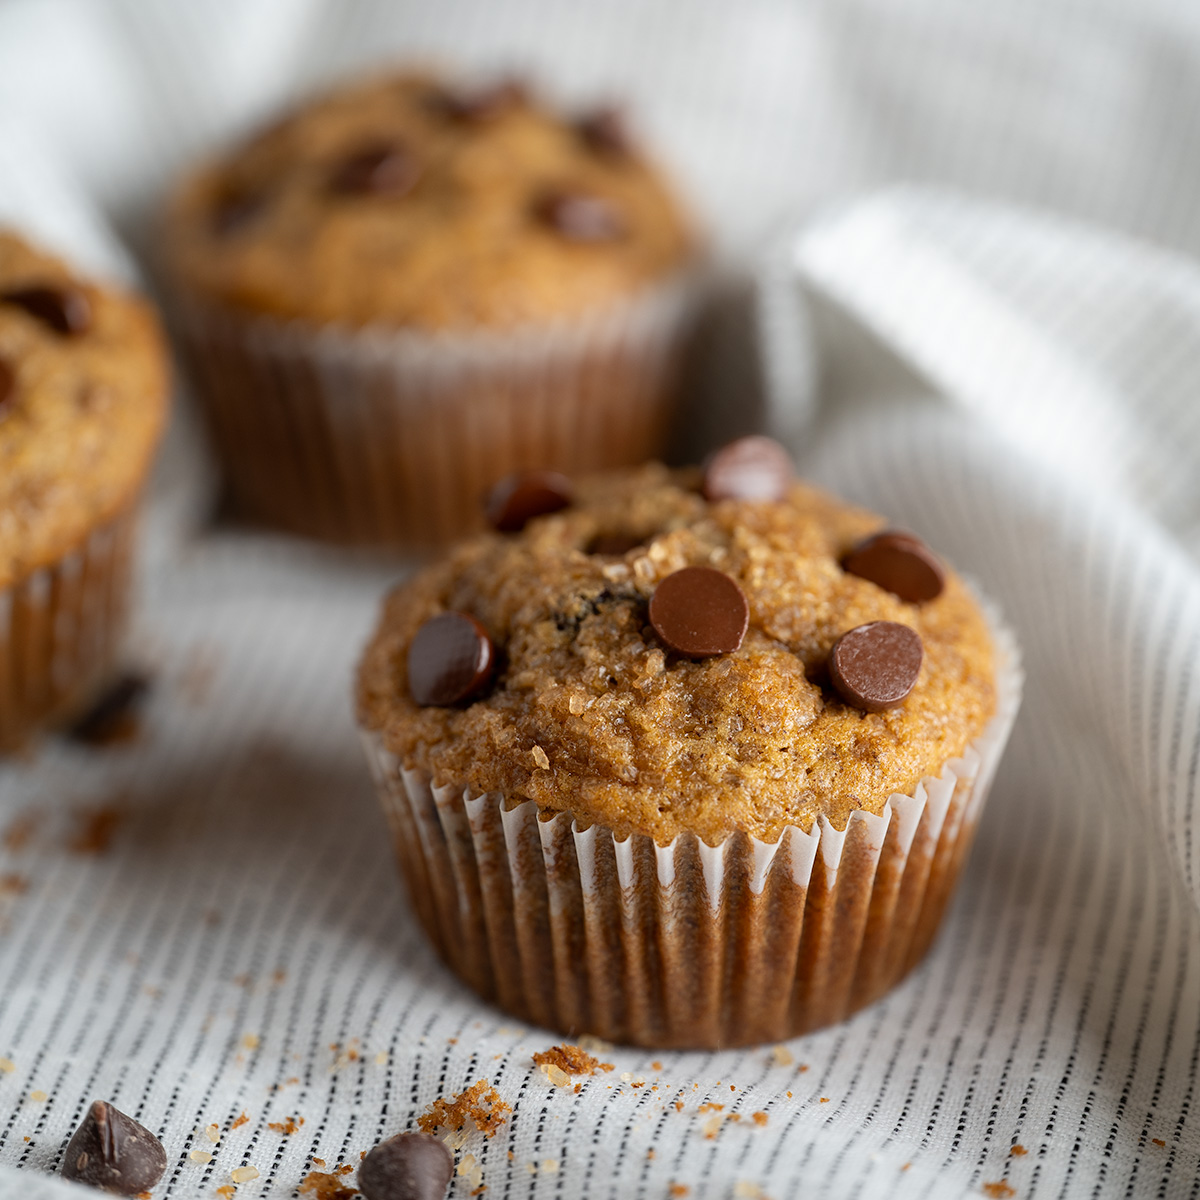
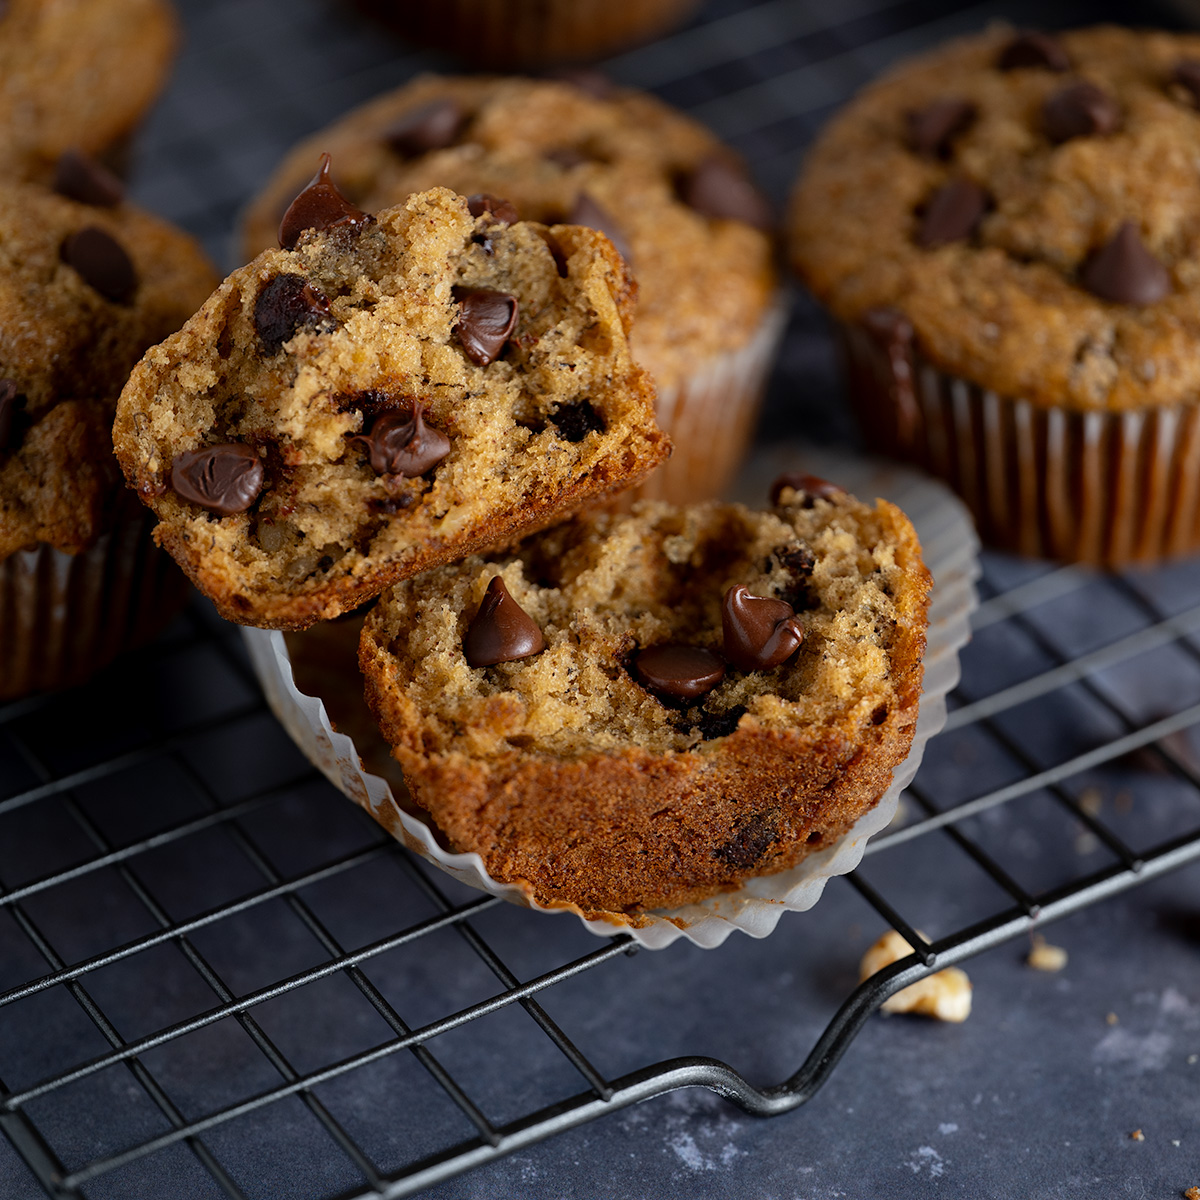
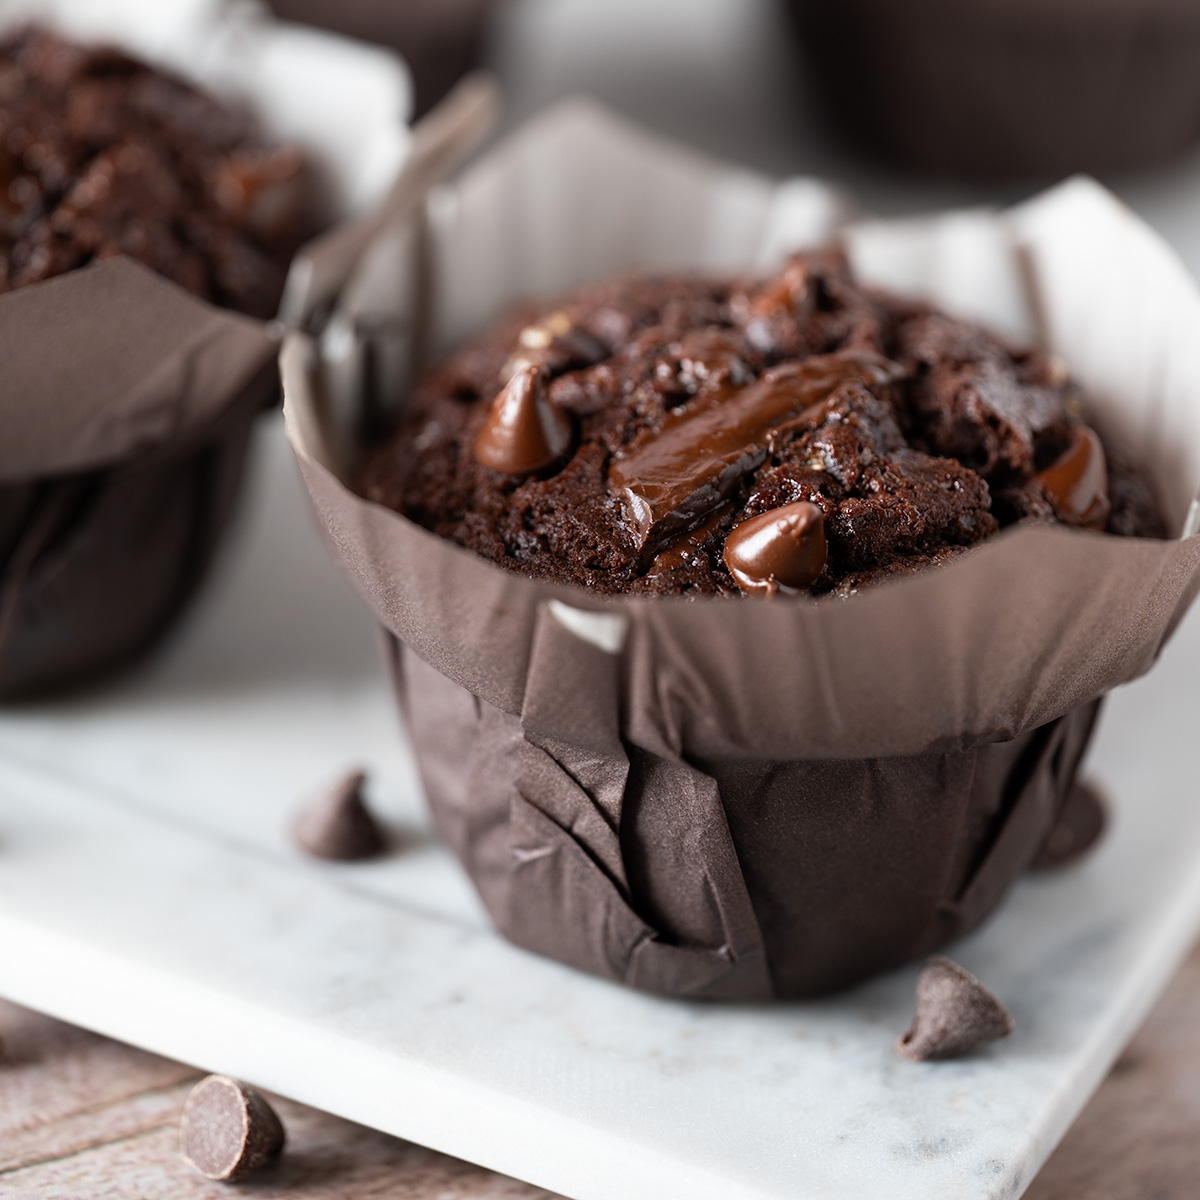
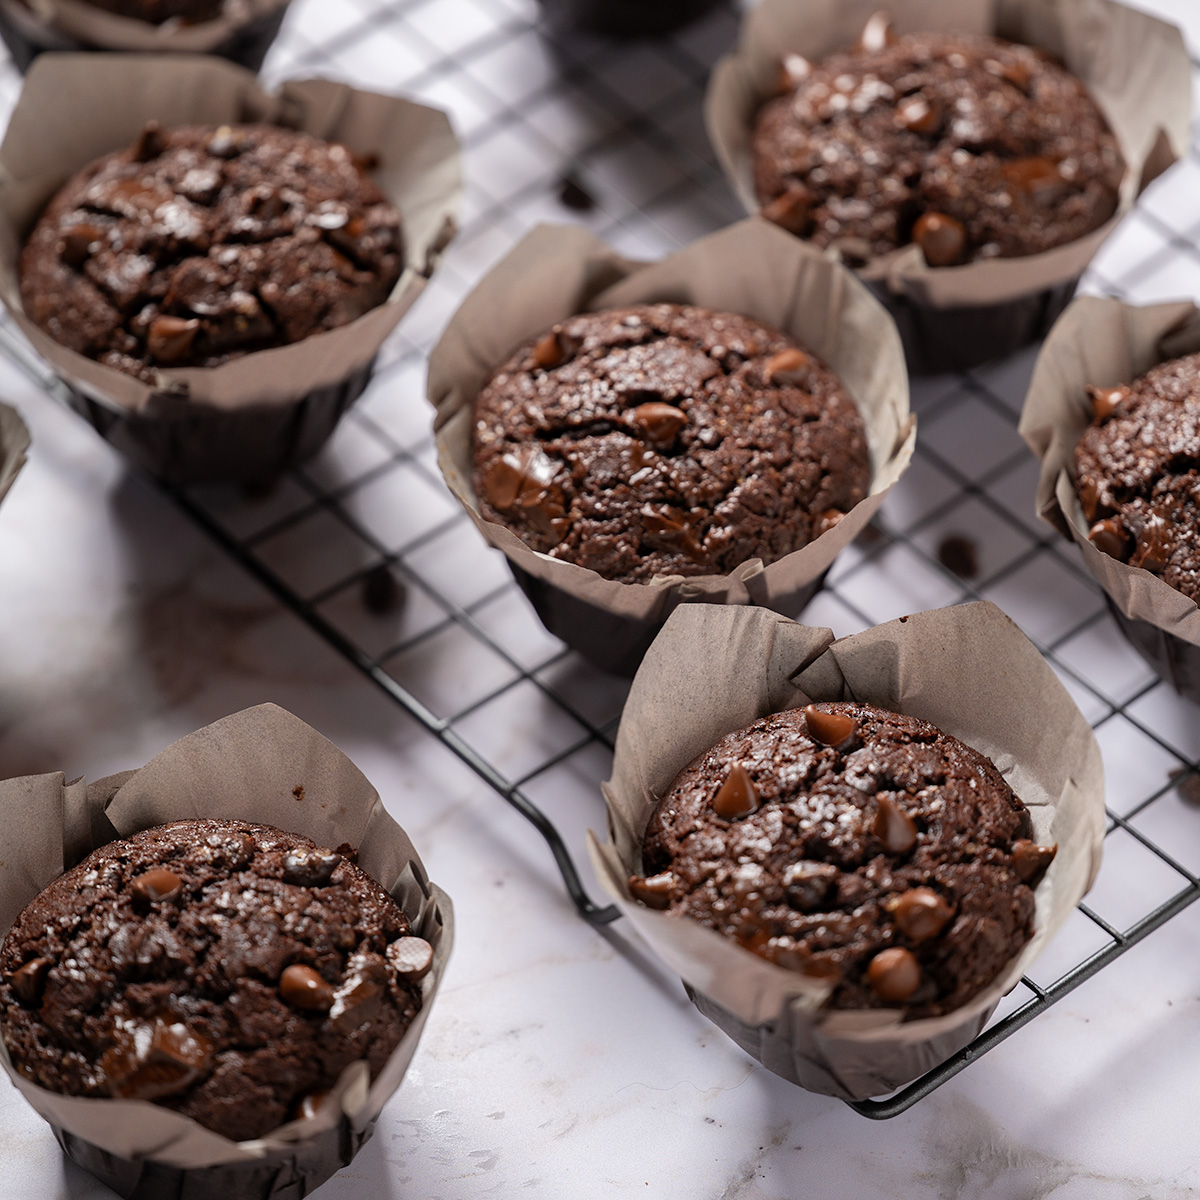
These jumbo, bakery-style muffins are rich and moist in the center with tender tops dotted with melted chocolate and crunchy sugar. Indulge your chocolate cravings early in the morning, or grab one as a satisfying afternoon snack that will instantly make your day better.
I’m admittedly on a muffin kick right now. There is something so freeing and exciting about going from craving to satisfaction in 30 minutes, and all freshly homemade.
So much of baking needs more premeditation, but I love that I can tear into a gooey, chocolaty muffin fresh from the oven whenever the mood strikes. The same can be said for my Banana Chocolate Chip Muffins, which have the added benefit of using up any overripe bananas lying about.
Why Chocolate Lovers Make This Recipe
Quick and easy — this recipe is so forgiving. While muffins bake best after the batter has chilled overnight, there is something splendid about spontaneity. Whether you only have twenty minutes in your busy morning or you are hit with a sudden midday craving, this recipe works effortlessly within your schedule.
One bowl — quick breads are one of my favorite things to bake, chiefly due to the speedy cleanup that using just one bowl and one rubber spatula provide.
Make ahead — don’t need these muffins right away, or have too many leftovers? No worries! You can easily make these a day or two in advance, and as long as they are properly wrapped, can be frozen for up to three months!
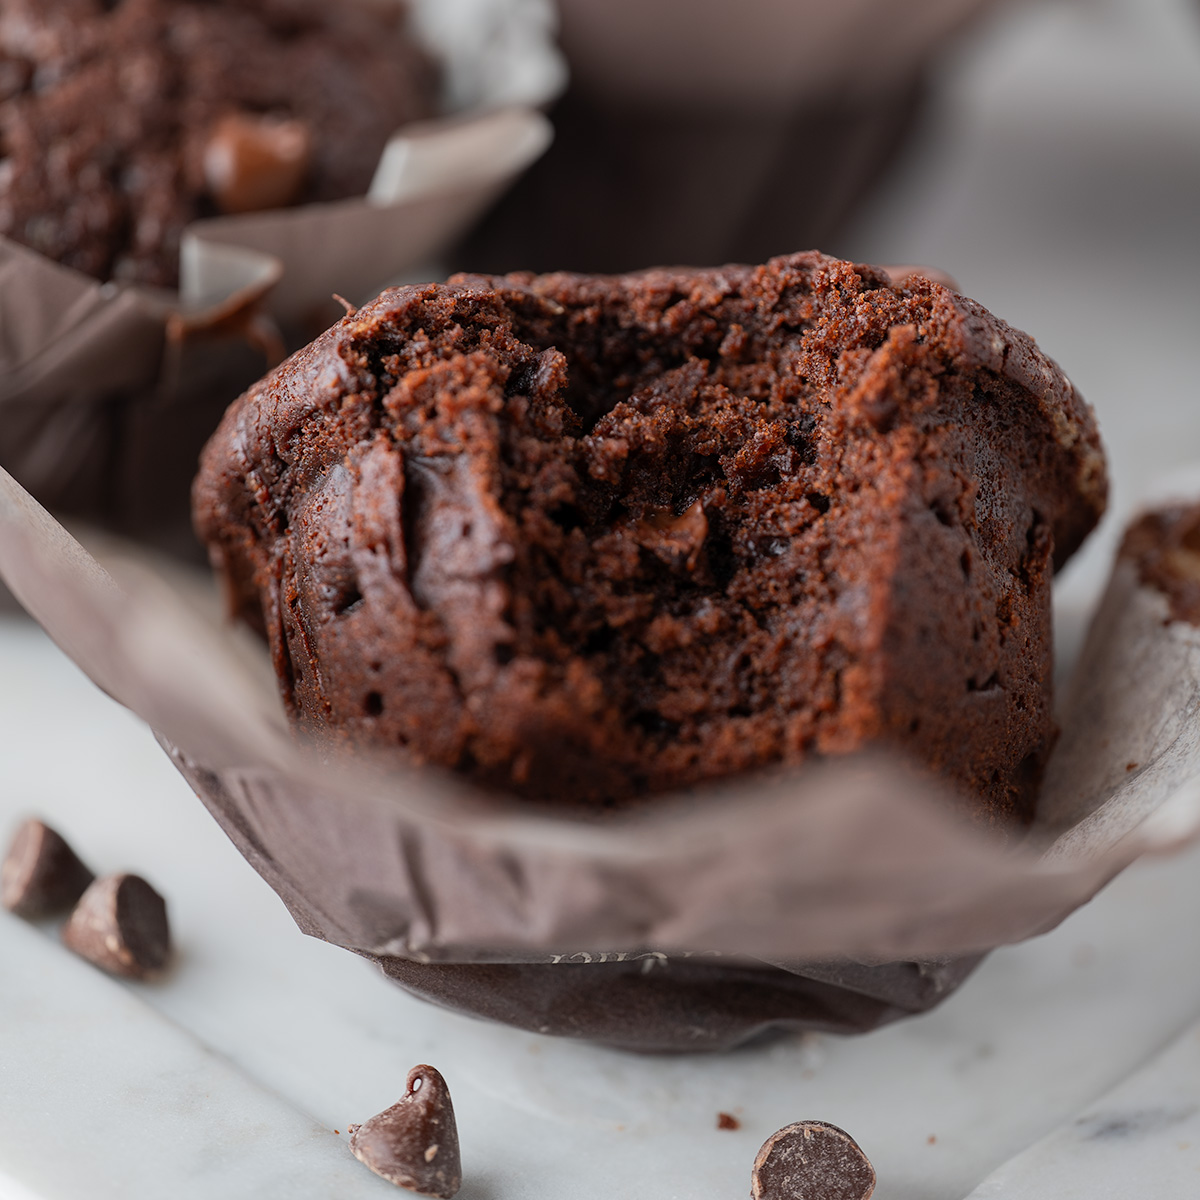
Moist and decadent — these muffins are rich in chocolate flavor, yet light enough that you can easily (and happily) finish one without it ever becoming too much.
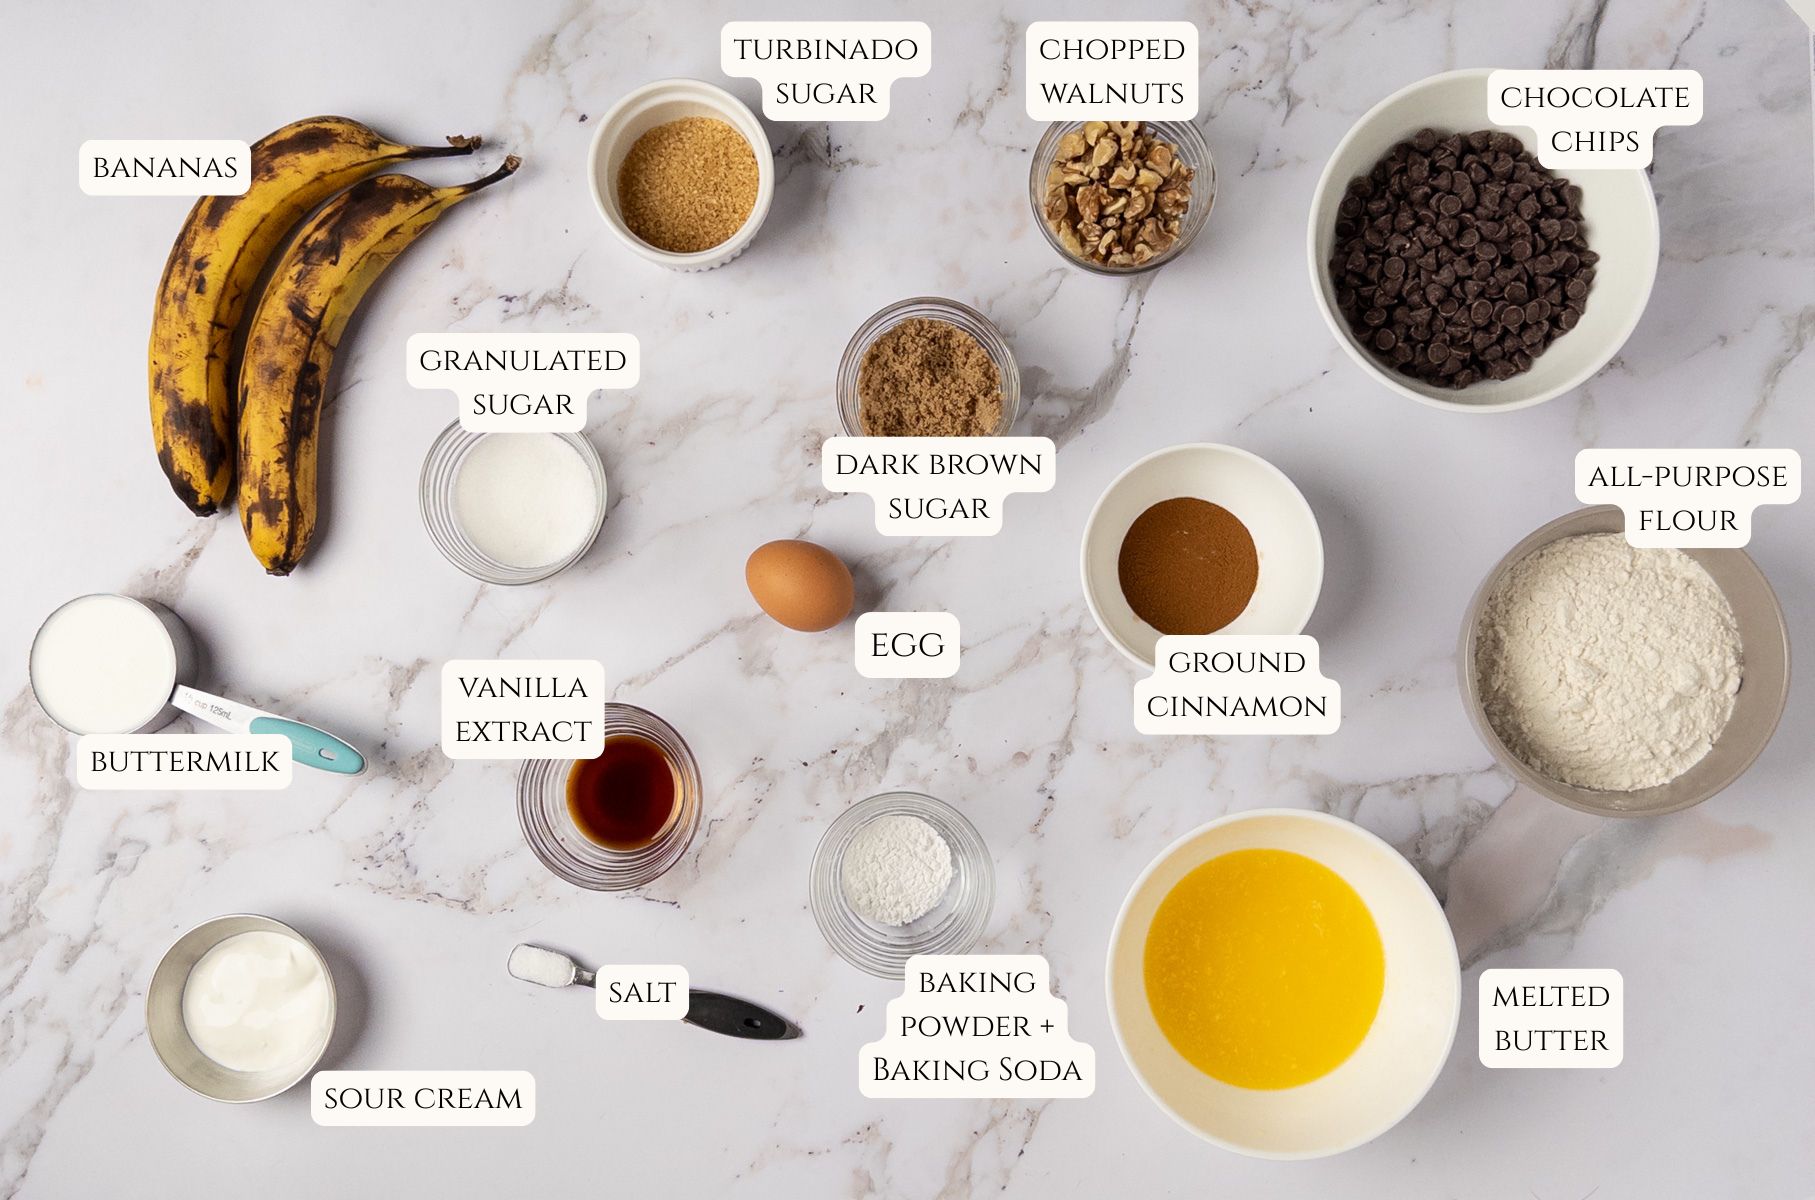
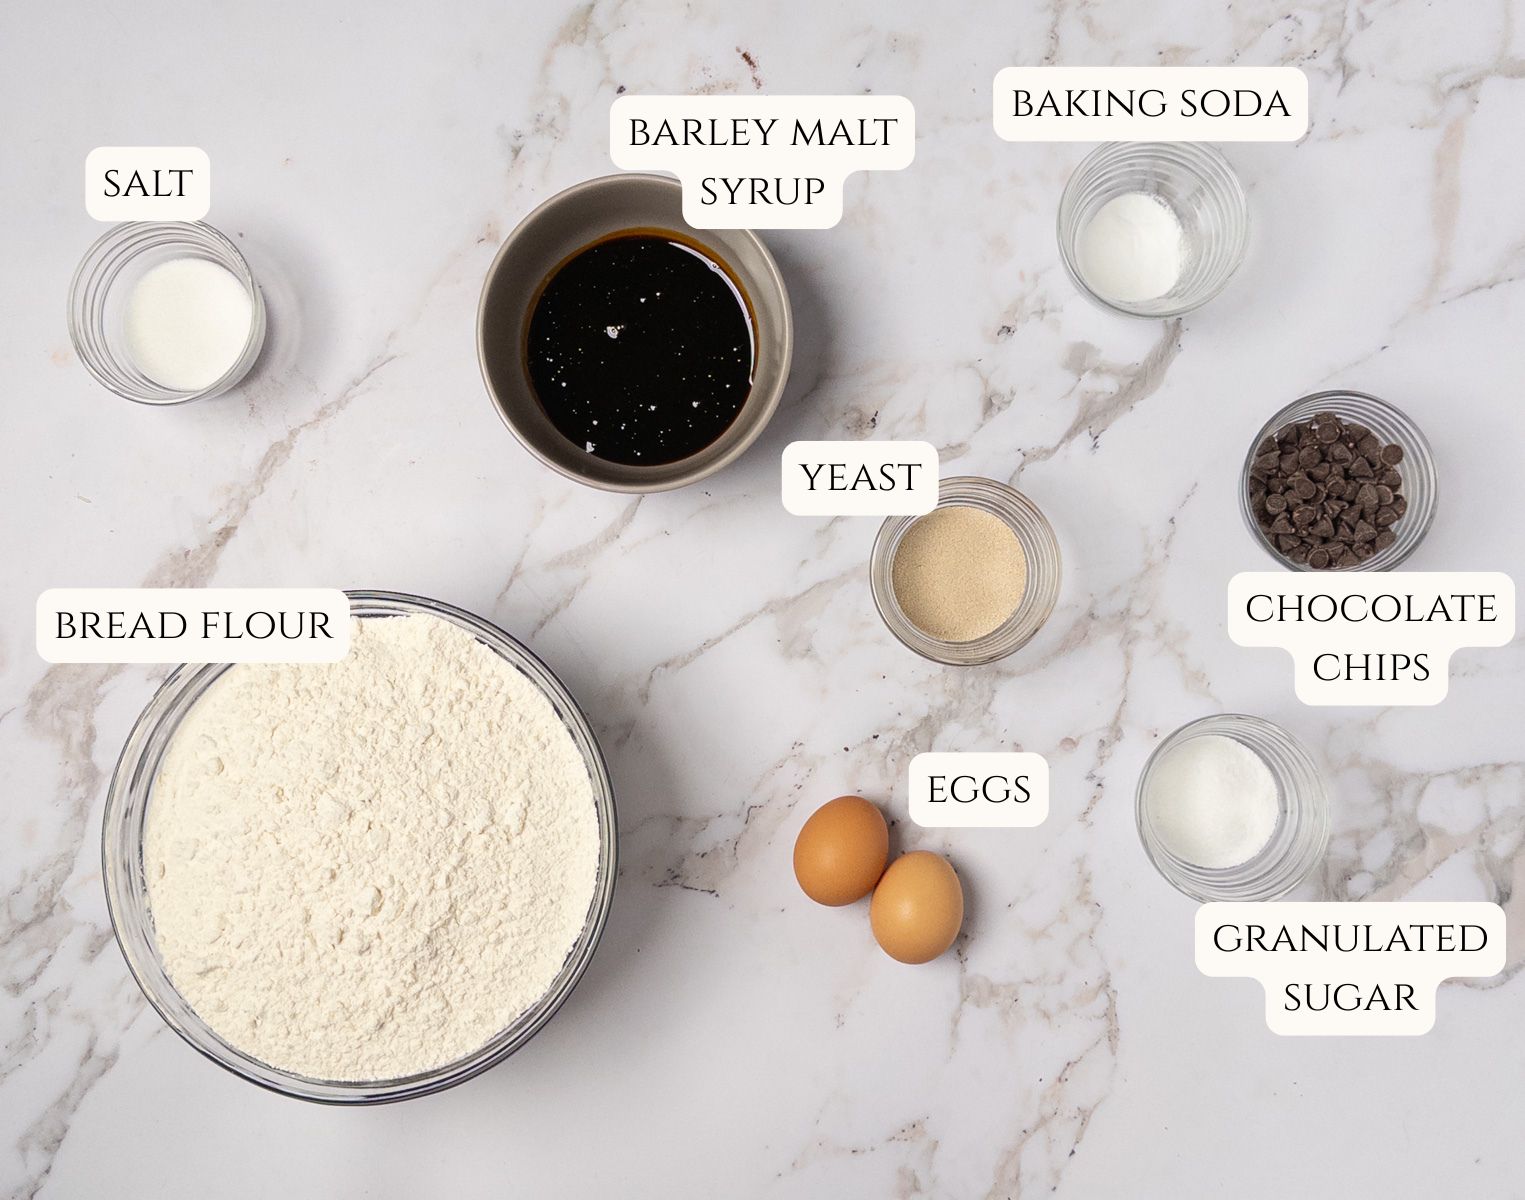
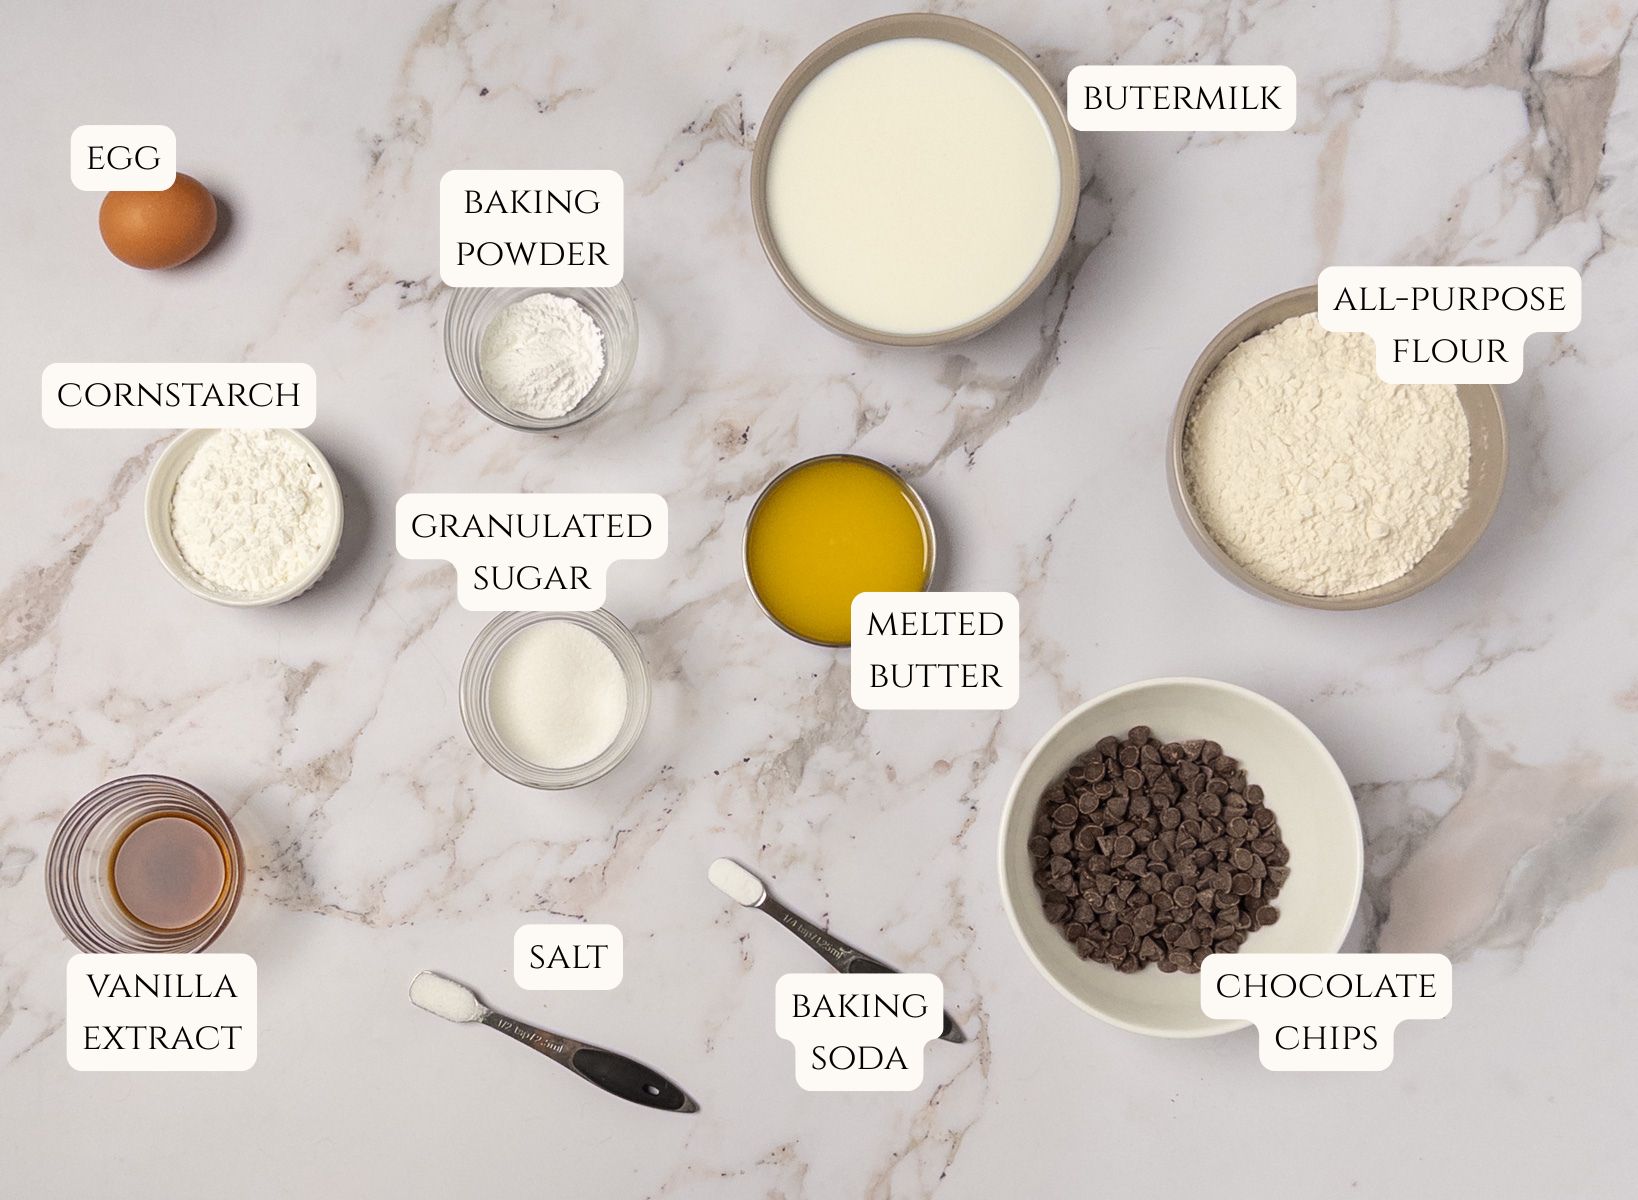
Ingredients and Variations
If you have 10 ingredients and 20 minutes, then these muffins will be on your counter within the hour! Some notes on key ingredients:
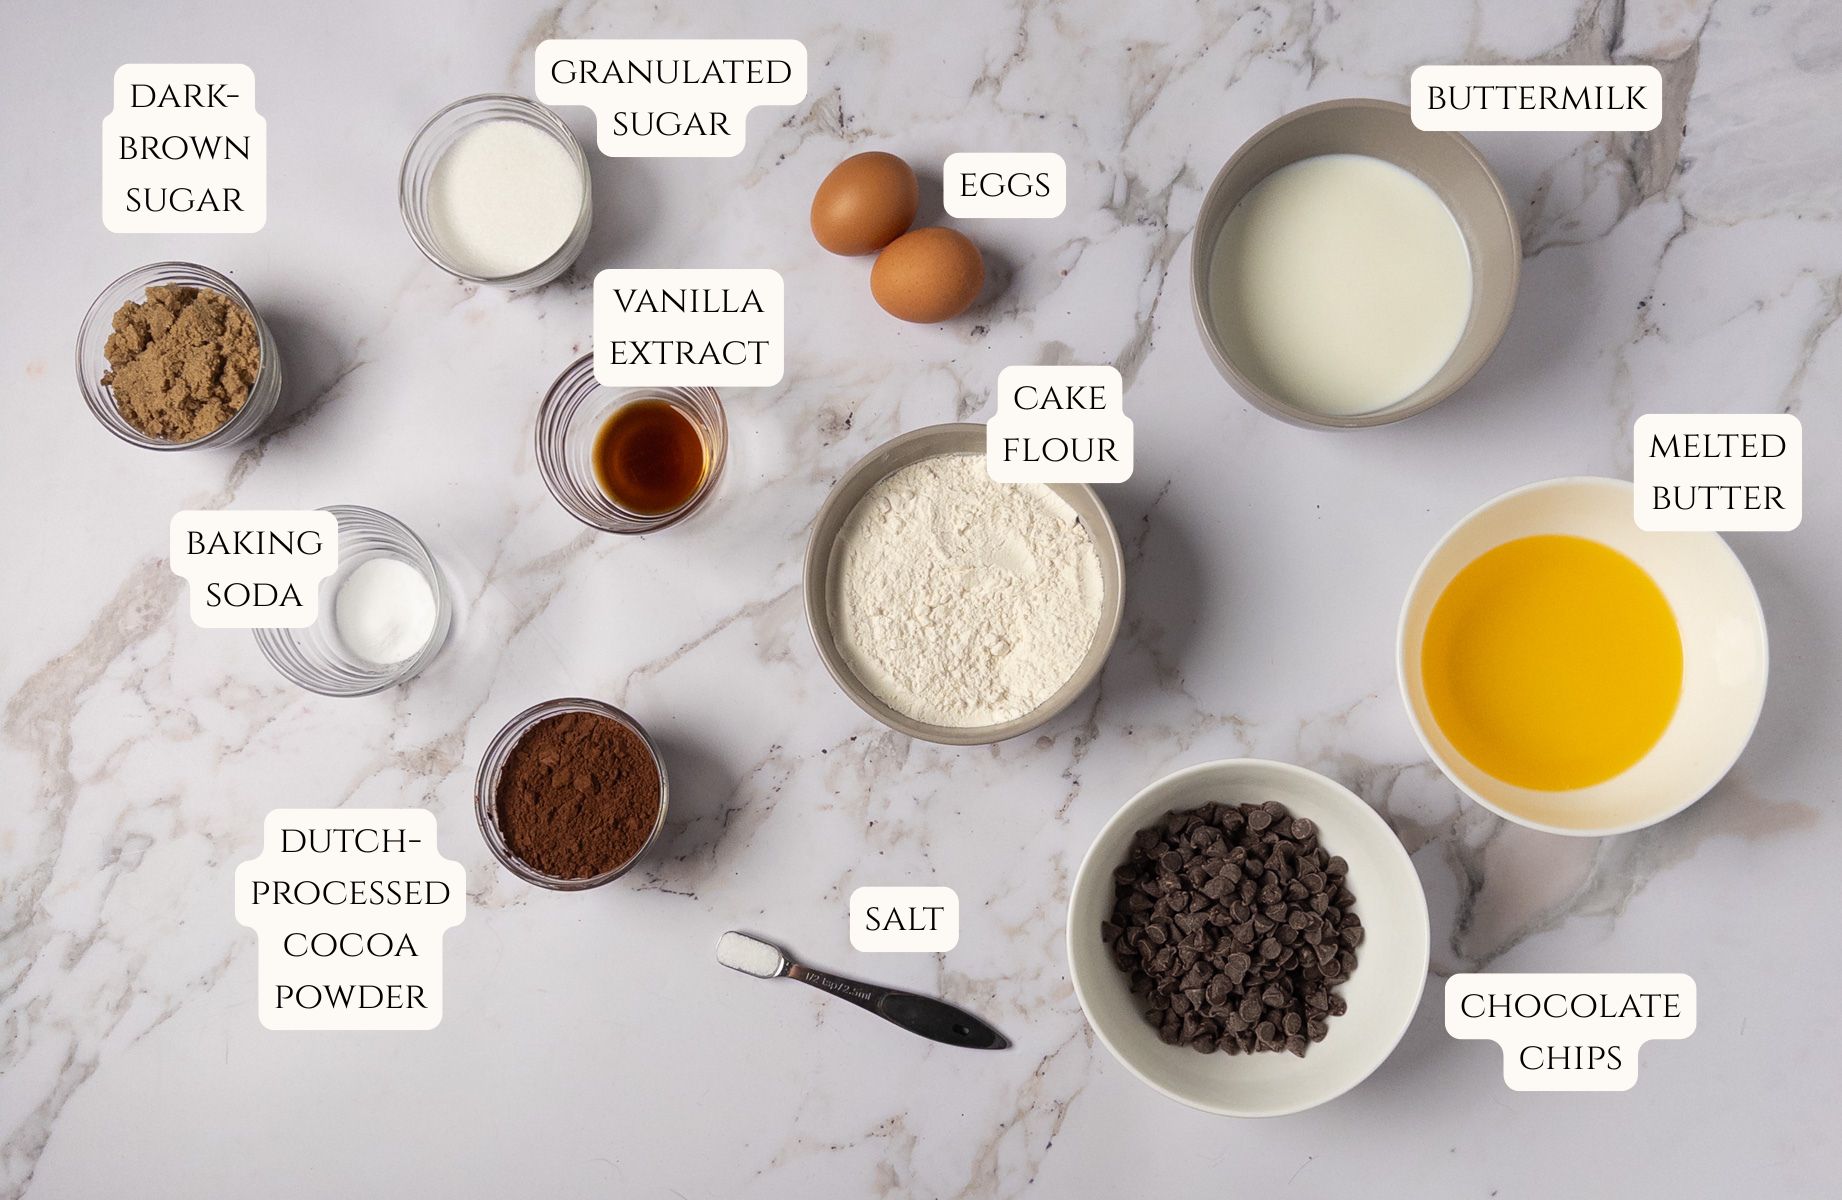
Melted butter — incorporating melted butter keeps each muffin fluffy and flavorful, while also helping to dissolve the sugar for more defined tops (that are everyone’s favorite part, anyway)!
Whole eggs — the egg whites provide structure and lift to the muffins, while the egg yolks add fat and moisture, making for a wetter, richer interior.
Buttermilk — using real buttermilk adds a distinct, “breakfast-y” flavor, as many quick breads and griddle cakes rely on buttermilk for added richness. If you don’t have buttermilk on hand, stir together 1 cup of milk with 1 tablespoon of vinegar or lemon juice and allow to sit for 5-10 minutes, or until the milk has visibly curdled and is then ready to use.
Cake flour — cake flour, also known as “pastry flour,” is perfect for making muffins due to its low protein content, which means the muffins’ crumb will remain light. However, overmixing the batter will eventually develop the gluten in the flour, resulting in a gummy, dense final bake.
Tips for Success
- For the tallest muffins, allow for the batter to rest in the fridge overnight. Allowing for the batter to rest for any given time helps hydrate the flour, creating a taller, more tender crumb.
- Do not overmix the batter, otherwise the muffins can turn out dense and gummy due to gluten-development (although the use of cake flour in this recipe helps mitigate this risk, to an extent).
- Only cool the muffins in the tin for 5-10 minutes, otherwise, the excess trapped steam will cause the sides and bottoms to become soggy.
Storage and Reheating Instructions
For best results, wrap each muffin individually in a sheet of cling film, then store in either a resealable bag or in an airtight container for 4-5 days.
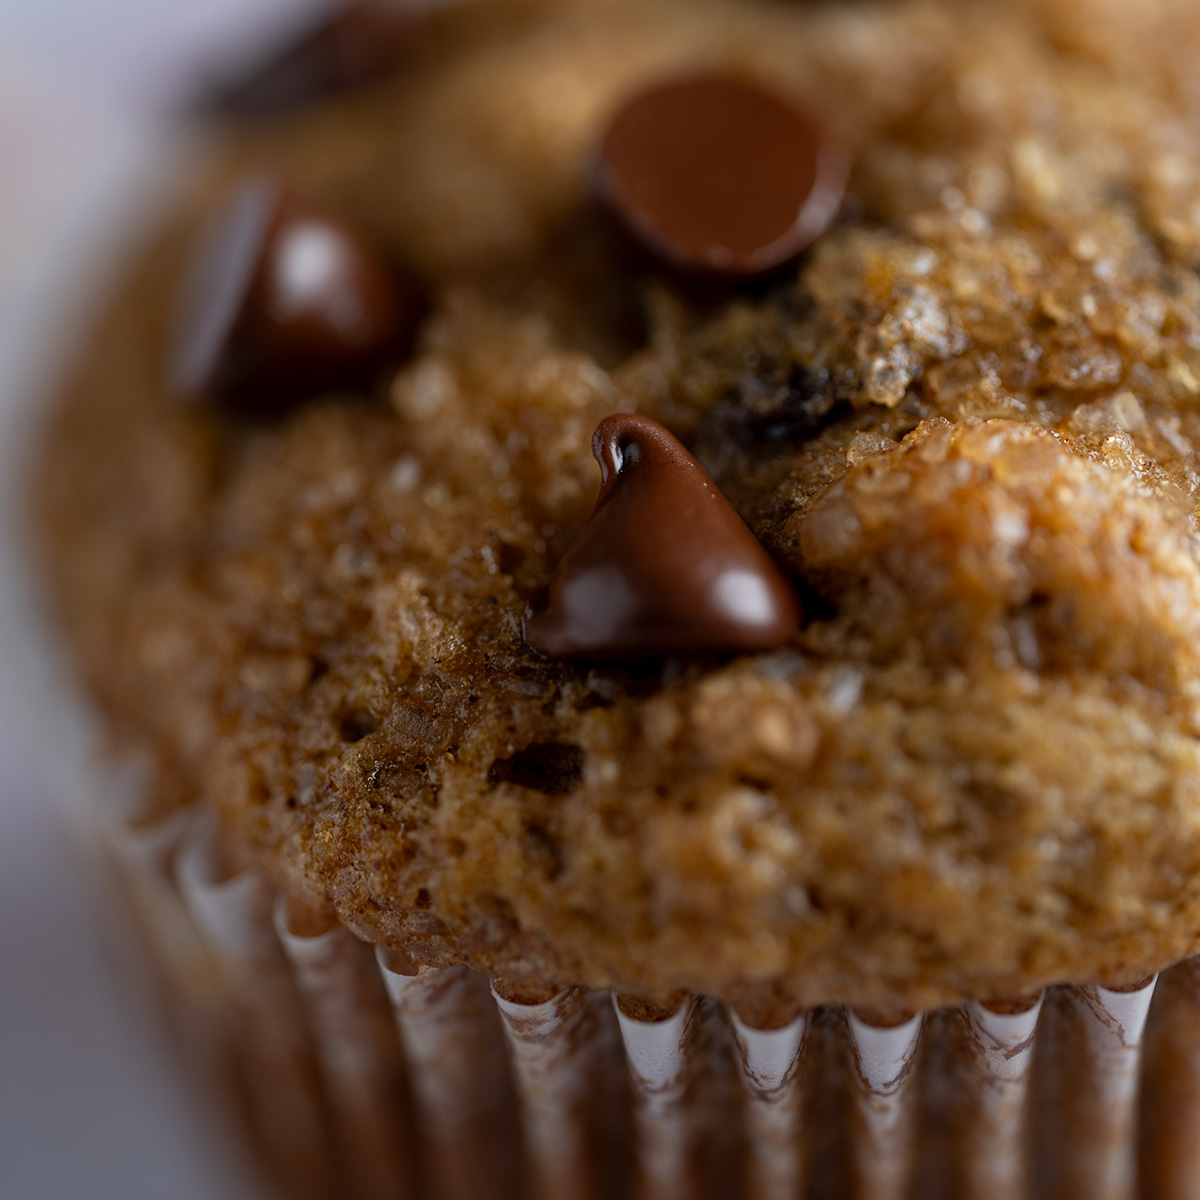
While you can eat these muffins straight from storage, I found that placing them in the microwave for 10-15 seconds gave that fresh-from-the-oven feel, especially when the chocolate chips just start to melt. Simply irresistible!
Jumbo Double Chocolate Muffins

These jumbo, bakery-style muffins are rich and moist in the center with tender tops dotted with melted chocolate and crunchy sugar. Indulge your chocolate cravings early in the morning, or grab one as a satisfying afternoon snack that will instantly make your day better.
- 6-cavity jumbo muffin tin
- mixing bowl
- rubber spatula
- muffin wrappers
- 113 grams melted butter
- 110 grams granulated sugar
- 110 grams dark brown suguar
- 2 teaspoons vanilla extract
- 2 whole eggs
- 265 ml buttermilk
- 200 grams cake flour
- 55 grams Dutch-processed cocoa powder
- 2 teaspoons baking soda
- 200 grams chocolate chips and morsels
- turbinado sugar, for garnish
In a large mixing bowl, combine the melted butter and granulated and dark brown sugars and stir for 1-2 minutes, until the sugar dissolves. Add the eggs, vanilla extract, and buttermilk, and stir.
Sift in the cake flour, Dutch-processed cocoa powder, baking soda, and salt. Gently fold together until no raw flour remains visible– do NOT overmix! Gently fold in the chocolate chips and morsels.
(Optional): for the best rise, chill the batter for 8-24 hours in the fridge. Otherwise, proceed to the next step.
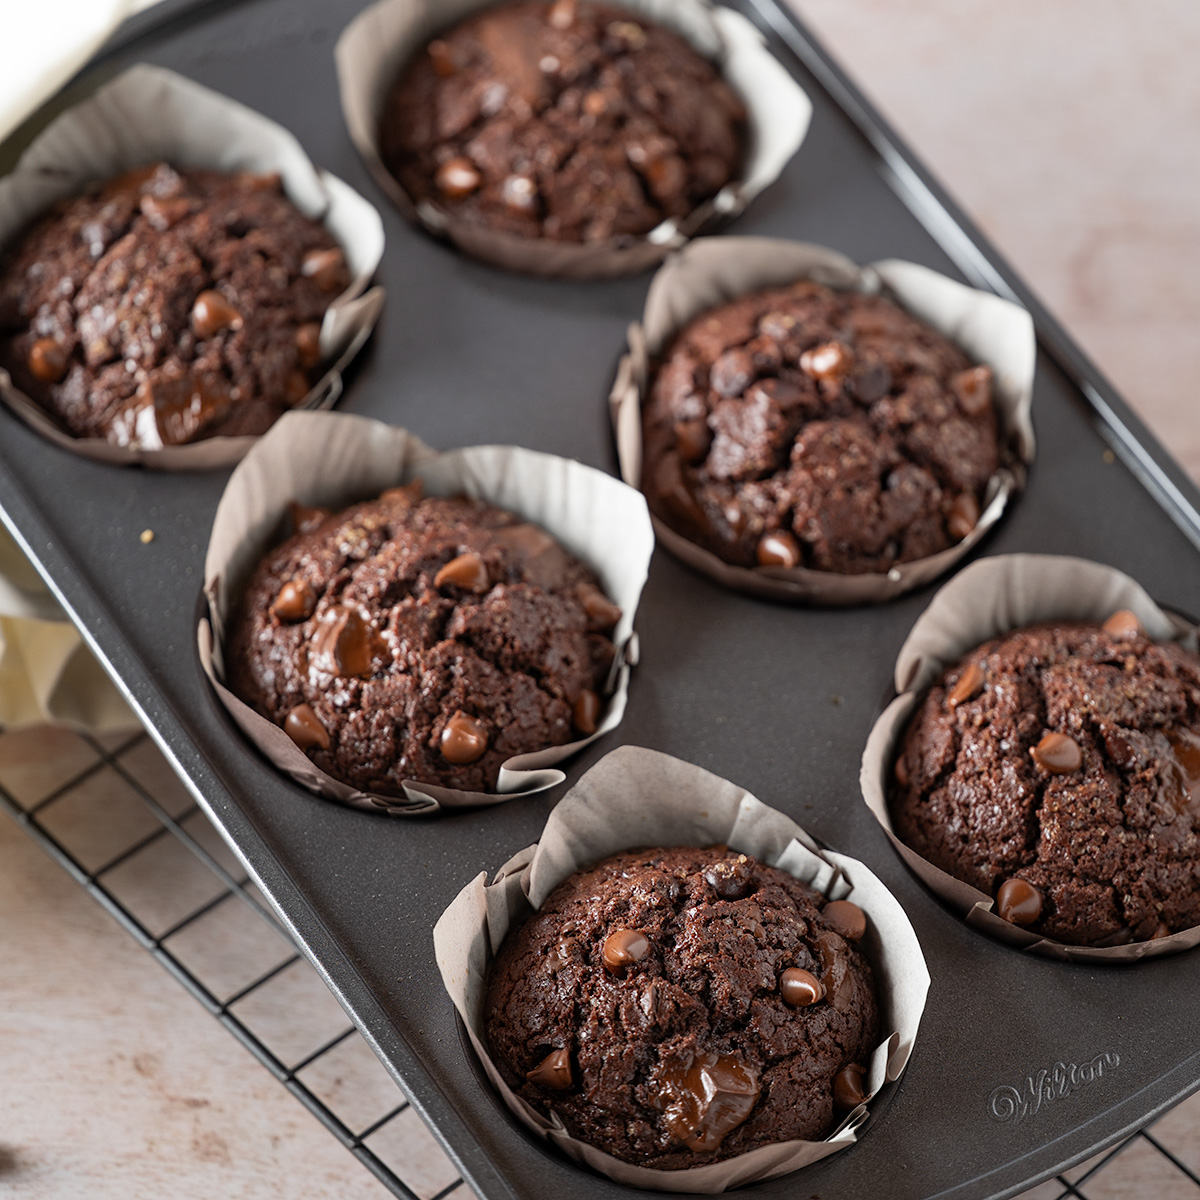
Generously grease the muffin tin with nonstick cooking spray, then line each cavity with a muffin wrapper. Lightly grease each muffin wrapper, then fill each cavity all the way with batter.
(Optional): sprinkle a dusting of turbinado sugar overtop each muffin, and dot the tops with more chocolate chips just before baking.
Bake on 350℉ for 15-17 minutes, or until a toothpick inserted in the muffins' centers has a few wet crumbs attached. Allow the muffins to cool in the tin for 2-3 minutes, then turn them out onto a wire cooling rack.